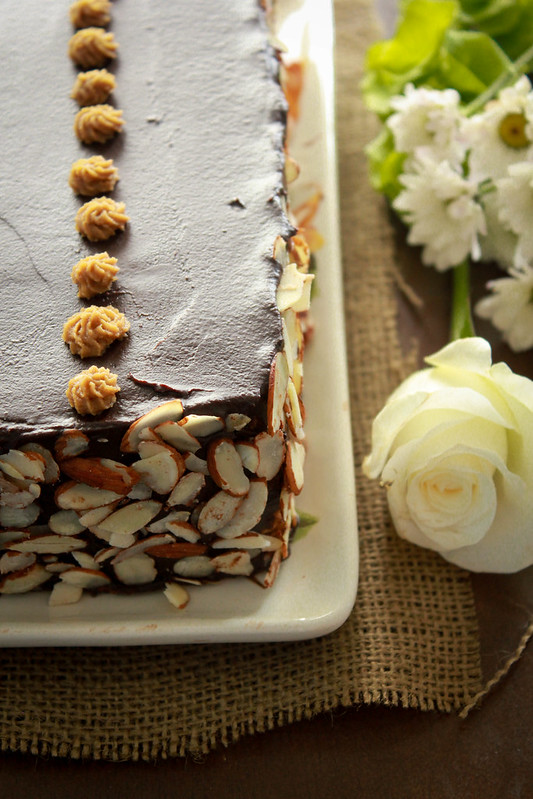
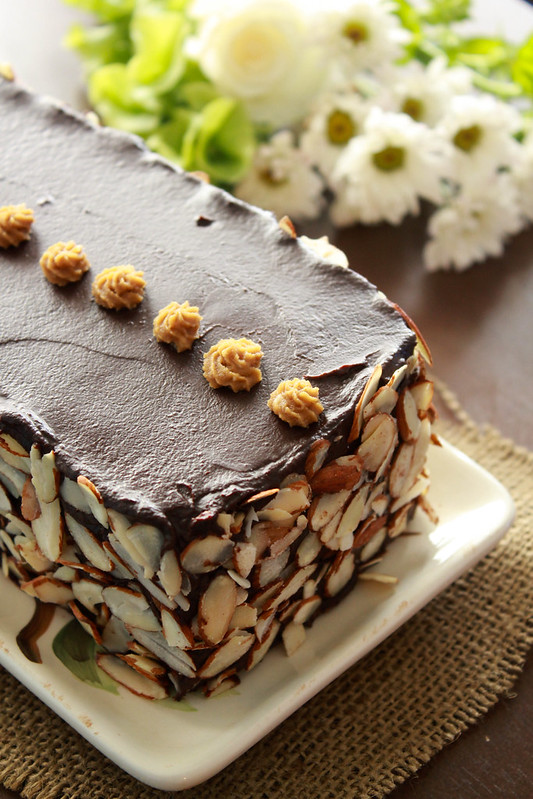
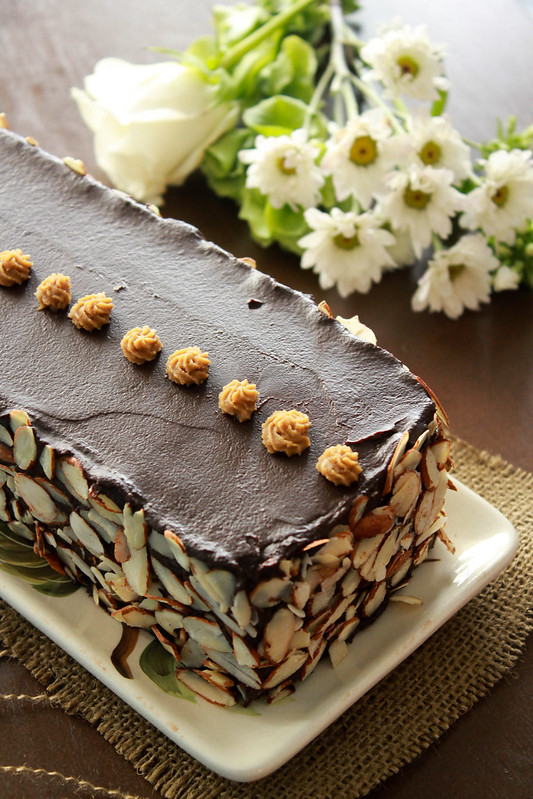
We turned 4 and I still cannot believe that. Years are flying by especially after Ian Vaava was born.I have no clue about day or date unless there's some occasion that I need to remember.I jot down all our future activities on my kicthen calender or else,I will forget them for sure. Everytime when someone asks me for our dates for any kind of an activity, I have to check with Jobin to avoid confusions. Does that happen to you?
I knew this year would be different with regards to the anniversary cake. I usually tell Jobin not to open the fridge because I don't want him to see the cake ahead of time. This year, I didn't tell him anything and he didn't open the fridge...and then he decided to make his morning drink of honey and lime juice! '
That's a nice cake!',was his reaction. I was juggling between something in the kitchen and all I could manage to say was,'
You know you are not allowed to open the fridge!'.
We were watching something on TV a few weeks back and while channel surfing, I came across
this recipe on America's Test Kitchen.After watching that show, it didn't take me a long time to decide what the anniversary cake should be. It was that easy! I mean, the decision making was easy since planning and making something these days, with our India trip in a week's time is not that easy. I have so much to finish before I start packing our bags,for India.
I haven't mentioned it here till now that I am writing the dessert column for
Malayali ,a monthly bi-lingual magazine, the first of it's kind in the USA. It's been many months now and I am thinking of submitting the future articles for it before I leave.There is another magazine work in the pipeline and that submission is also before I leave. Then the baking groups that I am part of... I think I should just stop talking about it all! There's so much to do in so little time. So,let's move on to the cake!!
CHOCOLATE - ESPRESSO DACQUOISE
 Ingredients
:
Meringue
3/4 cup blanched sliced almonds, toasted
1/2 cup hazelnuts,toasted & skinned
1 tablespoon cornstarch
1/8 teaspoon salt
1 cup sugar
4 large egg whites, room temperature
1/4 teaspoon cream of tartar
Buttercream
3/4 cup whole milk
4 egg yolks
1/3 cup sugar
1 1/2 teaspoons cornstarch
1/4 teaspoon salt
2 tablespoon water
1 1/2 tablespoons instant espresso powder
16 tablespoons unsalted butter,softened
Ganache
6 oz bittersweet chocolate,chopped fine
3/4 cup heavy cream
2 teaspoons corn syrup
12 whole hazlenuts,toasted & skinned ( I didn't use)
1 cup blanched sliced almonds,toasted
Method:
Meringue:Preheat the oven to 250 F and draw a 13 X 10 1/2 inch rectangle on a piece of parchment.
Process the nuts, cornstarch & salt until the nuts are finely ground,15-20 seconds. Add in 1/2 cup sugar and process again to blend, 2 pulses.
In another large bowl, whisk together the whites and cream of tartar on medium low until foamy,about a minute. Increase the speed to medium high and whisk until they form soft billowy mounds,about a minute.With the mixer running on medium high, slowly add the remaining 1/2 cup sugar and whisk till stiff peaks form,2-3 minutes. Fold the nut mixture into the stiffly beaten whites in 2 batches.
Spread this over the parchment,using the marked lines as the guide and bake it for 1 1/2 hours.Once baked,switch off the oven and let it cool inside the oven for another 1 1/2 hours. Do not open the oven during this entire time.Remove from the oven and let it cool completely. Trim the meringue with a serrated knife,in a sawing motion to 12 X 10 inch rectangle.Cut them into 4 equal rectangles. Set aside.
Buttercream: Heat the milk until simmering. In another bowl, whisk together the yolks,cornstarch,sugar & salt until smooth.Pour a little bit of the warm milk into it,whisking while doing so to temper the yolks. Pour the yolk and egg mixture back into the saucepan and cook on medium heat until it thickens to a soft pudding like texture. Transfer it to a bowl, clingwrap it touching the surface and chill for a minimum of 2 hours.Before using it, bring it to room temperature.
In a small bowl, mix together water and instant espresso.Using a mixer,beat the butter on medium high speed until fluffy,3 minutes. Add the pastry cream in 3 batches,beating for 30 seconds after each addition. Add the coffee and beat well for 5 minutes,scraping the sides if needed.
Ganache: Melt all the ingredients together in the microwave oven for about a minute. Take it out and stir until smooth.
Assembly: Spread 1/4 cup ganache over 3 out of the 4 rectangles of meringue. Let them chill in the fridge for 15 mins. Spread 1/2 cup buttercream over the remaining meringue.Plop the ganache topped meringue over it.Spread 1/2 cup of buttercream over it and cover that with another ganache topped meringue. Repeat. It will resemble a rectangle box. Spread the remaining buttercream all over the top and sides and smoothen it.Chill for a few hours.Warm the remaining ganache to a pourable consistency and pour over the top. Level it out and spread it to the sides.Cover the sides with sliced almond and top with hazlenuts. I didn't have them, so piped some buttercream instead. Chill well and slice with a sharp hot knife.
All I can say is that this was a delectable cake. A classic French cake.On the show, they did mention that it's a piece to master,so, I was extra cautious while making it.The meringue softens once assembled so it just blends in very well with the espresso buttercream and the ganache.It is a very light,melt-in-your-mouth kind of a cake.I am sure I will make it again.
The top layer didn't turn out as glossy as I wanted it to because there were other things I was juggling between in the kitchen that day and I couldn't pay attention to it,completely. Our kitchen is like a food machine...so much is going in and so much more is coming out. Phew!
To be honest, I have to tell myself every now and then that we are going for a long vacation...but that happens only when I get some free time to think about it :-)


