Ria's Collection: April 2016

Tuesday, April 26, 2016

HOMEMADE GHEE

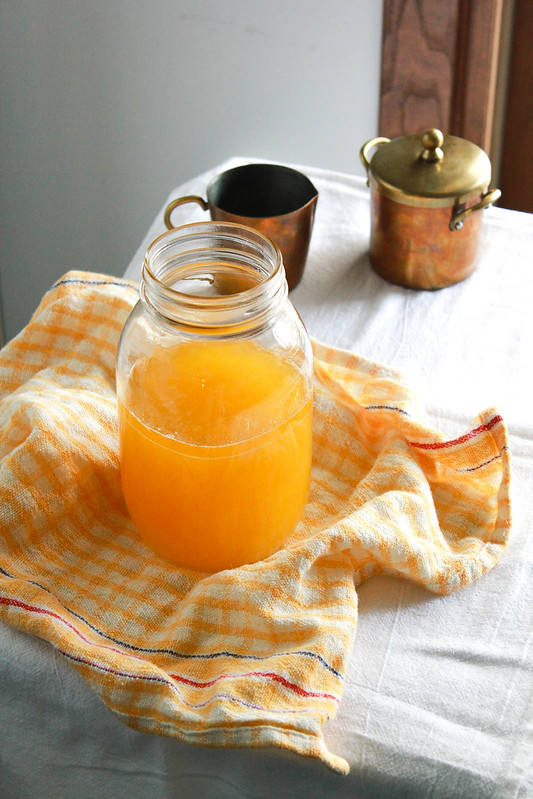
Homemade Ghee
Amma rarely bought Ghee at home. It was always a big ongoing task of collecting paada for making ghee at home. Daisy mummy is the queen amongst the twins. Their cow produces the fattiest milk that I have ever seen. So, she makes a lot of Ghee from it and sends it to Amma when she runs out of Neyy. We buy packet milk at home,which does not have a lot of fat in it. So Amma skims the fat that collects on top of boiled and cooled milk as well as yogurt. Everything goes into a cute little stainless steel container that's kept in the fridge forever. When that's filled to the brim, it's Neyy making day at home. A very fragrant day,that is!

When I was little, I would get so tempted to taste fresh ghee as it would fill our home with it's aroma. However, the crud that settles on the bottom,to me is very tasteless. Valsamma aunty would make a delicious laddu using that milk solids that gets separated during the ghee making process .
Homemade Ghee
When I first moved here, I was really at loss as to how to make Ghee at home! We would buy a big container of yogurt which never really had fat floating over it.Milk was always in a big plastic jug and if I end up boiling and cooling the milk, it never gets over. Finally, with a heavy heart, I decided to buy Ghee from stores. I never really liked them. They all have that lovely yellow colour and that's pretty much it. It never tasted or smelt like the Neyy Amma made.
Homemade Ghee
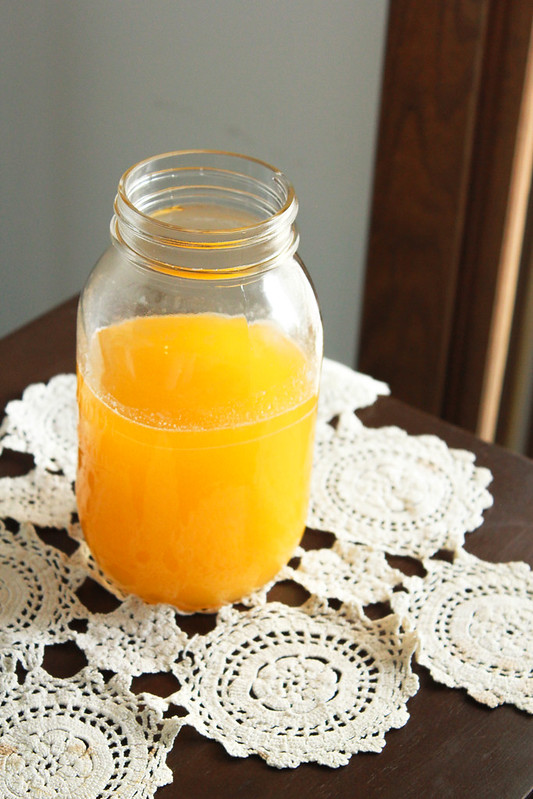
Jobin's sister is my Ghee supplier but when I ran out of her supply, I was hesitant to buy more bottles.So, I decided to make my own from unsalted butter, like many of you do here. It's so simple and the whole process is magical,atleast to me.It's also very economical. I really don't understand why are we spending so much for a little bottle of Ghee. Even if you were to make them from organic,grass fed cow's butter,it's much economical to make it home and it only takes about 20 - 25  minutes!

HOMEMADE GHEE
Homemade Ghee
Ingredients:
Unsalted butter

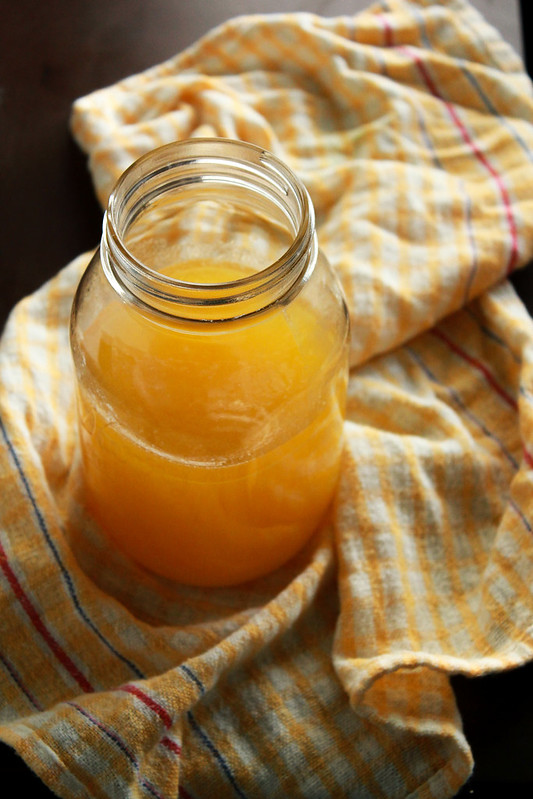
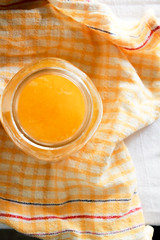
Method: In a tall heavy saucepan / pot,melt the butter on medium high  medium* heat. It will start to splutter and make some noise. When the noise stops (approximately 20-25 minutes), the Ghee is ready. You will see a thin layer of foam on top, gently push it aside and take a spoonful of the liquid beneath it. It will be golden yellow. Do not disturb the brown bits at the bottom. Keep it off the heat and after 15-20 minutes,strain it through a fine mesh sieve into clean bottles.

* Update (27 April 2016): Sminu, a blog reader of mine made Ghee using the above method and mentioned that it got burnt when she cooked in the time frame I mentioned. After many back and forth messages, we were able to figure out what went wrong.

She used 2 sticks of butter. I normally use 8 sticks (2 lbs) since we go through a lot of ghee at home. She mentioned her melted butter stopped spluttering at 10 minutes but she continued cooking because I mentioned 20-25 minutes. She used medium-high heat and her biggest burner.

I would suggest that you go by the look  and smell of your product. Just like ovens, our stoves can vary a little bit. We both used electric stove. If this is your first time making it, use medium heat or even low,if you have the patience. Stop when the melted butter stops spluttering. There will be a foam on top, gently push it aside and see the colour of the ghee and the sediments. The ghee should be golden yellow and sediments a golden brown. Use your gut feeling. Timings might vary a bit.The amount of butter you use, will also lengthen / shorten the process.

So the next time you are thinking about buying some, just melt some butter and make Ghee at home. All it requires is the time that you are getting ready to go to the store! Save a trip and enjoy the delicious aroma wafting through your entire home!

Tuesday, April 12, 2016

VAZHAKOOMBU & SWISS CHARD CUTLETS

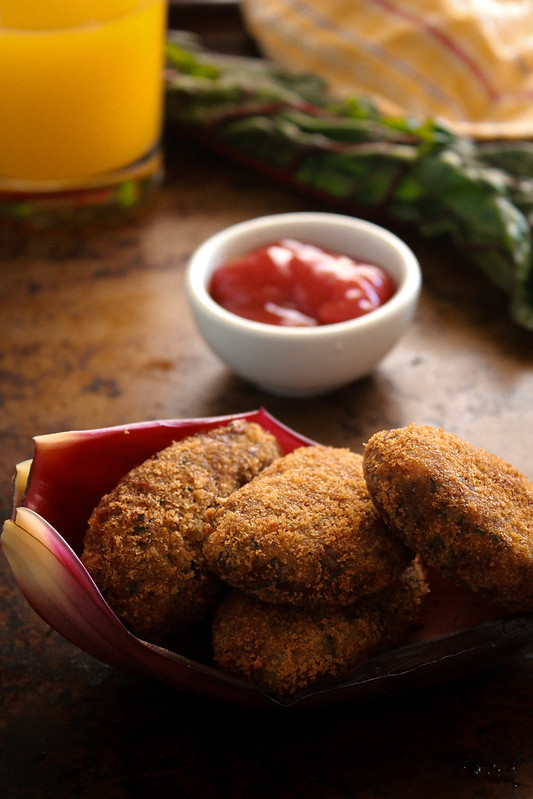
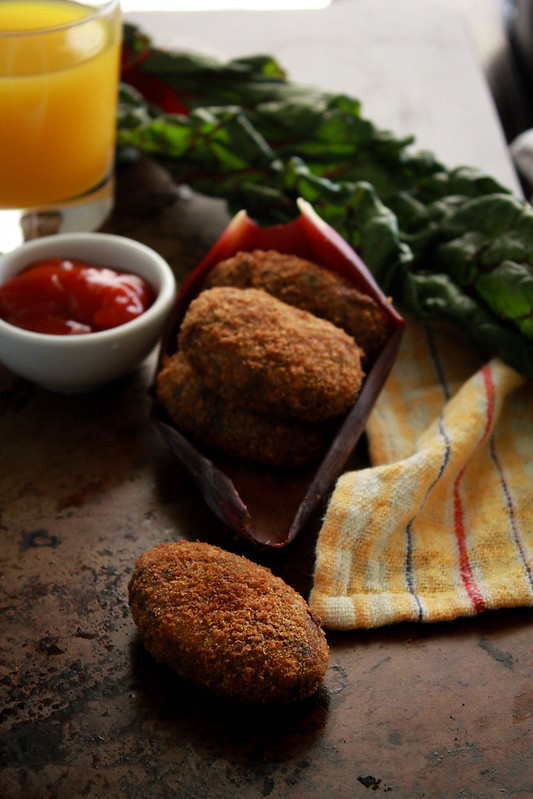
BANANA FLOWER & SWISS CHARD CUTLETS
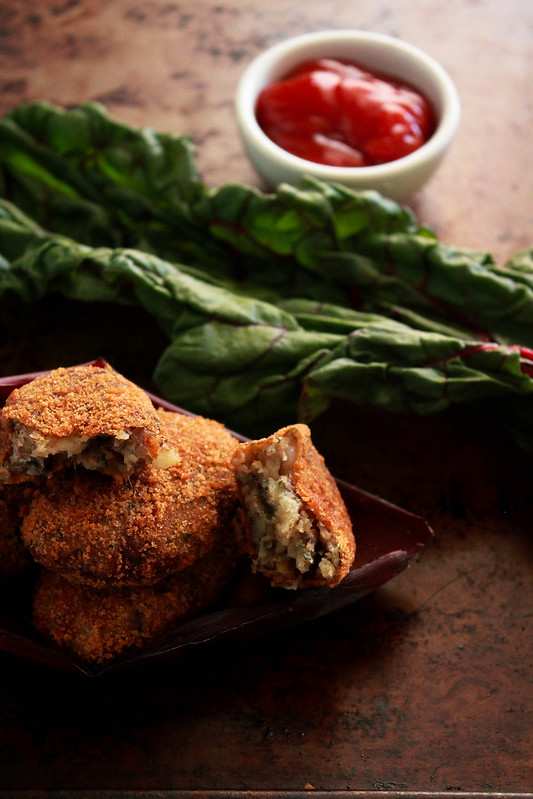
The other day, all of a sudden I felt like eating a cutlet made with Vazhakoombu. So when we went to the Oriental store to buy some ripe mangoes,which currently is my favourite fruit, I spotted some Vazhakoombu and bought 2 small ones. I also grabbed some Swiss Chard, my another current favourite thing to eat along with rice. After thinking about it for a while, I decided to combine the two. Vazhakoombu & Swiss Chard, that is!
BANANA FLOWER & SWISS CHARD CUTLETS
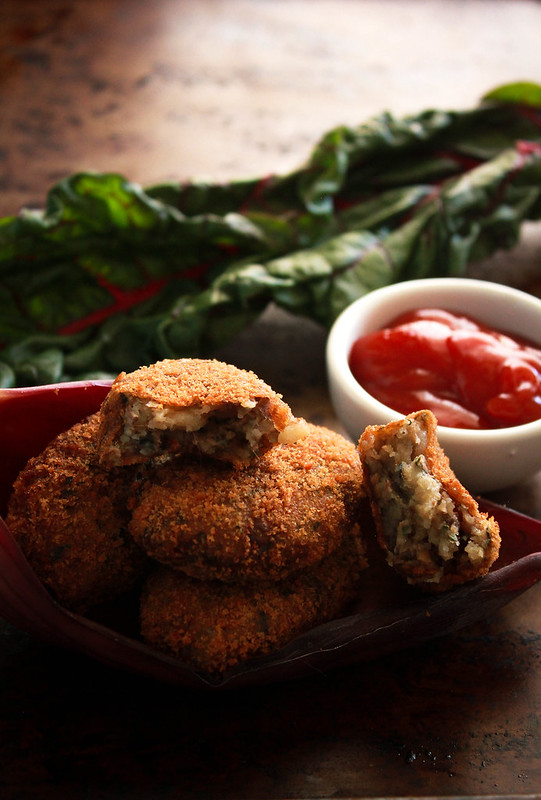
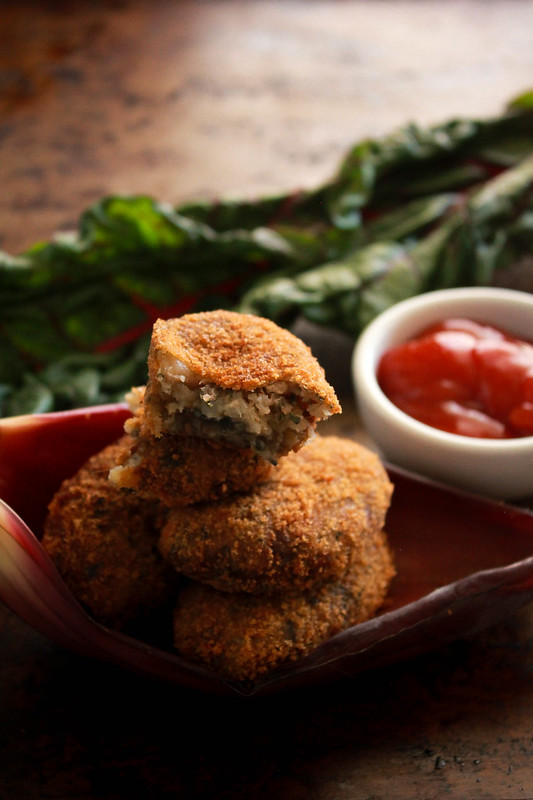
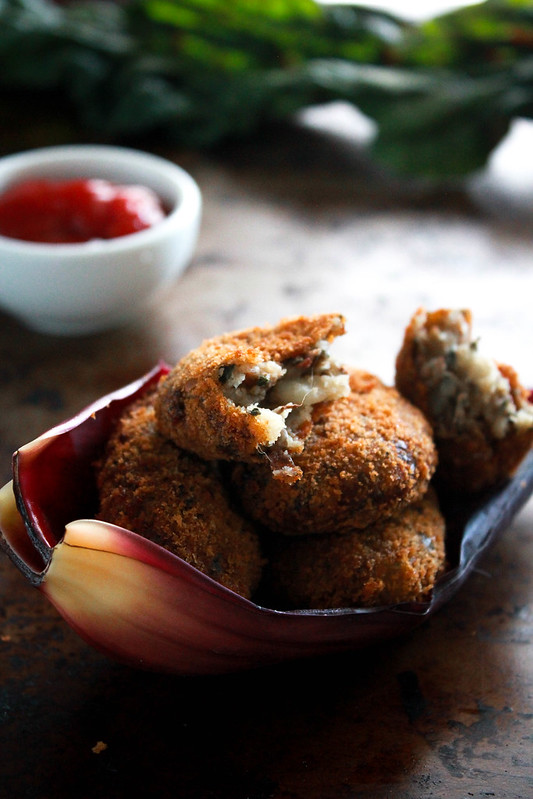
It turned out that they were literally made for each other. Those two made beautiful, delicious cutlets that we all enjoyed thoroughly. I usually make vegetable cutlets with carrots, beans,green peas etc but this time, it was a choice of vegetable that I've never attempted of combining before.
BANANA FLOWER & SWISS CHARD CUTLETS
When I was talking to Amma, I mentioned about my plans on making Vazhakoombu cutelts and that's when she mentioned that Mamma made them quite often! I was really surprised because I have never had them before! Well, I did eat them in a few hours after that conversation and I am so glad that they made their way into my belly!
BANANA FLOWER & SWISS CHARD CUTLETS

BANANA FLOWER & SWISS CHARD CUTLETS
It's a simple mixture,just like any cutlet mixture. Have I told you that my two most hated things to do in the kitchen are 1. Powdering sugar 2. Making cutlets. I don't know why! The first one is so simple but time consuming to make sure its finely ground and the second one is a lengthy three step process. I always whine about it to Amma and her advice remains the same. Don't give it too much thought,only then will you feel that it is a chore! I think she is right! :-)


VAZHAKOOMBU & SWISS CHARD CUTLETS
BANANA FLOWER & SWISS CHARD CUTLETS Makes 38-40 pcs
My own recipe

Ingredients:
3 heaping cups of chopped Vazhakoombu
3 heaping cups of chopped Swiss Chard
1 medium red onion, diced
3 serrano chilies, slit
1 sprig curry leaves
1 1/2 teaspoon ginger garlic paste
1 1/2 teaspoon garam masala
5 large russet potatoes, peeled,boiled & mashed
Salt & Pepper
Oil
Fresh breadcrumbs made from 4 slices of sandwich bread
1 egg

Method: In a saute pan, heat about 4 tablespoons of oil and when hot, add the diced onion and saute till they are translucent. Add in the slit green chilies, curry leaves and cook for 2 minutes. Add the ginger garlic paste and cook for 30 seconds. Add the chopped veggies and cook them uncovered till the raw taste is gone, about 5 mins.Add garam masala,mashed potatoes, salt and pepper and mix well to combine. Divide them into balls, form patties, dip them in beaten egg and roll them in breadcrumbs.

Deep fry in hot oil. Drain on paper towels and serve them with ketchup or Challas. Enjoy!
Ian totally fell for these delicious cutlets with a crisp coating. Jobin and I enjoyed it equally and I was wondering why didn't I ever think of making them before! A quick update about me and Hyatt. So I started working there a week ago and it's been really exciting and challenging. Challenging mostly because I need to start my at 4.30 am on weekdays and on Saturdays, I wake up at 3.30 am! I really thought I was more of a night owl than a morning person but things are changing,people! :-) It's fun and time just flies when I am at the Hotel. Every second is precious since we are churning out desserts like a factory! :-)

Monday, April 4, 2016

MURINGA ELA PARIPPU CURRY

MURINGAELA PARIPPU CURRY
Every year for Good Friday, Amma would make Parippu curry, Pappadam & Rice for lunch. Then we would eat it with a good dollop of ghee poured over it. Ho! Enthoru ruchi aayirunnu! That Parippu curry wouldn't make an everyday appearance on our dining table,maybe once for Onam and once for Good Friday. We always have something non-vegetarian for our meals at home,so making a full vegetarian meal was a challenge or so we'd like to think! We would atleast need a Meen Varuthathu to go along with our rice.

MURINGAELA PARIPPU CURRY
For the past one week, I've been on a non-veg cooking spree,expecially Pork. So I was feeling a wee bit guilty for not cooking anything veg for my food loving family. Jobin and Ian eats everything that is served to them,they are so easy to please! I am the choosy one in the family and I don't eat every vegetable that's been served. Ian is the one that surprises me always. From the time he was born, feeding him has only been a pleasure. He loves to eat and doesn't even ask me what is it that I am feeding him!

MURINGAELA PARIPPU CURRY
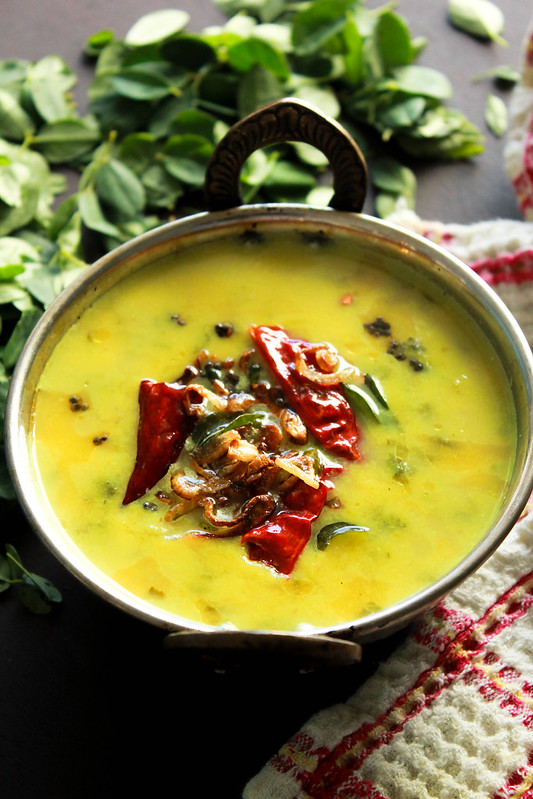
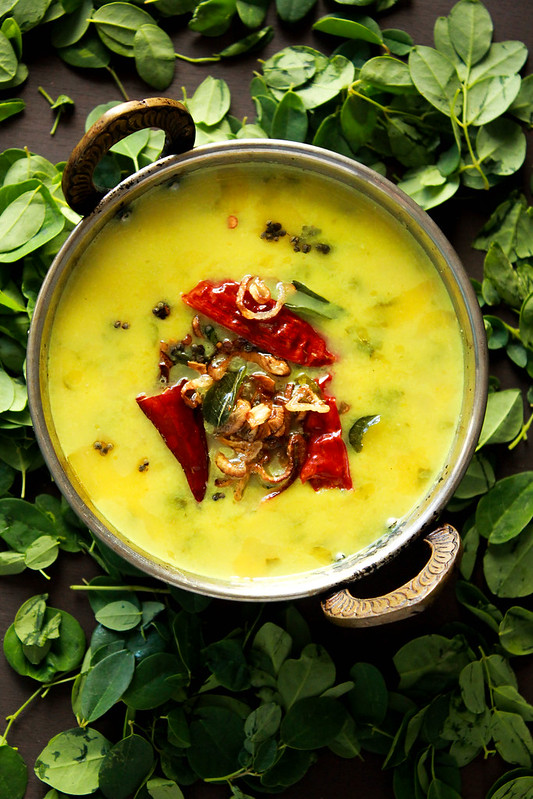
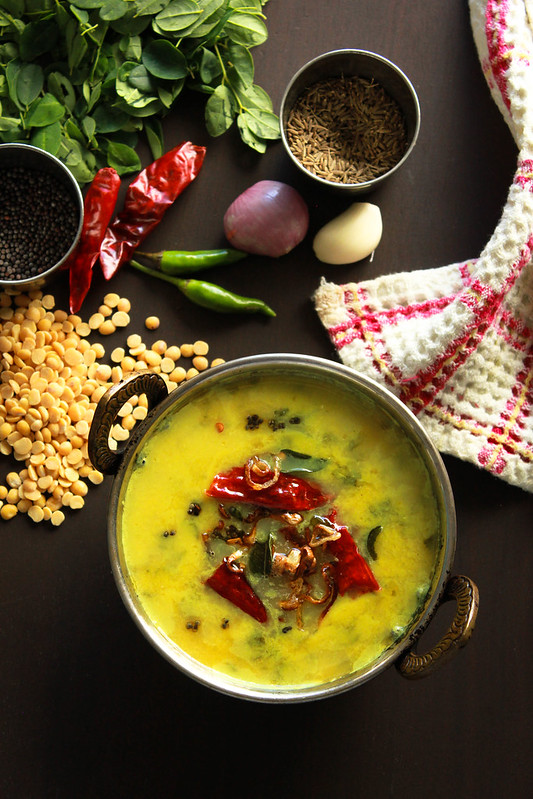
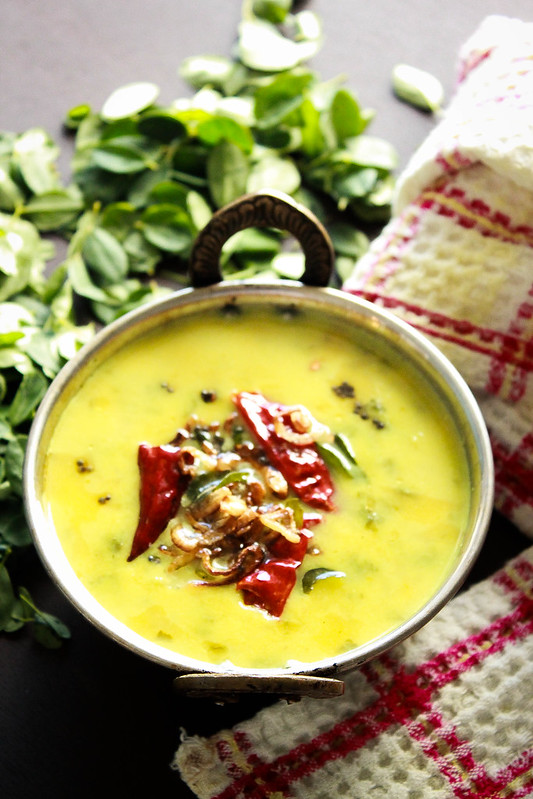
So, the other day, I bought some Muringa Ela from the Indian store. Having cooked nothing vegetarian the past few days, I decided on making our usual lavish Saturday lunch a proper vegetarian meal. So this parippu curry made it's first appearance in our house along with some yard long beans mezhukkupuratti. Moringa leaves/Muringaela is a highly nutritious ingredient and pairing it with some dal and rice makes it a complete meal.The recipe for parippu curry is from Aswathy Mathan's book and the addition of Muringaela was my choice.
MURINGA ELA PARIPPU CURRY
MURINGAELA PARIPPU CURRY
Serves 6
Ingredients:
1/2 cup Toor Dal
2 serrano chilies,slit
1 teaspoon oil
1 heaping cup Muringa ela

To grind:
1/4 teaspoon turmeric powder
2 pearl onions
2 small cloves garlic
1/4 teaspoon cumin seeds
1 cup grated coconut
3 dried bird's eye chilies / onakka kanthari (optional)

To temper:
1 tablespoon coconut oil
1/2 teaspoon mustard seeds
1 tablespoon sliced pearl onions
1 sprig curry leaves
2 dried red chilies

Method:
Pressure cook dal, serrano chilies,oil and muringa ela along with just enough water to reach an inch above it on medium heat for 3 whistles*.Once the pressure is released, open the cooker and mash the dal with the back of your spoon.
Meanwhile grind together the ingredients mentioned above. Add it to the cooked dal along with 1 cup of water**. Keep it on a slow flame and cook stirring continuously until it starts to steam gently. DO NOT let it boil. You just want a steady steam.
In a small pan, temper the ingredients mentioned above and pour over the hot dal. Check for salt & serve hot with Kerala Matta Rice.

*I did not soak the dal.
** This dal will thicken as it sits,so if you like to adjust the consistency,add some more water in step 2.


All of us relished this dal along with hot rice and ghee. I did not have any pappadam with me or else, it would have been the most perfect meal! Now that Vishu is just around the corner, I am planning for a mini sadya hoping that it will create some memories for Ian. I honestly don't know how much my new schedule is going to help me in prepping for it,but I will try to make the sadya happen. In the meantime, I hope you guys give this a try and let me know how it went!
 
Related Posts Plugin for WordPress, Blogger...