Ria's Collection: June 2017

Thursday, June 29, 2017

FOOD TRUCK FEST AT THE VALLEYFAIR

ValleyFair
We were at the ValleyFair once again this Summer for their Food Truck Festival about a week ago. We always have a great time there so it's a pleasure to visit every time. Ian gets very excited about the rides for the kids,which I think is plenty and non scary. His highlight of every trip to the ValleyFair is the big train ride. It goes through the entire fair and is so soothing especially if it had been a hot day. It was Zarakutty's first toy train ride!
ValleyFair
We really enjoyed the Cinnamon Waffles (so buttery!) by the Nordic Waffle. They had a variety of combinations and served waffles like a sandwich. Sometimes we tend to buy the most basic flavour choice because if they can get the basic one right, then the other ones should be really good! Ian pretty much ate the entire waffle by himself. We also tried out other food trucks which sold delicious steak served on smashed red potatoes, awesome fried rice, fried shrimp etc.
ValleyFair
It was our first time attending the Food Truck Festival at the ValleyFair. We love to eat out and we eat out quite a bit at food trucks during Summer. The food did not disappoint and Ian had such a blast gorging on some delicious organic frozen yogurt with all the toppings he could get his hands on. I do not have a picture of that one because it was the time Zara decided to dig in as well. Two kids,one big bowl of frozen yogurt and a camera is not the best combination! I also really liked the fact that this was right before Father's Day...Jobin and the kids got to spend some quality time together with each other.

This post is sponsored by Blog Meets Brand and Cedar Fair but all opinions expressed here are my own.

Tuesday, June 13, 2017

CHEMMEEN MANGATHOLI PAAL CURRY

CHEMMEEN - MANGATHOLI  PAAL CURRY
Almost my entire childhood vacation at Kothamangalm in my Ammai's house included unlimited supply of Mangatholi along with plenty of Kappa Erachi,Cheeda and other goodies. Till a couple of years I thought Mangatholi was literally the sundried skin of raw mangoes.Only recently did I realize that it was the entire green mango flesh which were roughly cut up and dried under the sun along with salt till it was dehydrated and almost black in colour. That flavour of Mangatholi will be on my tongue until my last day. It is so good! Super tangy,salty pieces of mango which tastes like...the Sun!
CHEMMEEN - MANGATHOLI  PAAL CURRY
Do you all like the smell of clothes dried under the scorching Sun? I do. It always reminds me of Pallikuttumma. All our clothes would be hung on the line and even on the pebbles on the ground to dry and in the evening when it's taken inside the house,it would be paper dry and smells like the Sun. If I were to close my eyes and take a deep breath, I can still smell those clothes of mine. Those were the days we carelessly roamed around everywhere wearing hand-me-downs,least bothered about how our hair looked like or how messy our face were after eating ripe and raw mangoes holding them as is. I miss my childhood. I really had a good one.
CHEMMEEN - MANGATHOLI  PAAL CURRY
When I was pregnant with Zara, I craved for Mangatholi. That was when Jobin was travelling to India for work. I immediately Whatsapped Ammai and asked her if she had any stock. Of course, she did and she sent it to Amma and Jobin collected it from there and brought it all the way to Minneapolis. I wonder if those mangoes which were hanging on my Ammai's trees knew that they would end up in a dish in Minneapolis!
CHEMMEEN - MANGATHOLI  PAAL CURRY
I usually eat them as is but off late, I've been using it instead of our Kudampuli/ Valanpuli for curries. They work just fine and provides such a rustic taste to the curry. When I came across this curry on YouTube, I had to give it a try right away. As I was cooking, I posted some videos of it on Instagram (which is currently where I am the most active...if you would like to get cooking updates ALL the time from me, you can follow me there! ) and I was flooded with requests to share the recipe. It's literally impossible to share recipes personally anymore because of time constraints and the lack of interest in typing out in detail using my phone. So I told them that I will share it here, so that all of you can view it and try it at home!
CHEMMEEN MANGATHOLI PAAL CURRY
CHEMMEEN - MANGATHOLI  PAAL CURRY Serves 6

Ingredients:
500g Shrimp,cleaned
2 inch piece ginger, crushed
1 medium onion,sliced fine
2-3 green chilies, slit
1 teaspoon turmeric powder
1 teaspoon red chili powder
1 sprig curry leaves
Salt

About 1/3 -1/2 cup Mangatholi,soaked in 1/2 cup water*

1 1/4 cup thin coconut milk
1/2 cup thick coconut milk

For tempering:
3 tablespoons coconut oil
2 teaspoons black mustard seeds
2 dried red chilies
1 sprig curry leaves
5 pearl onions, sliced
2 teaspoon coriander powder
1 teaspoon red chili powder
1/2 teaspoon turmeric powder

Method: In a meenchatti,add the shrimp,ginger,onion, chilies,spice powders,curry leaves, salt and 1 cup water. Cook on medium heat till the shrimp is half way done. Add the thin coconut milk, Mangatholi pieces along with the soaking water and cook covered until the shrimp is completely cooked.If the gravy is too thin at this point, cook the curry uncovered for 1-2 minutes. Add the thick coconut milk and bring it to a boil. Take it off the stove.
In a small pan, heat the oil and crackle the mustard seeds.Add the dried red chilies, curry leaves and shallots and fry till the shallots starts to turn colour. Turn the heat to low and add in the spice powders.Cook stirring well for 20 seconds. Turn off the heat and pour the tempering over the curry. Check for seasonings and serve hot with rice!

* You can use one raw green mangoes pieces instead. Just make sure you don't over cook the shrimp or the mango pieces. You can use Kudampuli too,if green mangoes are unavailable.
This is an AMAZING curry! It's tangy and spicy. Since the shrimp doesn't take that long to get cooked, the ginger and onion pieces retain their shape so you get a bite of it every once in a while. This curry is best served with plain rice. Ian loved it. Jobin is in India for work right now,so that's why you don't get to hear about him much these days. So do let me know if you try this curry, you will love it for sure! In the meantime, you can follow me on Instagram here!

I have some news for Kannur people! Amma and her fellow YWCA members have opened a cafe and guest house  right next to St. Teresa's School in Burnacherry. The quaint little cafe,originally a British cottage,serves homemade food made exclusively by Amma and two other members. It's called Cafe Y and it's open from 9 am till 7 pm. Please visit when time permits!


Friday, June 9, 2017

THE VERY BEST IDLI / DOSA

BEST IDLI / DOSA RECIPE
Growing up, I hated Idli's with my entire heart and soul. It's one thing I could never relish. I wondered why people raved about how soft Idli's are! What's the big deal in making soft Idli's when it's so tasteless. Whenever my excited Amma tried to convince me to eat them for breakfast, I would wholeheartedly hate the entire scenario. No matter what chutneys or sambar it was served with , Idli was always an Idli for me. Rather...an Eddally!Ugh. Afterall, it was just a bland chunk of steamed dough!
BEST IDLI / DOSA RECIPE
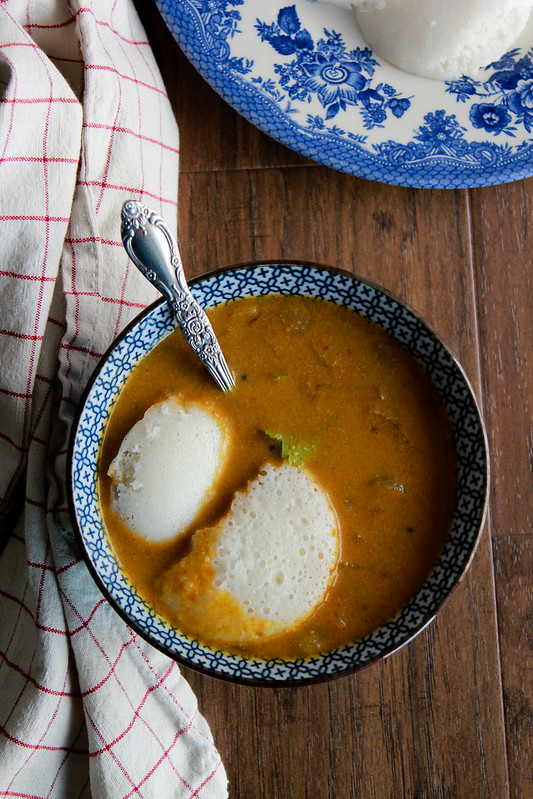
Things changed. It was during the wonderful hostel days with pathetic food that I started relishing it. It was not because that Eddally was anything different from what Amma would make, it was what was served with it. It was this super watery,sambar like curry that made the whole thing exciting! We were served Idli's every Wednesday at Maria Sadan and I would eat like 3-4 one in one go. They always made extra Idli's because no one cared for it and I am pretty sure the Chechy's in the kitchen loved them!
BEST IDLI / DOSA RECIPE
Things changed when I conceived Ian. Guess what ... the only thing that I wanted to eat was Eddally! I didn't want to wait to wait until the batter fermented, I wanted them right away! So Jobin took me to an Indian restaurant closeby and I was so happy to order and eat Idli's. I was literally drooling when they brought in my order. Let me tell you, that was I think the very very first time that I actually paid money to eat an Idli. It's funny how you end up doing such funny stuff when you are pregnant,right?
BEST IDLI / DOSA RECIPE
Things really really changed. I was on a hunt to make the best Idli's ever at home. I usually stick to our usual ratio of 1:3 but sometimes I would try new proportions. I tried adding some cooked rice and that gave me some amazing ones but this time when I added poha, the results were just mindblowing! It takes me about 18 hours even in Summer for the batter to ferment,in Minneapolis. It could be just me but it does ferment and is never sour when I begin to use it,so I think I am doing it all right! :-) So if your takes time to ferment, just know that I am with you! :-)

Idli's were my #1 craving while I pregnant with Zara as well. It could be because of that, both my kids love Idli's. I personally feel it's a very healthy and wholesome food,especially if you are travelling. Ordering Idli's would be the safest.

THE VERY BEST IDLI /DOSA
BEST IDLI / DOSA RECIPE My own recipe

Ingredients:
1 1/2 cups Idli rice,washed
3/4 cups whole urad dal,washed
1 cup thick poha (not Kerala thin aval but the small oval shaped ones used for breakfast dishes.It is sold by that name.Check this link to see how it looks)

Method: Soak Idli rice for 4-5 hours. Soak urad dal separately & poha separately for 1 hour. Using a mixie, grind the rice along with poha using just enough water to submerge it and grind it to almost a fine paste. A little but of grain like fine sooji rava is what you are looking for. Remove the ground rice and poha mixture to a large container. Now, grind the urad dal using just enough water to submerge it and grind it to a very smooth paste.Pour this into the rice mixture and mix it well using your hands. It should feel fluffy and a bit like a nice cake batter, if you know what I mean! :-)
Cover and let it ferment until it's almost doubled. Add salt and gently stir. This batter is very frothy once fermented.My microwave oven is the warmest place in my kitchen,so that's where I leave my batter to ferment.
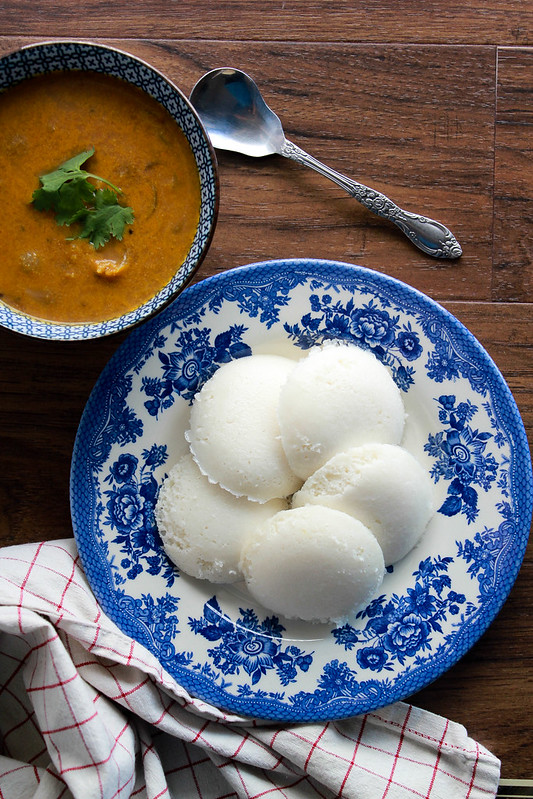
For making Idli's:
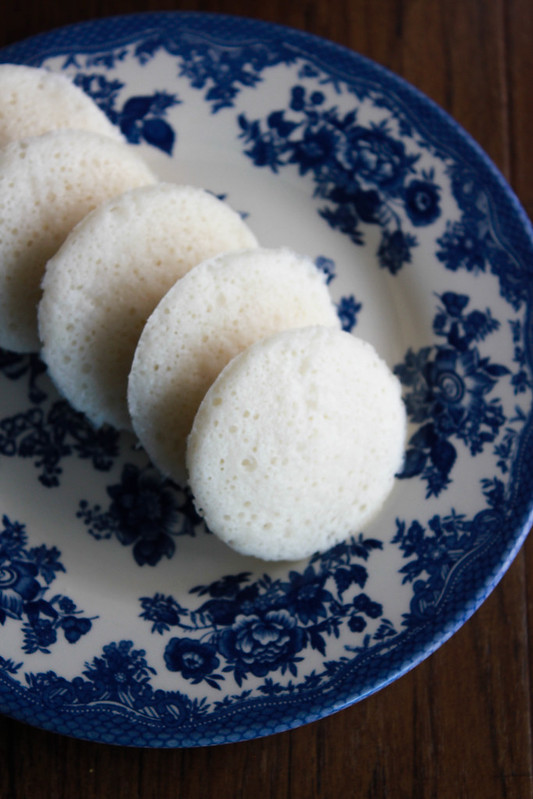
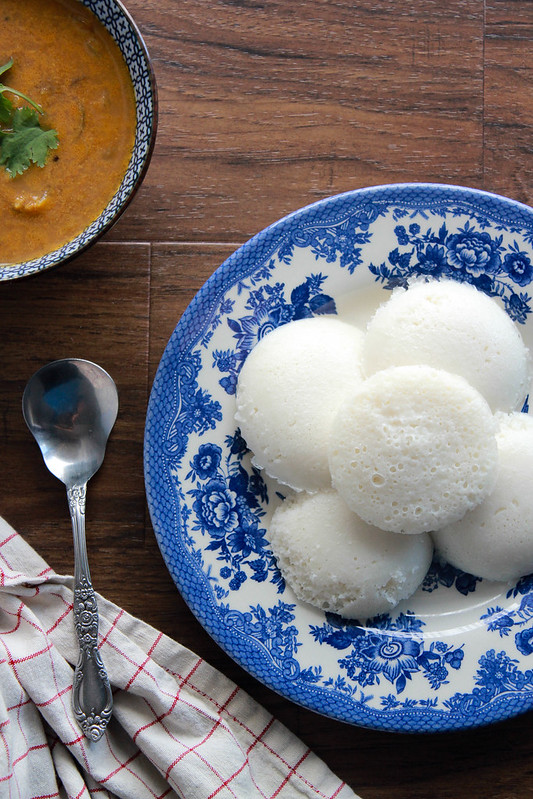
Prepare Idli moulds like you would normally and fill them with the batter. I cook my Idli's on high flame and they were done in 8 minutes.

Always use high flame and make sure you do not over cook them, they will turn hard. Just insert a paring knife into the centre of an Idli and if it comes out clean, it's done. Take it out of the steamer and let them cool a bit before you remove them from their moulds. These Idli's remained intact even after 6 hours of steaming them.Soft ,spongy and so good!

For making Dosa /Uthappam :
I used the same batter without thinning it out which is what I usually do with my other recipe.You just have to make them the way you would with any other batter. This batter makes super soft,spongy Uthappams as well as nice crispy Ghee Roast.

If you have noticed, I didn't show you a photograph of a Dosa/Uthappam made with this batter.It's only because Idli's are always the toughest thing to master for many of us. You have no idea the amount of messages I get on my Instagram account whenever I share a story/video/photo of my Idli's. That's the only inspiration for me to actually make an effort in getting this post ready.
BEST IDLI / DOSA RECIPE
Today for breakfast, I made some Uthappam's for Ian & Zara. They love carrots so that's what I used. I really hope you give this recipe a try and when you do, please come back here and tell me how you liked it! This is by far my most favourite recipe. If it can work for me here in Minnesota, it will work for you guys too! Just make sure your batter is not too thick, it should be easily pourable yet  not watery. Like I mentioned in the recipe, I used just enough water so that the rice & dal was submerged,not to the exact same level but like 2-3 tablespoons more so that it stays under water. Also, remember...do not over steam your Idli's. I really want this recipe to work for you and I am sure it will!
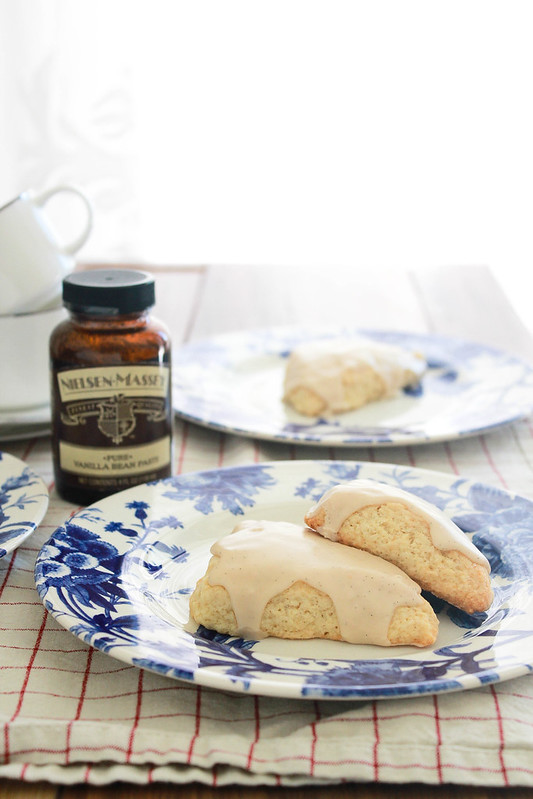
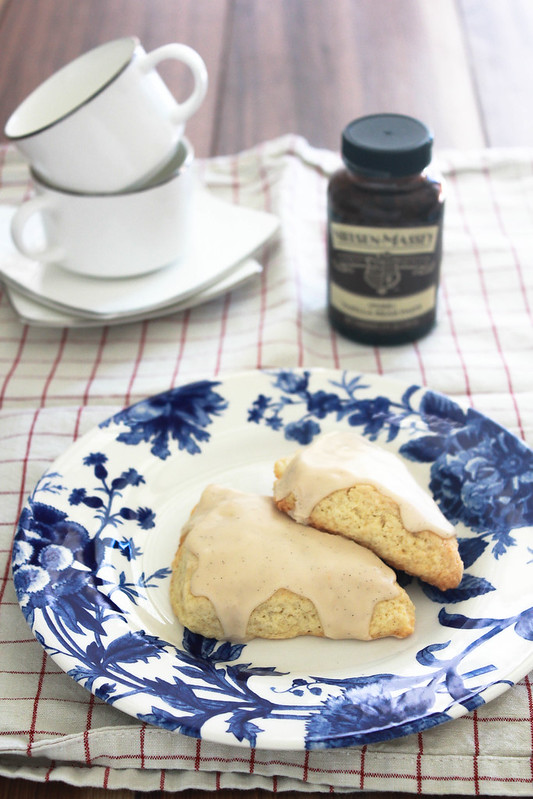
Wednesday, June 7, 2017

AN EVENING AT THE VALLEYFAIR

ValleyFair MN
We were at the ValleyFair twice last year and enjoyed every minute we spent there. So naturally,when Jobin & I got a chance to visit again,we happily grabbed the offer! It was for an Adult Night just before the Memorial Day weekend from 7 pm -11 pm. It simply meant that the park was off limits for anyone below 18 years of age at that time. Select rides (like crazy scary!) were open for us and we could go on it as many times as we wanted to. The craziest thing was actually getting to the ValleyFair.
ValleyFair MN
You would think that I am exaggerating when I tell you that the traffic backup for was close to 2 miles. When we finally parked our car, the sun had set. The park was well lit up in various colours and I must say I did miss bringing Ian along with us. He had a ball of a time there last year. Since we had entry passes to the ValleyFair, we did not have to stand in the longest of the longest queue that I've seen my entire life!
ValleyFair MN
Just like last year, the Hotdish & Hops event was scheduled to happen the next day so we got a preview of it. There was a wide range of Hotdish availabe for sampling right from my favourite Green Bean Casserole to S'mores. The sample size were so generous that we were literally filled all the way up to our nose by the time we were done. The timing was so perfect that it began to drizzle as we were leaving the park. There was no way that I would have been able to run back to the car with a stomach full of delicious food that I just ate at the ValleyFair!

This post is sponsored by Blog Meets Brand and Cedar Fair but all opinions expressed here are my own.

Monday, June 5, 2017

PETITE VANILLA BEAN SCONES with VANILLA BEAN GLAZE

Petite Vanilla Bean Scones
Even before I go any further with this post, I have to tell you something. Do yourself a favour and make these scones right away. Like, right now! It is featherlight,so buttery and so delicious! There is a trick to getting featherlight scones. I will let you in on that secret as we go further in detail with the recipe. It's a very simple trick though.But that one thing can either make or break your scones. Break in the sense, it can make it tough.

I have shared many other scone recipes with you in the past. My Cream Scones with Chocolate Chunks & Orange - Raisin Buttermilk Scones are perfect examples for that.
Petite Vanilla Bean Scones
Ian and I absolutely love a good scone.Infact, he puts in a request every now and then just like he asks for those Soft Chocolate Chip Cookies. I bake multiple batches of those cookies every week. We are seriously addicted to those. I kind of don't really care for a crisp cookie anymore. I like them soft and never in a million years did I think I would actually say that I like a soft cookie!
Petite Vanilla Bean Scones
Actually, this is not even a cookie post. It's about a Vanilla Bean Scone with an awesome Vanilla Bean Glaze over it.This tastes like a birthday cake to me.It is all things good rolled into one triangular shaped thing. I really think using a good vanilla extract and vanilla beans/ paste really matters with this recipe. It shines through the end product.So please use the real thing. I know it's expensive but once you really taste it, you will not go back to imitation vanilla.It's that good! This recipe is from Jaclyn and her recipes never ever fail to impress me and my family.
PETITE VANILLA BEAN SCONES with VANILLA BEAN GLAZE
Petite Vanilla Bean Scones Makes 18 scones

Ingredients
Scones:
2 cups all purpose flour
6 tablespoons granulated sugar
1 tablespoon baking powder
1/2 teaspoon salt
6 tablespoons cold butter, diced

1 egg
2/3 cup heavy cream
1 teaspoon vanilla extract
1/2 teaspoon vanilla bean paste

Glaze:
1 cup powdered sugar
1 1/2 tablespoons milk
1 1/2 tablespoons heavy cream
1 teaspoon vanilla extract
1/2 teaspoon vanilla bean paste

Method:
Scones : Preheat the oven to 400F/200C and line a cookie sheet with parchment paper.
In a medium bowl, mix together flour,sugar,baking powder & salt. Rub in the cold butter with your finger tips until they resemble coarse meal. In a small bowl, whisk together egg, cream,vanilla extract & vanilla paste. Add it to the dry ingredients and mix very gently using a spatula. Once it comes together roughly as a ball, gently use your fingers to bring them together. Dump the dough onto a floured surface and pat it gently into a 7 x 7 inch square. Cut them into 9 pieces and divide the 9 squares into 18 triangles by cutting them on the diagonal. Place them on the baking sheet with 2 inches gap between them and bake for 12-14 mins. Transfer them to a wire rack to cool completely.

Glaze: Mix all the ingredients together and drizzle over the cooled scones. Let the glaze set at room temperature. Store in airtight tins.

The secrets to making a good scone is to use very cold butter and to be very gentle with the dough. Do not ever knead the dough with the heels of your palm. Just use your fingertips throughout.

Edited on 6/6/17
How do you check for doneness? Just go by the look and feel of it. A well baked scone should feel firm to the touch and golden brown at the bottom. Baking time might vary depending on your oven. 

These were just fantastic and that's all I have to say! Ian, Zara & I ate these watching some Famous Five episodes on TV. You have no idea how thrilled I was to taste my very first scone very many years ago after reading all those wonderful Enid Blyton books. If you are a regular reader of this blog, you would have already read about it.

Seriously, I cannot wait to make more of these!

Friday, June 2, 2017

MISSISSIPPI MUD PIE CAKE...a cake for me from him (them)!

Mississippi Mud Pie Cake
So I turned a year older yesterday.If you have been following this blog for a while, you will know that Jobin bakes my birthday cake every single year. I just have to choose a cake and give him a recipe and that's it! The cake that I've been dreaming of as my birthday cake will magically appear on the table every May 31 since 2010. Ian was THE most excited person while baking it. He has been chanting the name Mississippi Mud Pie Cake for almost 2 months now.
Mississippi Mud Pie Cake

While we were in Kannur, Ian and I were going through Amma's cake decorating books and had a ball of a time deciding what cakes we should bake for everyone's birthdays. He wanted to know what I wanted and I told him that I wanted them to bake me a Mississippi Mud Pie Cake. From then on, that was the only thing he could associate with his Amma's birthday. Of course that was followed by many handmade cards and hugs whenever Jobin would mention that Amma's birthday is fast approaching! Children are the best !
Mississippi Mud Pie Cake

That cake you see above was phenomenal! It had four layers.The first /outside layer is an Oreo crust which was filled with a flourless chocolate cake topped with a delectable chocolate pudding followed by a layer of lightly sweetened whipped cream. So you can imagine how rich a small slice would have been. Creamy, crunchy, slightly sweet and so chocolate-y! It was just delicious!
Mississippi Mud Pie Cake
This recipe comes from the famed Baked guys from Brooklyn, NY. I went ahead with the slightly modified version by Jacklyn from Cooking Classy. If you have not seen her blog yet, you should! It's brilliant! If you would like to see the original recipe, please take a look here. You can even see a video of how it is made.It is a multi step process to make this cake but that shouldn't intimidate you. Read through the recipe calmly and you will figure out how easy it is!
MISSISSIPPI MUD PIE CAKE
Mississippi Mud Pie Cake 
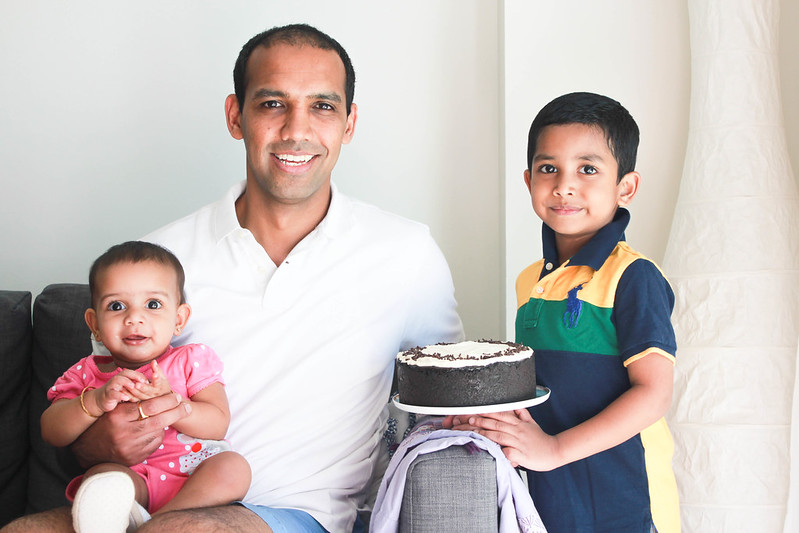
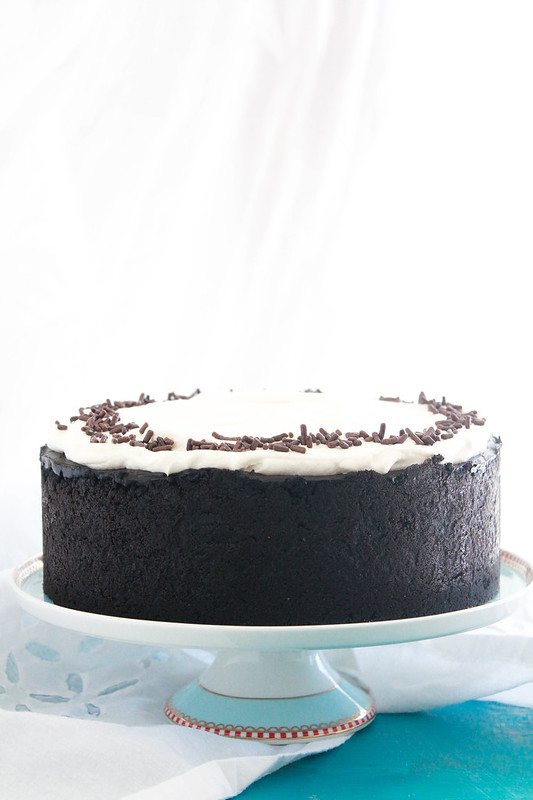
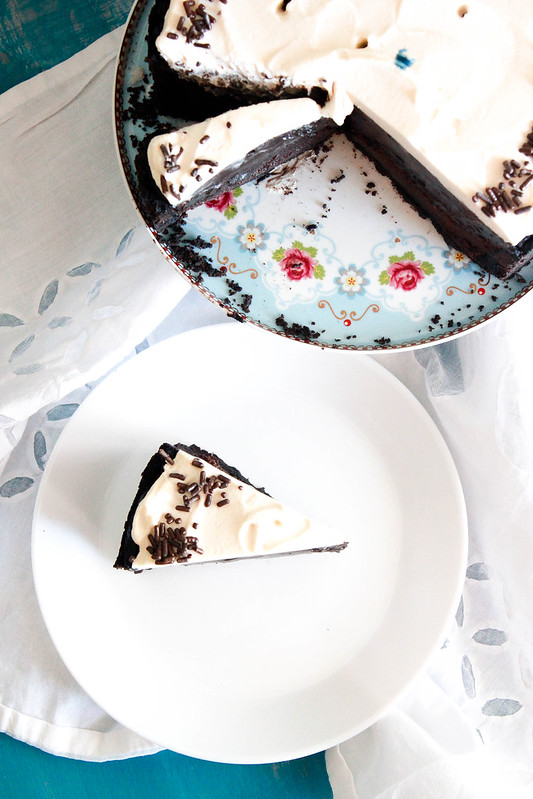
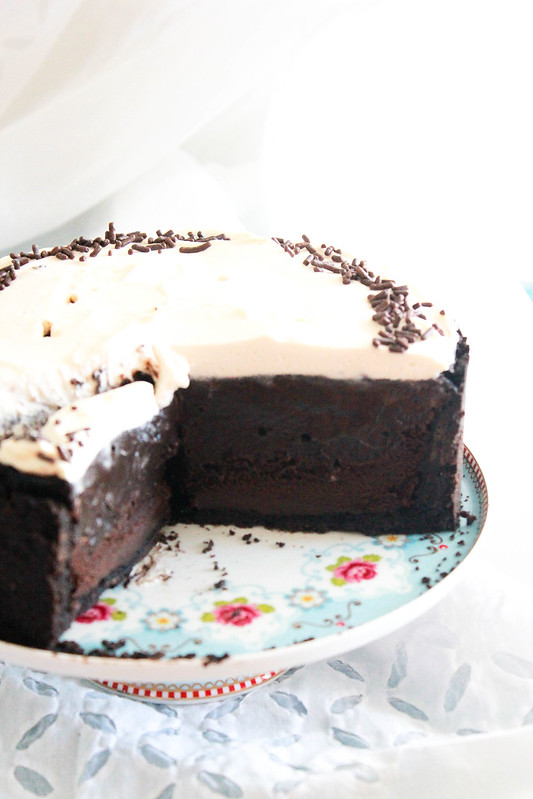
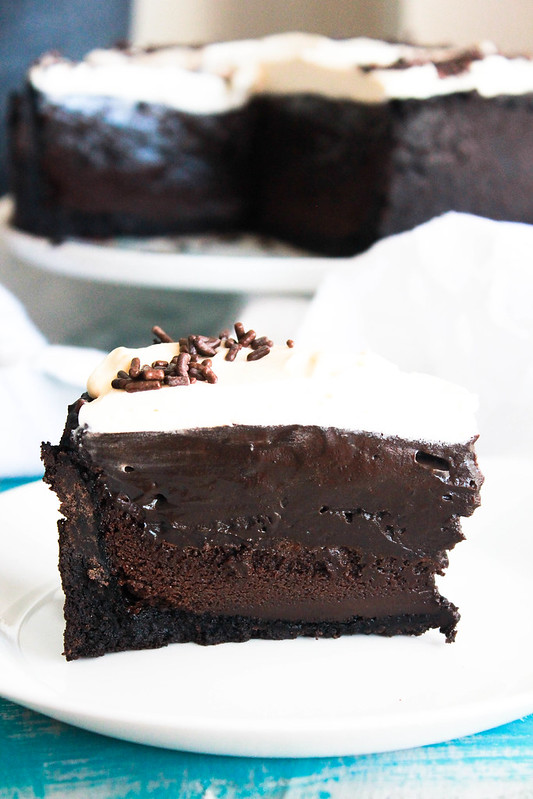
Makes a 9inch super rich cake

Ingredients:
Crust
40 Oreo cookies
5 tablespoon unsalted butter

Flourless Chocolate Cake
1 cup (6 oz) semisweet chocolate chips
1/4 cup unsalted butter
1/4 cup water
1 tablespoon cocoa powder
1/4 teaspoon salt
1 tablespoon vanilla extract
6 large eggs at room temperature, separated
1/2 cup packed brown sugar
1/2 cup granulate sugar

Chocolate Pudding
3/4 cup granulated sugar
1/2 cup cocoa powder
1/3 cup cornstarch
1/4 teaspoon salt
4 egg yolks
2 1/2 cups whole milk

3 tablespoons unsalted butter
1/2 cup (3 oz) semisweet chocolate chips
2 teaspoons vanilla extract

Whipped Cream
1 1/4 cups heavy whipping cream
3 tablespoons granulated sugar

Method:
Crust : Grease the sides and bottom of a 9inch springform pan and set aside. Powder the cookies,cream and all, to a fine powder. Add the melted butter to it and mix well using a fork. Press it into the base and sides of the prepared tin. The crust on the sides should come within 1/2 inch of the top of the pan. Now preheat your oven to 300 F and put the prepared crust into the freezer for 10 minutes.Once the oven is preheated, remove the frozen crust from the freezer and bake it for 10 minutes. Once baked, remove from the oven and set it aside to cool.

Flourless Cake : Increase the oven temperature to 350F. Melt the chocolate and butter using a microwave. In a small bowl, mix together water,cocoa powder, salt and vanilla. In a large bowl using an electric mixer, beat the egg yolks and brown sugar on medium high speed for 5 minutes until pale and fluffy,double in volume. Add the melted chocolate and mix until just combined,scrape the bowl and mix on low speed for 5 seconds longer.Scrape down the sides and add the water mixture.Beat until just combined. In a separate bowl, whip the egg whites until foamy. Gradually add the 1/2 cup sugar and beat until soft peaks form. Gently fold the whites into the egg yolk mixture,1 cup at a time and transfer the cake batter into the cooled crust and bake for 38-40 minutes or until the sides have set and the centre is still a bit jiggly. Take it out and let it cool completely. Cover the tin tightly with a plastic wrap and let it chill in the fridge overnight.

Pudding: In a medium saucepan, mix together sugar, cocoa, cornstarch, salt and egg yolks. Drizzle the milk in and whisk to mix. Cook over medium heat until thick and glossy. Take it off the heat and add in the butter, chocolate and vanilla.Transfer the pudding to another container let it cool down for 15 minutes.Then press a plastic wrap over it and let it chill in the fridge overnight.

Whipped cream : Whip the heavy cream with sugar using an electric mixer until stiff peaks form.

Assembly : Take the chilled pudding out of the fridge and give it a quick whisk. Pour it over the chilled cake - cookie layer. Top it with whipped cream. Garnish as desired. Slice the cake (use a hot knife for a clean cut) and enjoy!
Mississippi Mud Pie Cake
I think that's the longest recipe I've typed so far! This cake is not for the calorie conscious,it is rich in every sense of the word. I think this is by far the most chocolate-y thing I've eaten. One slice was enough for me. If I were to eat another one,I would have fallen asleep right where I was sitting! :-)
Once I figure out where our tripod is, my family of 4 can fit into one frame. Until then, it will only be the birthday girl /boy with the other two :-)
Related Posts Plugin for WordPress, Blogger...