This recipe is the bomb! I was happily satisfied with
Monica's Dad's Butter Chicken recipe for all these years and then I came across this recipe and decided to try at home. I was bowled over by it so easily for it's taste, texture and perfect balance of spices. It is exactly what we get in a good quality Indian restaurant. It is not greasy and does not use a whole lot of butter or cream,unlike the name Butter Chicken.
When I read
Marzia's recipe for the first time, she mentioned that this recipe came from her aunt who worked at an Indian restaurant many years ago.That was the main reason for me to try this recipe out. I remember asking my Chef at Hyatt for a Restaurant Style Butter Chicken recipe because he had worked at an Indian restaurant many years ago. Things got so busy during my time at Hyatt that I did not follow up with him on that recipe after our conversation.
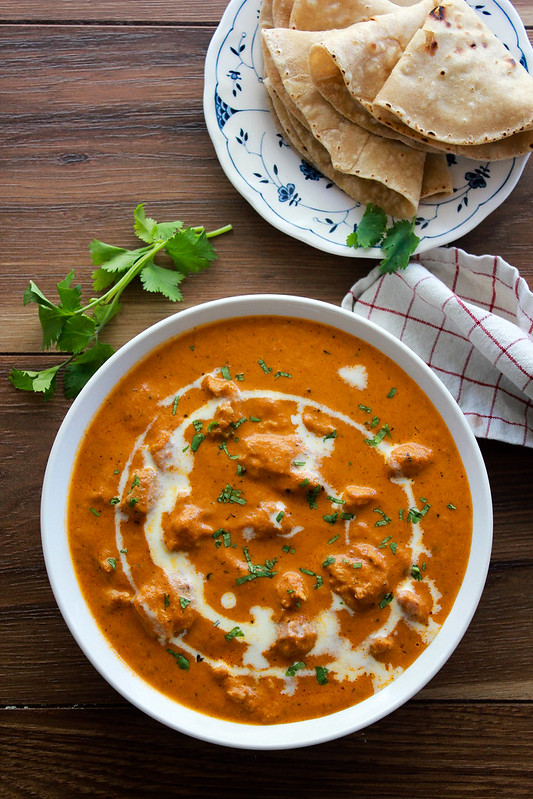
This recipe calls for canned crushed tomatoes. When I tasted it, it tasted of tomatoes without the tang. It was perfectly balanced which I think is the secret to this curry. If you were to make it at home, I would suggest that you blanch the tomatoes,remove their skin and seeds and puree them. The canned tomatoes were deep red in colour which gives the sauce a wonderful hue without the need of additional food colour.My hands were not stained after eating it which usually happens if you eat out at a place which depends heavily on food colour.
Have you tried your hand at my
Homemade Tandoori Masala yet? That's what I used for this curry. I never buy Tandoori Masala because most of the brands that I've tried just don't have that right flavour. This one is really good! Try it for yourself and see the difference it makes in your curries.
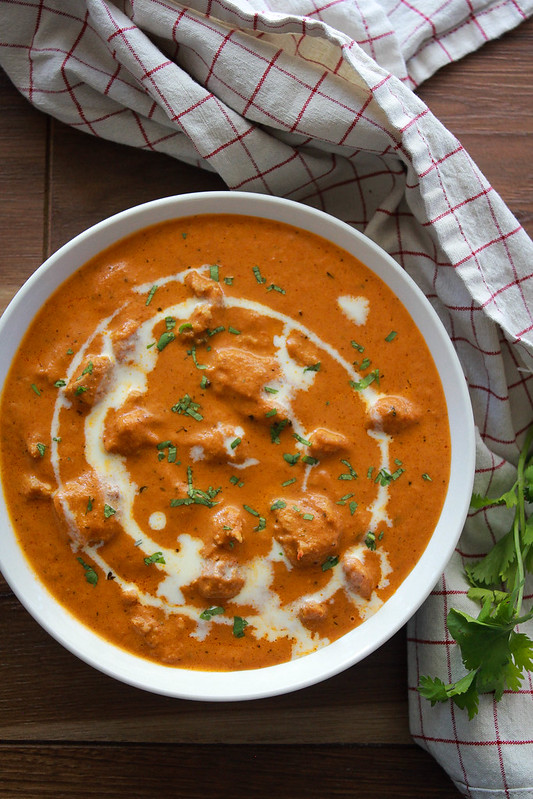
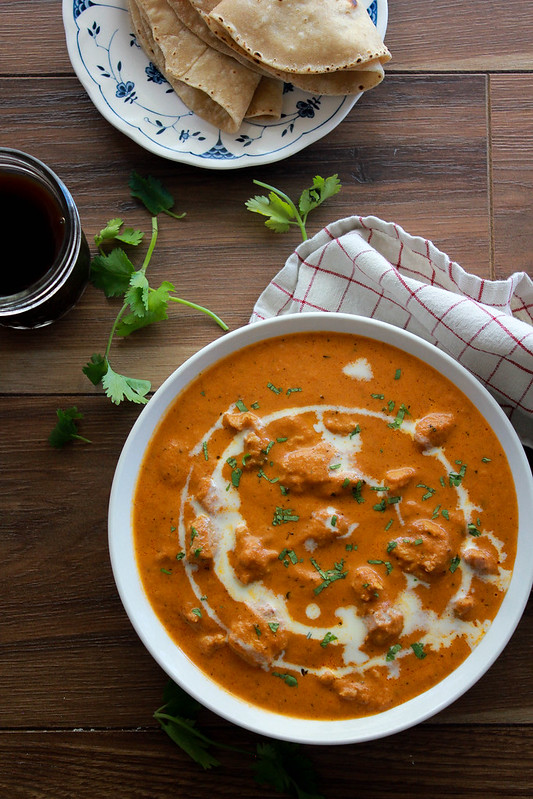
RESTAURANT STYLE BUTTER CHICKEN

Serves 6
Ingredients:
1 pound boneless skinless chicken thighs, cut into 2 inch cubes
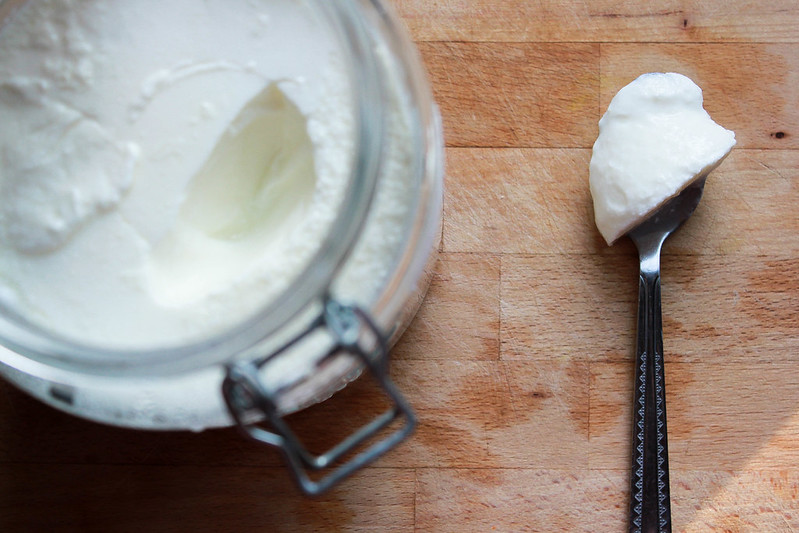
1/2 cup thick yogurt
1 teaspoon ginger paste
1 teaspoon garlic paste
1/2 teaspoon salt
2 tablespoons
Homemade Tandoori Masala
1 tablespoon oil
For the sauce:
3 tablespoons
Homemade Ghee (or butter)
1 large onion, thinly sliced
1 1/2 teaspoons ginger paste
1 1/2 teaspoons garlic paste
1 14 ounce can crushed tomatoes
1 teaspoon cayenne
1 1/2 tablespoon coriander powder
1 1/2 teaspoon cumin powder
1/2 cup heavy cream
1/2 teaspoon garam masala
1/4 teaspoon Kasuri Methi
Sugar
Method: In a bowl, mix together tandoori masala, ginger,garlic and yogurt. Whisk until smooth. Adjust seasonings to taste and add the chicken. Let it marinate for a minimum of 20 minutes or upto 24 hours in the fridge.
For the sauce:
Heat 2 tablespoons of
homemade ghee in a heavy bottomed pan over medium heat. Add the onions and saute until translucent,about 5-7 minutes.Make sure you don't brown it. Add the ginger garlic paste and saute for 30 seconds,stirring constantly so that they don't burn. Add the tomatoes and spice powders and cook for another 5 minutes. If the mixture thickens up and literally spits on you,add 1/4 cup of water and mix it in.Take it off the heat and once cooled, blend it to a fine paste. You can at this point store the sauce in the fridge for upto 48 hours or freeze for upto 3 months.
When you are ready to make the curry,heat the remaining 1 tablespoon of
homemade ghee in a heavy bottomed pan and add the marinated chicken pieces to it.Discard any excess marinade. Cook for 5-7 minutes stirring every now and then to brown the pieces. Add the blended sauce to it and bring it to a boil.Add the cream and garam masala and let it heat through. Add the crushed Kasuri methi, a pinch of sugar and turn off the stove. Serve hot!
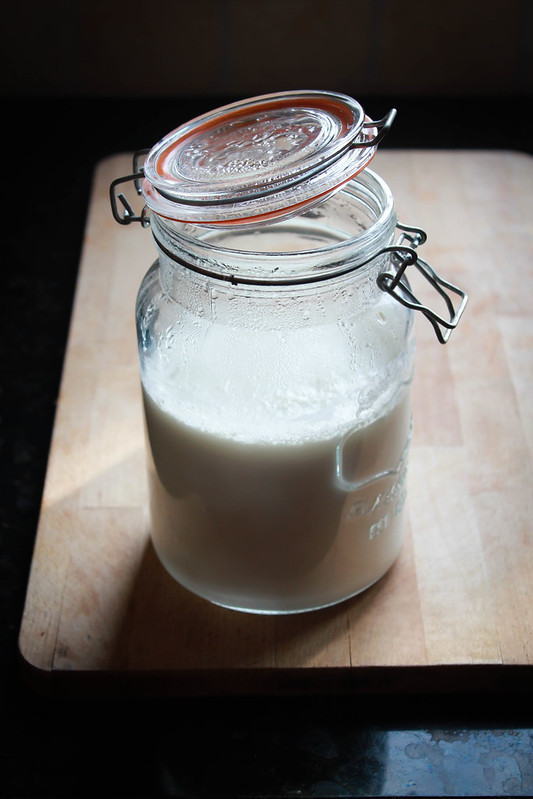
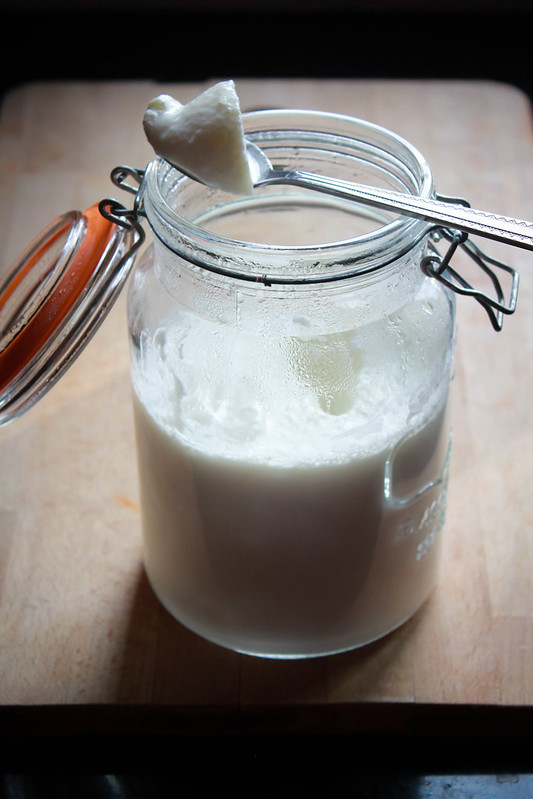
As I was typing the recipe, I realized that I needed to tell you all about making
Ghee at home. It's super easy and super economical. When I was home in Kannur, I tried to do the math and felt that there was not much difference in buying butter and making that into ghee. Here, it does a make a lot of difference! The best part is you can choose what kind of butter you want to use. The choice is entirely upto you! Amma makes ghee by collecting the cream from the milk every day.
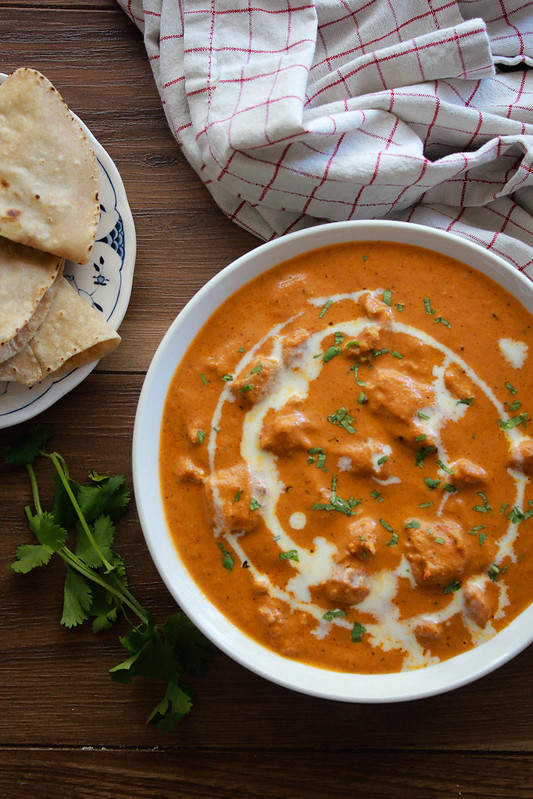
Anyway, this curry is phenomenal! Try it sometime and let me know how you liked it. Like how I mentioned in the recipe, I felt the need for a good pinch of sugar to give it a well rounded flavour that we are kind of used to. Otherwise, you might feel that there's something missing. One more thing that I liked about the recipe is that you don't have to necessarily grill the chicken separately. It still lends a beautiful flavour without doing so. When I served this curry to Jobin, he also agreed that it tastes just like how we get in restaurants.So maybe I should seriously quit trying anymore new recipes for making a Butter Chicken! Oh yes, one more thing...this curry tastes better as it sits in the fridge overnight! So it's a perfect make ahead curry,perfect for weeknights and weekends!