Ria's Collection: Easy recipes
Showing posts with label Easy recipes. Show all posts

Wednesday, May 9, 2018

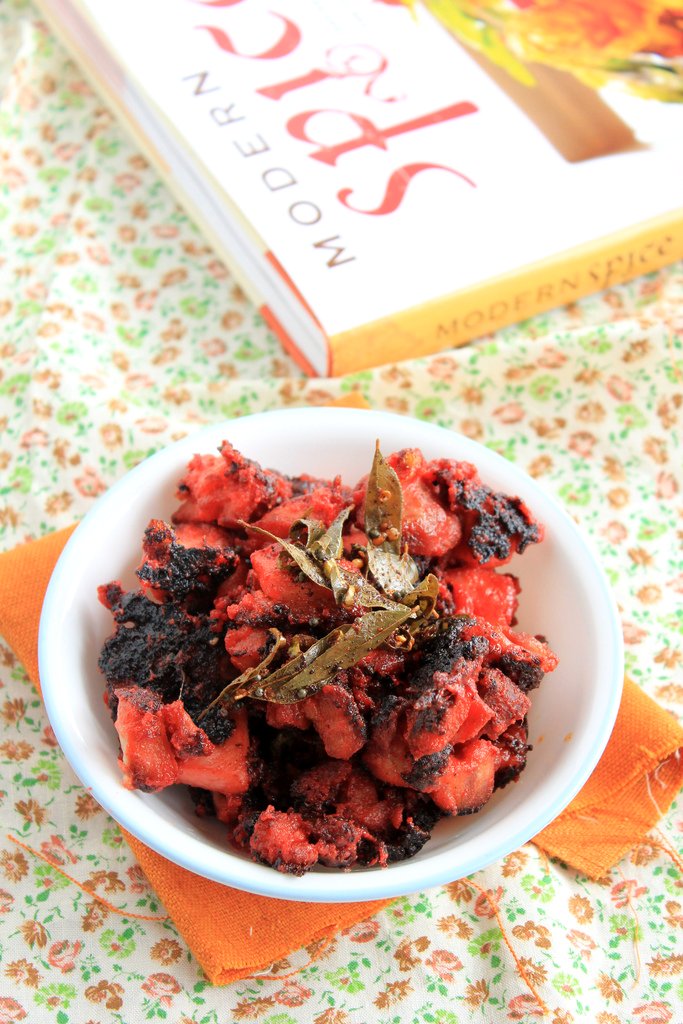
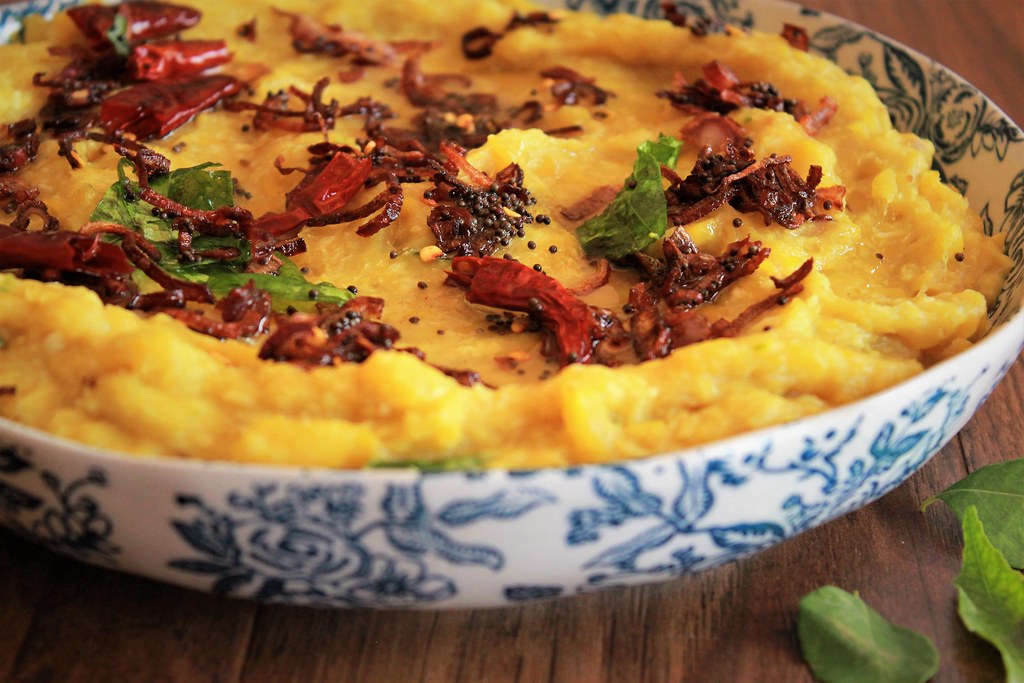
CHAKKA KOZHACHATHU

Chakka Kozhachathu
Hello everyone! I am back after 5 months of hibernation.Our Winter this year was so long and all I wanted to do was to curl up on the couch under my favourite throw and do nothing! I was just plain lazy to shoot any new videos or even write a recipe post here. Appa and Amma were with us for Christmas and they left in February. So blogging or video shooting at that time is out of the question! I try to cherish every minute of family time when we are together. Kids had the time of their life with grandparents around. Ian and Zara have grown a LOT. Zara speaks quite a bit,loves to snack and would tell me exactly what she feels like eating. Off late,she will just go grab what she wants and how much she wants. I just need to give her a 'Pate' to hold her stuff. It's hilarious to watch her grow. She is very expressive so sometimes it's like watching a live comedy show .

The thought of getting back to blogging took me a while because it's so competitive now. It's only about numbers, likes, post engagement, SEO and the likes. I do not care for it but when I hear all of this, it's like do people even write just for the one reason they began a blog...the love for cooking and sharing!

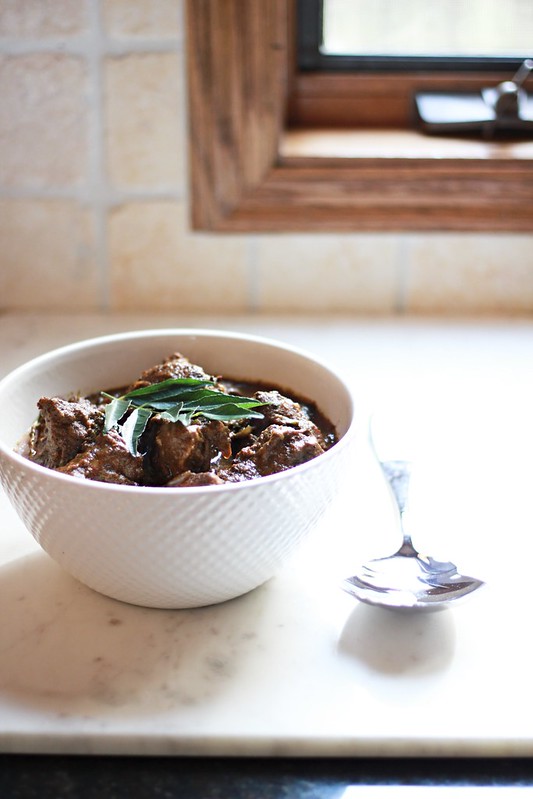
Anyway. Here's a quick and easy recipe for a naadan dish that I recently made for Jobin because he loves Chakka Kozhachathu with Kozhi Curry and has been asking me for the last 7 years. So I decided to make it for his birthday week. He was surprised and enjoyed every bite of it!
CHAKKA KOZHACHATHU
My own recipe
Chakka Kozhachathu
Ingredients
:
750 g raw jackfruit *,deseeded & thinly sliced
1 teaspoon turmeric
1 cup grated coconut
4 green chilies
1/4 teaspoon cumin seeds
1 teaspoon mustard seeds
4 pearl onions, sliced
3 dry red chilies
1 sprig curry leaves
1/4 cup coconut oil
Salt

Method: Pressure cook jackfruit along with turmeric, salt and 1 cup water for 5-6 whistles or till it is completely cooked and mashable.Roughly grind together coconut, green chilies & cumin seeds along with a tablespoon of water, if needed. Add the ground paste to the cooked jackfruit and mix well. Adjust salt and add water to loosen the mixture if needed.
In a pan, heat coconut oil and splutter mustard seeds. Add in the pearl onions and fry till golden. Add the curry leaves followed by dry red chilies. Turn off the heat and pour the tempering over the jackfruit mixture.
Serve hot with fish curry or chicken curry.

* I used frozen raw jackfruit. It worked really well.
I know, this post has only one photo. I just didn't feel like taking more. :-)
So what's been up with you all? It's been a very long time since we spoke! Update me,friends!
Wednesday, November 15, 2017

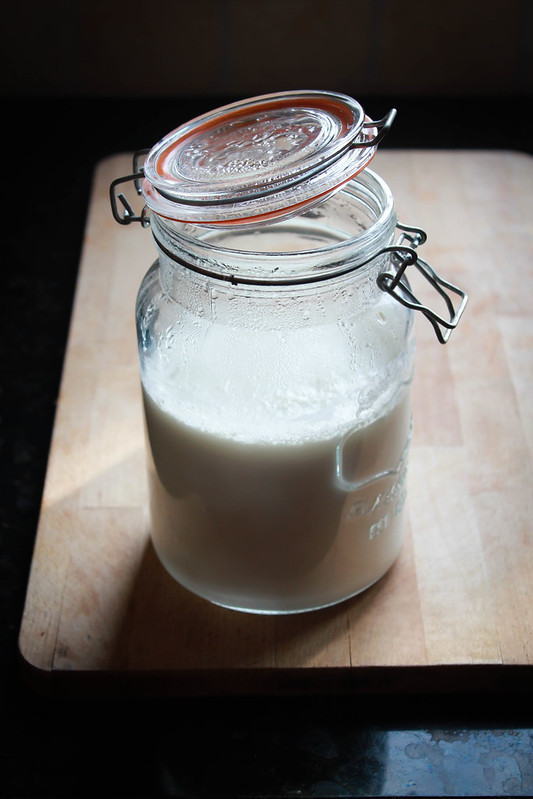
FAIL - PROOF HOMEMADE YOGURT (with video!)

Fail - Proof Homemade Yogurt
Eevery single time I've shared my yogurt photos and videos on my Instagram account,my inbox would get jammed with recipe requests. As much as I would love to send each one of you my method for it, it's literally not possible to reply to individual recipe queries these days. Only after reading all of those messages did I realize that a lot us have struggled or have been struggling with making such a healthy,easy and favourite recipe of ours at home.

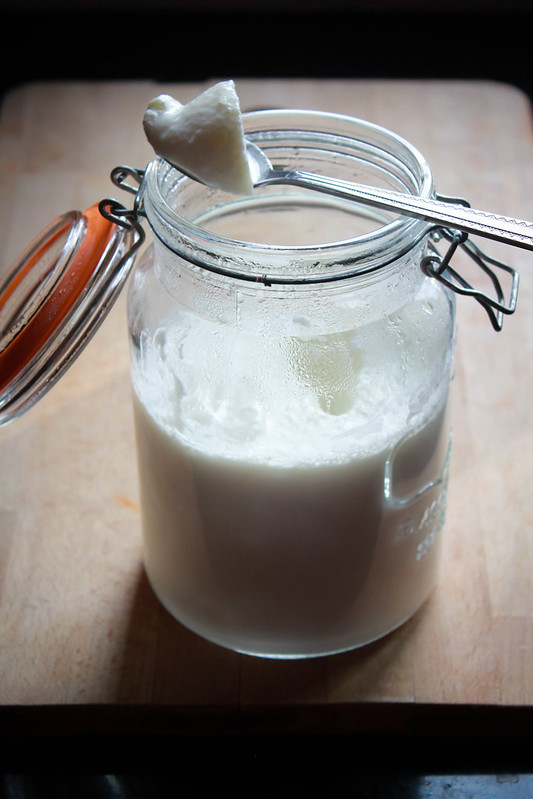
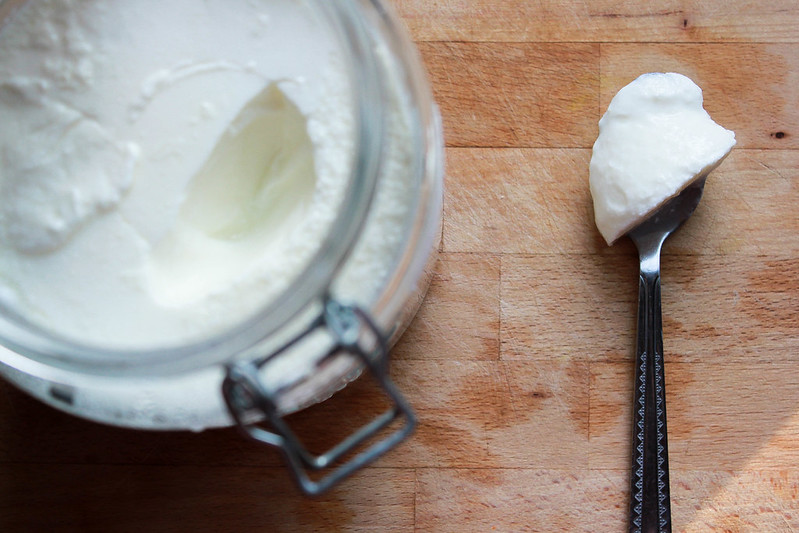
This method is super simple and it has give me consistent results every single time. I also use another method to make it but that's for another post,maybe. Currently, this method is the one I am totally obsessed with! It gives you that picture perfect, upside down-able yogurt!

Fail - Proof Homemade Yogurt
The only point where you could go wrong is with the milk temperature before adding the in the starter. The milk should be just barely warm,like a baby's bath water. You might think it's too cool for the starter to work but it will. It should be that temperature where you would like to soak your feet in after a long day at work,warm but barely so. If you have a thermometer, it should be between 40-50F. Stay on the higher end because when you add the starter,it will bring the temperature down.
Fail - Proof Homemade Yogurt
Talking about starters. If you are like me, just buy a tub of yogurt which has 'Active Live Cultures' written on it.Just use that. But if you are like those lucky ones who can get hold of some homemade yogurt,use that. Both works... the same way! Thanks Biana for sharing your method with the rest of us!

FAIL - PROOF HOMEMADE YOGURT
Fail - Proof Homemade Yogurt Makes 4 cups

Ingredients:
1 litre whole milk
50 grams yogurt

Method: You can watch the video to see the process I have explained in detail. Preheat the oven to 100 F and turn it off. Place the wrapped yogurt container in it and let it set. It can take anywhere between 6-8 hours. If you do not have an oven, you can leave it outside the oven in a warm spot.
Ian and Zara love yogurt! It's one of their snack. Ian gets super excited every time I tell him I made some at home. This is a very easy way to make extremely creamy and thick yogurt at home. I hope you give it a try and if you do, don't forget to report back! :-)

Wednesday, November 8, 2017

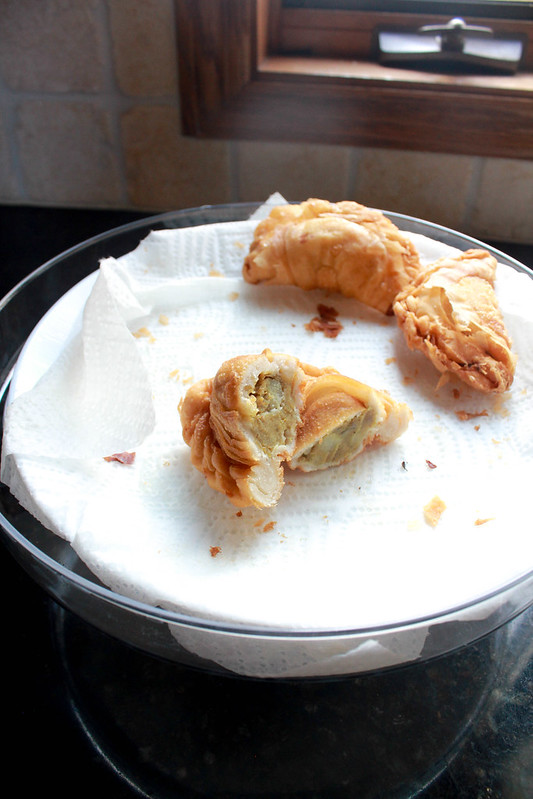
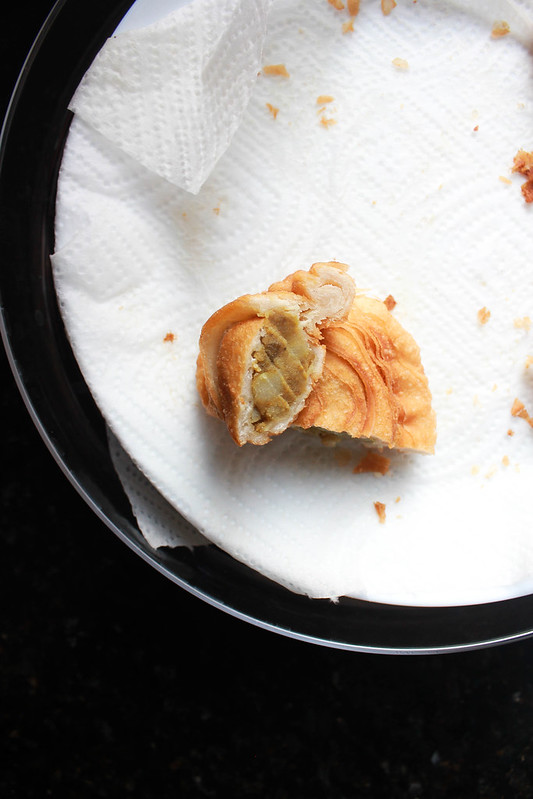
MALAYSIAN CURRY PUFFS (with video!)

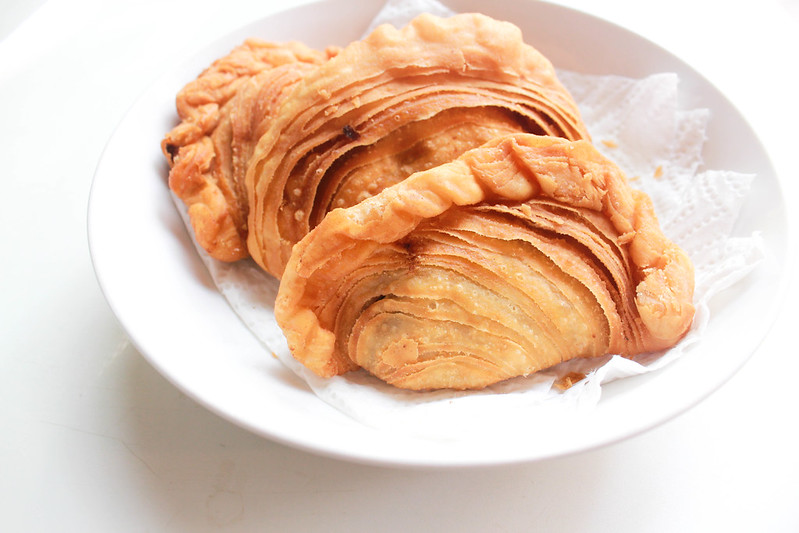
Malaysian curry puffs
Did you know that I have a Malaysian connection? Appa and his siblings grew up in Malaysia till he was about 8 years old. My Grandfather was working there before they moved and settled in Kannur. Mamma,my paternal Grandmother who was an awesome cook learnt a lot of dishes from her cook there and Mamma would cook those dishes for us every now and then. Nasi Lemak was a staple in our home. She would try out so many Asian recipes from her cookbook and would call us over for dinner. I fondly remember how Mamma would make ' Vella chorum Kozhiyum' / Steamed Rice & Chicken for us (which everybody adored!) and I would refuse to eat it because there would a lot of vegetables in the chicken dish. I was never up for eating vegetables as a child.

I would then go and lay down on her bed,with the bedroom door wide open and look at everyone sitting by that big 12 seater dining table enjoy the meal Mamma lovingly made for us. I must mention that I was laying down on her bed and sulking! I can still picturize that dining room and those dim lantern lights hanging low over the table giving it such a cozy feel serving the food I never enjoyed and couldn't ever enjoy as a child.

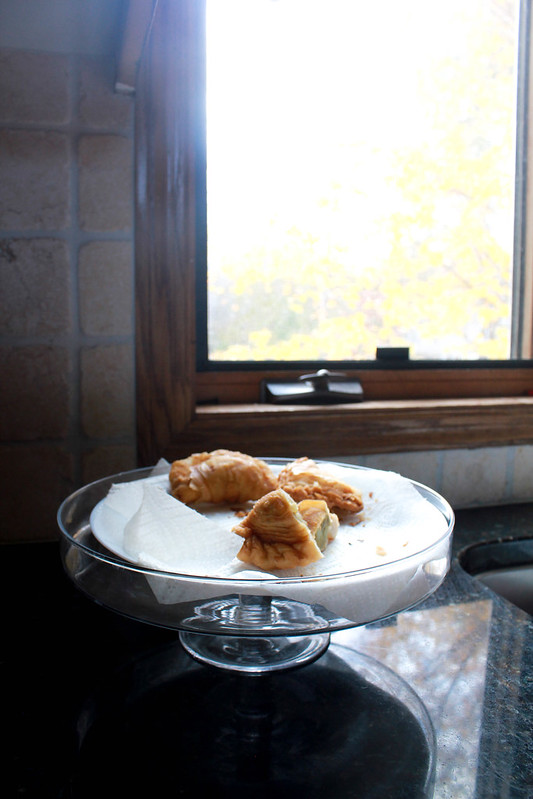
Malaysian curry puffs
Things have changed so much! I wholeheartedly enjoy vegetables now and that 'Vella Chorum Kozhiyum' is one of my most favourite things to eat!

Whenever we bought puffs from a bakery, Appan would mention about a 'Curry Puffs' that they relished in Malaysia. I remember Mamma calling the usual bakery puffs as Curry Puffs,maybe with her fond memories from her past. I also remember Appan telling me that it looked different and was flaky with a delicious filling inside. Those were the days when there was no internet. But that name stuck with me for all these years.

Malaysian curry puffs
One day, I just decided to do a quick search online and came across so many beautiful photograhs of it! They were so easy to make but looked intricate. I used this recipe for the shell and came up with a filling on my own. I decided to give the puffs a try and there was no looking back. They are phenomenal! It is honestly one of the best things I've made in the recent times and something that I don't mind making over and over again!

Malaysian curry puffsMALAYSIAN CURRY PUFFS
Makes 18-20 pieces

Ingredients:
Pastry shell
Oil dough
300 grams flour
1/2 teaspoon salt
1 tablespoon oil
3/4 cup plus 1 teaspoon warm water

Butter dough
150 grams flour
70 grams butter,room temperature

Filling
2 cups potatoes,diced (I used 2 large potatoes)
1/2 cup onions,diced
3 cloves garlic,grated
1 1/2 tablespoons Curry Powder ( You can use any storebought chicken/meat masala)
2 tablespoons Oyster sauce,optional ( I use Pantai brand)
3 tablespoons oil
Salt as needed

Method:
Please refer the video for the pastry shell directions. Once the dough is made,cover and let it rest for 30 mins. This helps in relaxing the gluten in the flour .While rolling out, don't roll them too thin,the layers will become one and you will not get the flakiness.

Filling: Heat oil in a saute pan on medium-high heat and saute onions until translucent,about 2 minutes.Add the grated garlic and cook for 30 seconds. Reduce the heat and add the curry powder. The mix might look dry,it's okay. Add the potatoes and toss well to coat with the spices. Add about a cup of water and cook it covered until the potatoes are soft. Add more water if needed. Once it's cooked, add the oyster sauce and cook for another minute. Mash it gently while it's cooking. Check for salt. Some brands of sauces are very salty, so don't add too much salt in the beginning. Wait for the filling to cool completely before you fill the shells.

When I shared it on Instagram, Appan commented saying they looked much better than the ones he remember from Malaysia. Jobin LOVES it and so does the kids! Ian eats 4 at a time and Zara almost 2. I am not even going to tell you how many I ate! :-) They are wonderful and I hope you give them a try.

Tuesday, October 4, 2016

STRAWBERRY BUTTERMILK CUPCAKES with STRAWBERRY BUTTERCREAM FROSTING


Strawberry Cupcakes with Strawberry Buttercream Frosting
I know Summer is almost a year away (sadly!) but that doesn't stop me from baking with berries as long as I can get hold of some good ripe ones. I've been eyeing these Fresh Strawberry Cupcakes from Jaclyn's blog for the longest time now and there's no other perfect time to bake them than October as it's the breast cancer awareness month.It reminds me of all the pink goodies I used to see back in the day,when my blog was little during October. Now, I honestly get zero time to blog hop which in a way is good,since all those posts would make me want to recreate them all at home and everything eventually will find it's way to my hips!

Strawberry Cupcakes with Strawberry Buttercream Frosting
These cupcakes are very moist and so full of fresh strawberry flavour,both in the cake and frosting. They are light and uses two egg whites along with a whole egg in the cupcake batter,which I think is a smart move to make some very light cupcakes. I tried them straight out of the oven,literally burning my hands as I held them...they were so good! Light and fluffy like clouds! Recipe testing with Amma is always fun as we hold our breath together while tasting what we made, to see and feel if it has turned out the way it described itself to be. These cupcakes were worth it's time and effort.

Strawberry Cupcakes with Strawberry Buttercream Frosting
Many of you must have already heard about Susan.G.Komen and her initiatives.This October, you can make a difference just by baking and sharing cupcakes.Join KitchenAid to support Susan.G.Komen. Learn more here!

STRAWBERRY BUTTERMILK CUPCAKES with STRAWBERRY BUTTERCREAM FROSTING
Strawberry Cupcakes with Strawberry Buttercream Frosting Makes 16 cupcakes

Ingredients:
Cupcakes
1 2/3 cup cake flour
3/4 teaspoon baking powder
1/4 teaspoon baking soda
1/4 teaspoon salt
1/2 cup unsalted butter, softened
3/4 cup + 2 tablespoon granulated sugar
1 large egg
2 large egg whites
1/3 cup fresh strawberry puree
1/4 cup buttermilk
1/2 teaspoon vanilla
5 drops red food colour (optional)
1/2 cup diced fresh strawberries

Buttercream
1/2 cup + 2 tablespoon strawberry puree
3/4 cup unsalted butter
a pinch of salt
2 1/2 - 2 3/4 cups powdered sugar
1/4 teaspoon vanilla
4 drops red food colour (optional)

Method:Preheat oven to 350F and prepare a muffin tin.

Cupcakes:In a small bowl, whisk together flour, baking powder, baking soda and salt. Mix together buttermilk, colour and puree in a another bowl.In a large bowl, beat butter and sugar on high speed using your KitchenAid hand mixer until creamy and pale. Add in the whole egg and mix well to combine. Add in the egg whites one at a time and beat in well. Add the flour and buttermilk mixture alternately and gently mix it in. Fold in the diced strawberries and divide the batter among the lined muffin tin (about 1/3 cup full) and bake for 18 - 20 minutes.Let the cupcakes cool in the tin for several minutes, then transfer them onto a wire rack to cool completely.

Frosting: Cook the strawberry puree in a small sauce pan over medium low heat until it reduces to 3 tablespoons, about 15 minutes. Chill it well.
Cream butter and salt until almost white. Add the strawberry puree, 1 cup of powdered sugar and vanilla. Beat well to mix. Add in the remaining sugar and beat well.If your buttercream is stiff, adjust the consistency with heavy cream. Frost the cupcakes as desired.
Ian has his favourite flavour picked out for a cake,which by the way is Chocolate. He asks for the same old chocolate cake and chocolate brownies,so I rarely make any other flavour these days . If it's a Marble Cake,it's okay with him but other than that, if I were to give him a choice, he would always go with his most favourite flavour. So when I baked these, I made a separate batch of chocolate cupcakes for him. Even then, when he saw these pink cupcakes, he grabbed one and then he ate another one before bed. Today, as soon as he was back home from his Montessori, he casually walked past by the cake box and picked out one for himself.

I think that can only mean one thing, these turned out pretty good!

Thursday, May 21, 2015

A BOOK REVIEW & GIVEAWAY!

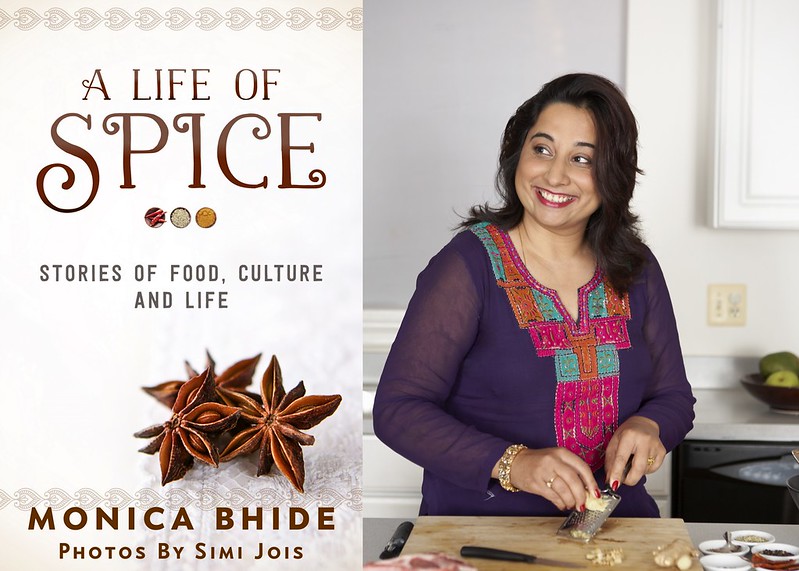
The first time I heard about Monica Bhide was through Twitter.That was when her latest cookbook, Modern Spice just hit the stands. From then on, I was hooked onto her recipes and stories. We became friends on Facebook and I must say,we have been enjoying each other's company over the years now. When she asked me if I could review her latest book, A Life of Spice,I was humbled and excited at the same time. She even sent me a paperback copy for myself and FOUR for you guys!
Monica Bhide
This book has the most beautiful stories about food and culture. I am a person who cooks to create memories and to relive my beautiful past.When I read through all the chapters in the book, I felt the same about Monica. I could relate so well with her. Some stories were so powerful that it brought tears to my eyes especially the one about her father's childhood in Multan. Some were so light and jovial that I laughed out loud. I must say, I couldn't keep this book down and I finished it in one go.
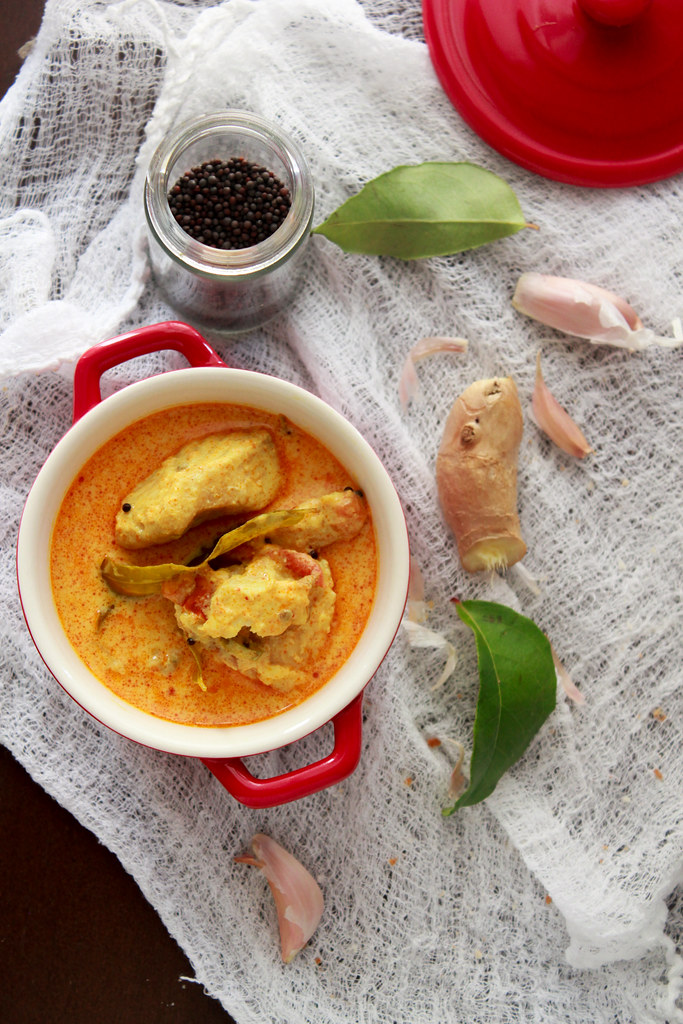
Creamy Tomato & Coconut fish Curry
                                Creamy Tomato & Coconut Fish Curry from Modern Spice (click for recipe)

I have so much to talk about this book because it connected me so well with my past. The stories about her Grandmother's house had me dreaming about my childhood in Mamma's kitchen. When she went back to Old Delhi with her little boy to show him her Grandmother's house, all they could see were rubbles.It brought tears to my eyes as I know how it feels since our Pallikuttumma house is no more.I try not to think about it because of the fear that the happy memories might vanish with the lack of the house there.I might be wrong but I don't want to take a chance.
Chicken 65

Since she has given you all a chance to win one of the FOUR copies, you really should try your chance. This is one book you will cherish for the rest of your life. A book filled with stories about food and life that can transport you to your beautiful past. Thank you Monica for writing a book like this. I feel I have been able to relive the good old days and didn't want the book to end. I wanted more.I still want more.
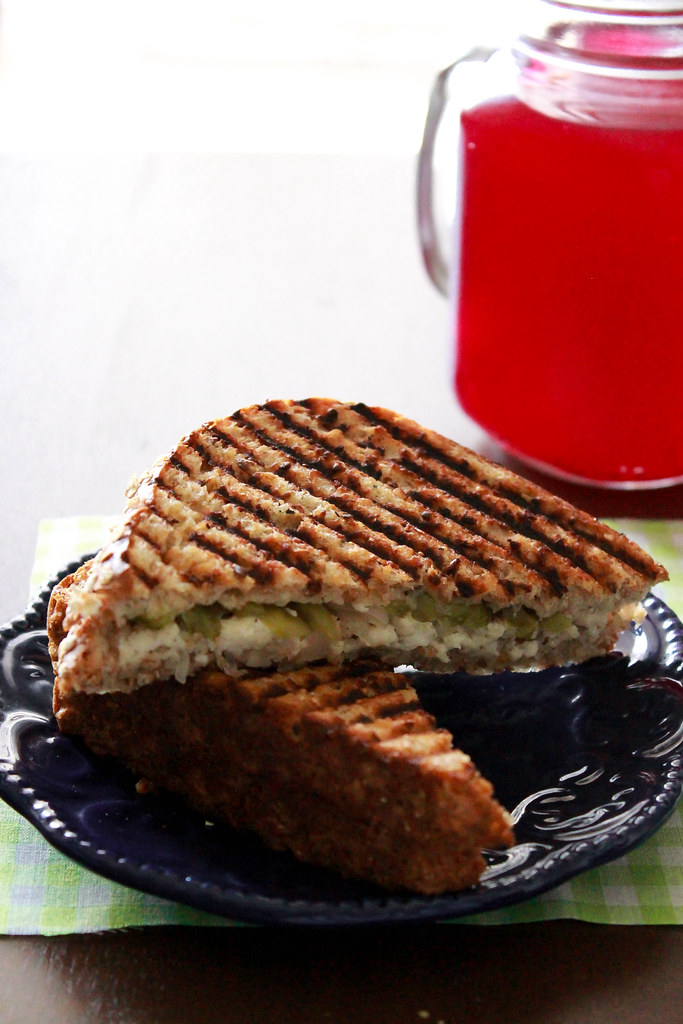
SPICY GRILLED PANEER SANDWICH
                              Grilled Spicy Paneer Sandwich from Monica's website (click for recipe)

After reading it all and staring at our white popcorn ceiling, I was wondering how it would be to live inside Monica's head for a day! :-) We think alike in many ways. In one chapter,she discusses whether the food is better if it's cooked in a glamorous kitchen.In another chapter,she talks about the ghosts of the cakes past.I could relate to it so well because of my Idli adventures. My Idli's are usually spongy soft, porous and feather light.It wasn't the same for the past almost 3 months. I tried and tried. I would soak rice and dal every other night. The batter never fermented.I even started to doubt my cooking skills. I made batters of different consistency at the same time.My kitchen looked like a research lab.Finally, I found the culprit. The brand of urad dal I was using was of poor quality.I changed it and my Idli's were back to where it belonged...into my hot case /Casserole...instead of the trash can.

For a chance to win this book
1. Leave a comment on this post saying why you would like to win Monica's book.
2.'Like' my Facebook page. You can use the widget on the right hand side or you can click here.Do come back and tell me in another comment that you did so :-)

You can choose to do one or both of the above mentioned options. If you do both, you have doubled your chances of winning a copy!

This contest is open to all but the copies can be sent only to a US address.
Contest is open till 1 June,2015.


Wednesday, July 30, 2014

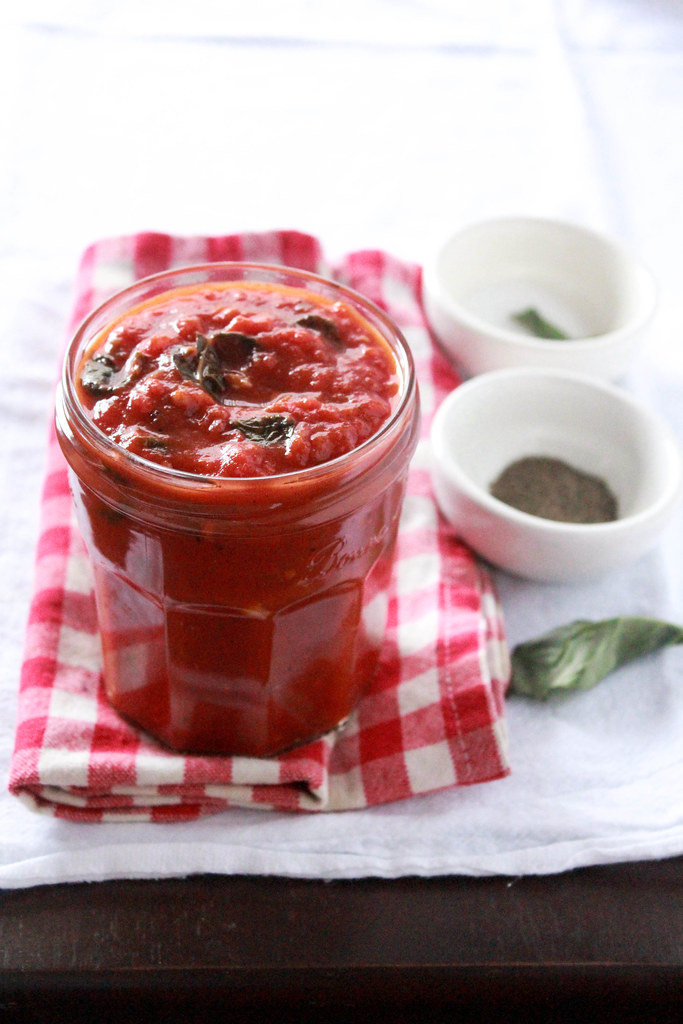
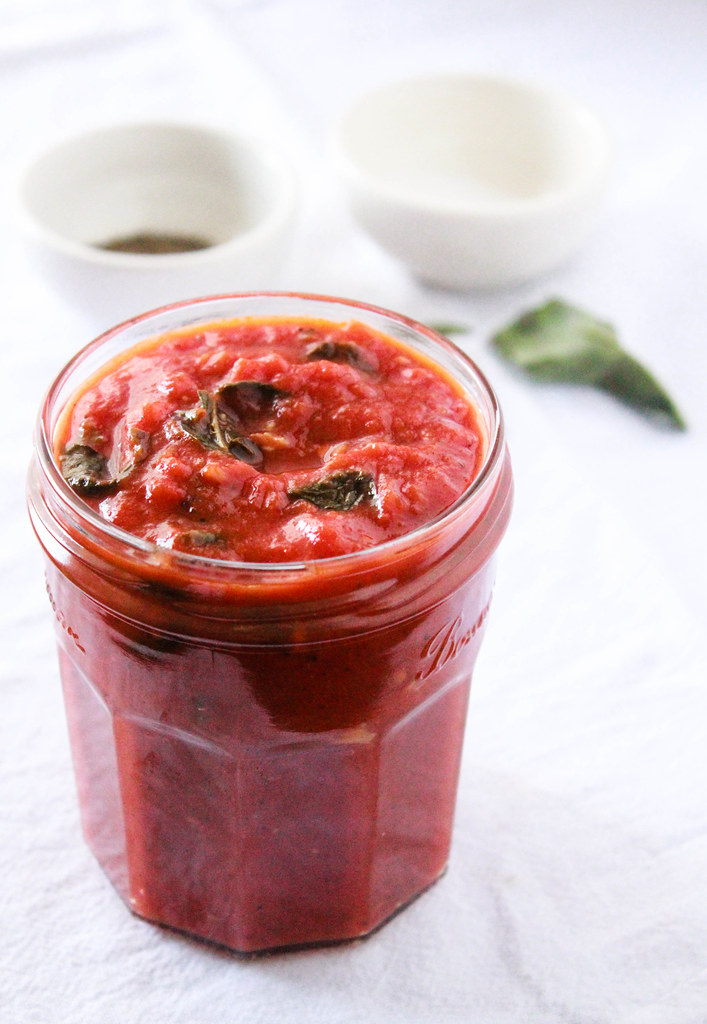
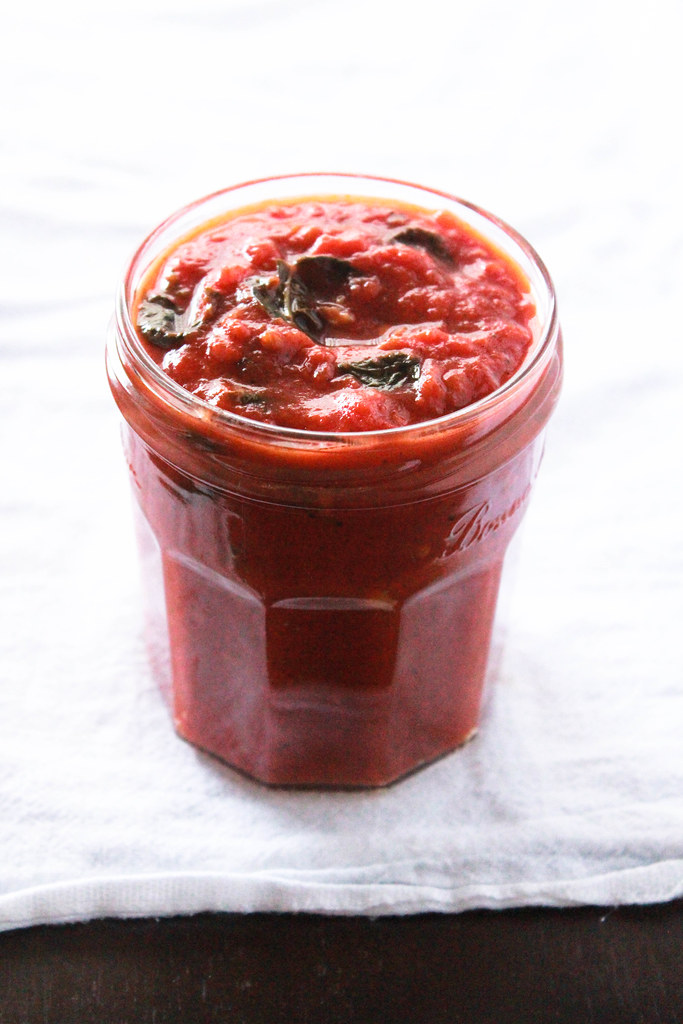
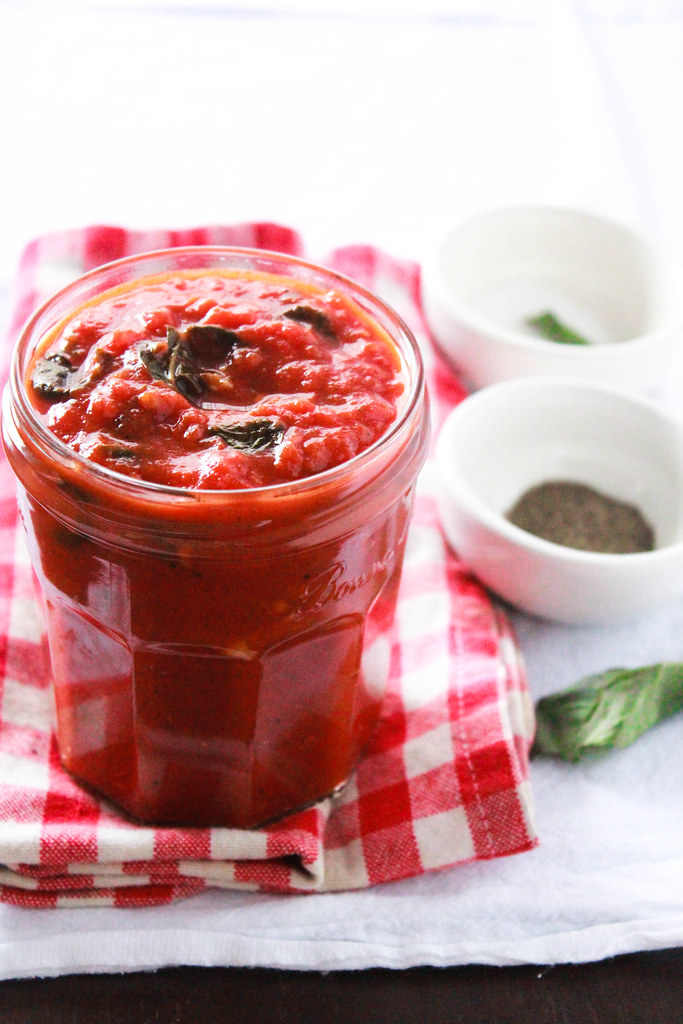
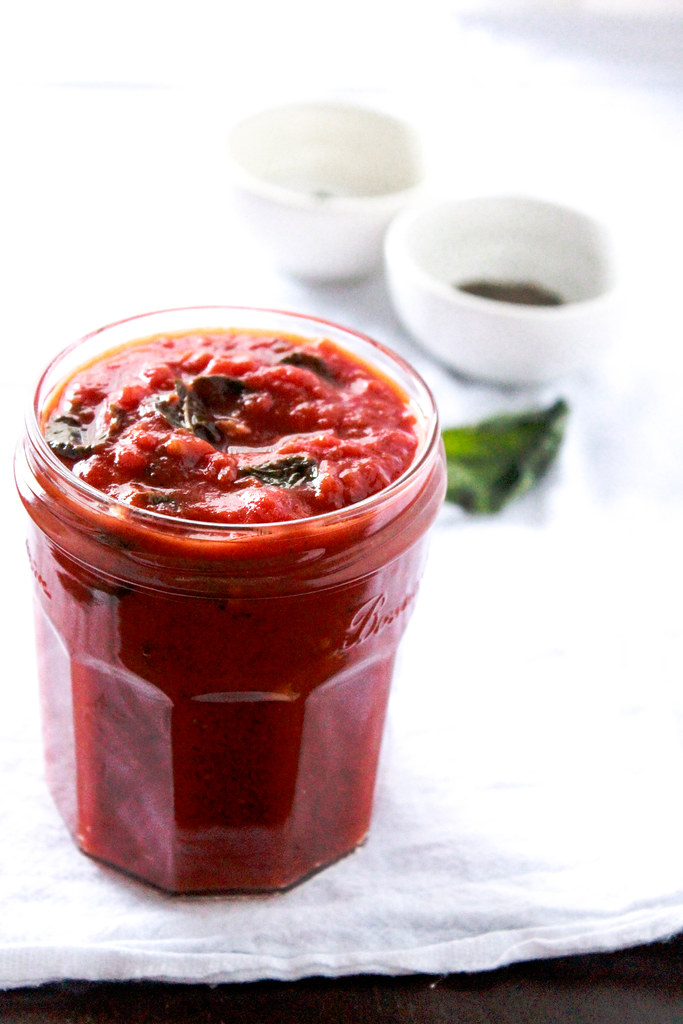
20 - MINUTE HOMEMADE MARINARA SAUCE

20 MINUTE MARINARA SAUCE
I try to cook food from scratch as much as I can. But, having said that, I do take shortcut methods when I am pressed for time or when I cannot keep my hands off of trying a recipe which calls for shortcut ingredients.We have decided to go local as much as we can so we buy a lot of ingredients for our daily cooking from the local Co-op. Off late, I am reading a few cookbooks written by fellow food bloggers. I follow them on their social media too,to get inspired with their meal planning for their families.It's an inspiration of sorts for the lifestyle they follow and not exactly the recipes.
20 MINUTE MARINARA SAUCE
When I read a cook book, I enjoy reading the headnotes more than the recipe itself. A cookbook without headnotes doesn't go well with me.It gives a personal touch to each recipe. Like, how they came up with that idea and how it evolved into a recipe gives you an insight of their day to day life. I am a person who imagines a lot when it comes to food. I can spend hours and hours on it. Infact, I've spent almost 3 weeks trying to develop a recipe based on an appetizer we ate at the wedding in Chicago.I read similar recipes online but, nothing came close to what we ate there.But, since I decided I would not give up on it, I did some calculations in my head and made a batch of that amazing dip and it tasted awesome. Infact,it was so much better than the one we had in Chicago, if I say so myself.It was served at Ian's 2nd Birthday Party as Thai Curry Chicken Wontons. 
20 MINUTE MARINARA SAUCE
We used to buy Marinara sauce all these years but after reading and following Jennifer, I made a mental note to try out her recipe next time I needed some sauce for my pizza and pasta. Ian loves pizza.Be it Pepperoni,Sausage,Cheese...anything as long as it's a pizza.He now knows that it comes in a thin cardboard box too! So, recently we had a package delivery and it came in a sleek carboard box. He was sleeping when Jobin brought it in. We didn't throw the box because we know that he loves to play with it. When Ian woke up, he saw the box and exclaimed,'Pizzi!'. He was very sure there was Pizza in it and when he realised there was none, he started asking me for it!
20 MINUTE MARINARA SAUCE
Yesterday, after putting him to sleep, I set out to caramelizing some yellow onions with thyme,olive oil, butter and white wine. The house smelled incredible and I knew that would wake him up because from the time he was a baby, any food that smelled good woke him up. No, I am not kidding! He would also tell me what exactly he is eating everytime I gave him something to eat! I know I am raising a Little Foodie and I am very happy about it.So, he did wake up and then immediately asked me to give him Pizzi! I wouldn't blame him. It did smell like an Italian resturant with all those onions caramelizing along with fresh thyme!
20 MINUTE MARINARA SAUCE
So, I decided to make a Pizza just for him with the sauce I've been itching to make.All things came together very well and I baked a thin crust pizza for him and the dough was made according to Jennifer's recipe too,from Homemade with Love. It was a very good one.Even though I made it *just* for him, it ended up being our dinner :) I wizh we had a slice of that Simple Strawberry Pie that I made a few weeks ago, using Jennifer's recipe for dessert. It was so good! Do try to make some before the sweet Strawberries go out of season. It hardly takes any time to bake!

20-MINUTE MARINARA SAUCE
Makes about 1 quart (900 grams)

Ingredients:
1 tablespoon extra virgin olive oil
2 garlic cloves
1 (28 ounce /784 grams) can whole peeled San Marzano tomatoes*
Handful of fresh basil leaves, torn into pieces
Sea salt and freshly ground black pepper

Method: Heat oil in a fairly large pot over medium heat. Add the whole garlic cloves and cook until they are fragrant and golden, 2-3 minutes. In another bowl, break up the tomatoes with your hands and add them to the garlic,along with the tomato juice from the tin.You can puree the tomatoes if you like a smooth sauce or just break it up roughly,if you want a sauce with some texture,like I did.Season with salt and pepper and add the torn basil leaves. Stir it and let it cook on medium-low for 15 minutes.If not using immediately, let the sauce cool completely before storing it in the refrigerator. It will stay fresh for upto 3 days. They will stay good, frozen, for up to 2 months.

*IF you want to use fresh tomatoes, blanch -peel -deseed them before using. The taste will vary a bit because they don't taste exactly the same as the tinned ones. There's no harm in trying,though! A pinch of sugar may be needed to balance the tartness of the fresh tomatoes. This is just my suggestion.
I was really happy with the results. If you find it a bit tart, I would suggest that you add a pinch of sugar to balance it out. This sauce worked very well with Ian. I saw him peel off the cheese layer to lick the sauce.One of the first words he learnt to say clearly was sauce. He loves ketchup and must have thought this Marinara sauce was it's cousin. They are in a way, right?

Wednesday, July 9, 2014

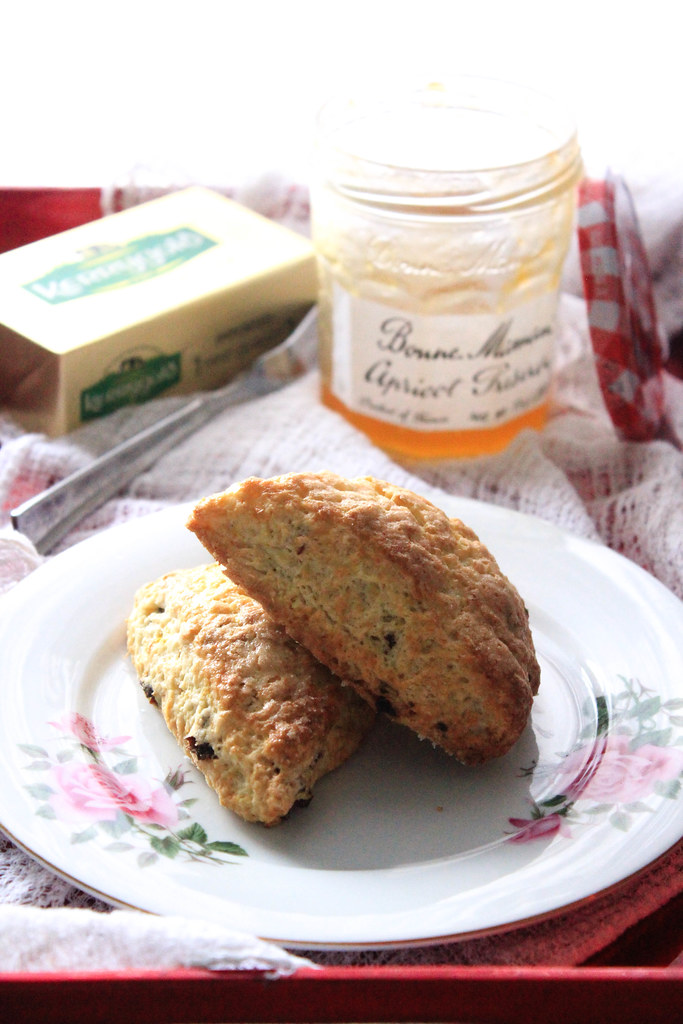
ORANGE - RAISIN BUTTERMILK SCONES

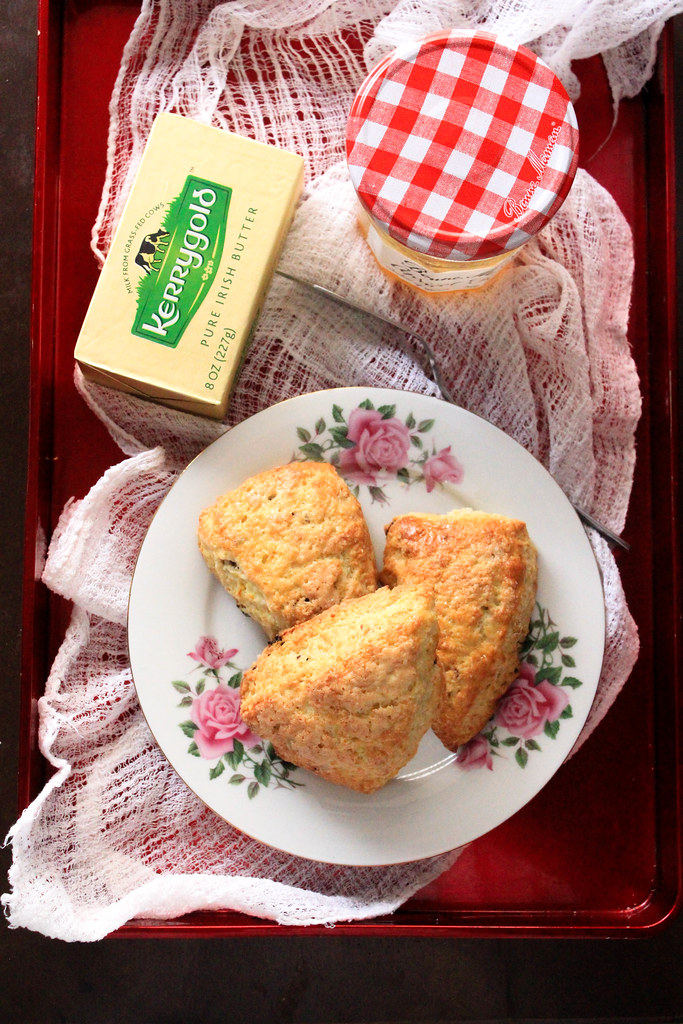
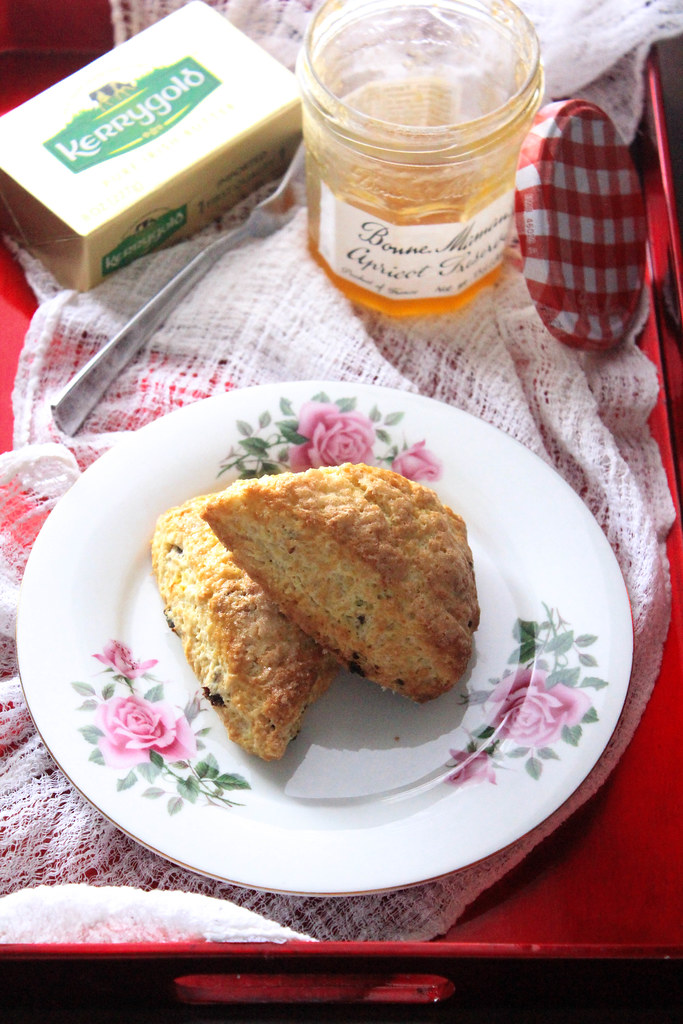
These have to be the best scones I've eaten in my whole life. It's not just about the taste, it's about how light,tender and buttery it is.Scone making is not a rocket science. Infact, nothing is.Atleast that's what I have understood. It needs some TLC. Tender loving care.Just like how we like to be TLC-ed, even food likes to be treated the same way and then you will see the magic working! For the best results,always use the best ingredients. I've read somewhere that whatever you put into your pot,is what you will be getting. There's no magic a pot can do. I think that is true.
ORANGE - RAISIN SCONES
Scones have been a part of my dreams ever since I started reading Enid Blyton's as a child. Especially the Famous Five series. You have no idea how much I wanted to eat them as a child. That's when I found a cookbook in my Mamma's stash, a book which had a few British recipes along with some Indonesian recipes.It had a recipe for griddle scones. Having no idea that they were different from the baked ones, I thought of giving that recipe a try.To be honest, I still remember how terrible they were. They tasted just like flour and egg cooked together.
ORANGE - RAISIN SCONES
These are different. Ever since I baked my CREAM SCONES WITH CHOCOLATE CHUNKS (my first!),I have been hooked. I tasted the first ones from a coffee shop here and wondered for days how good those were. Once I baked my own, I liked those much better than the store made ones. It was less sweet and much lighter in texture. If you don't handle the scone dough lightly, it will reflect in your baked product.You want them to be light,like clouds. Yesterday, I was itching to bake something and was wondering what that should be.Ian loves every single thing that comes out of the oven. Moreover, we just got back from Chicago after attending a wedding over the long weekend and that means, there's no food at home. I mean, to snack on.
ORANGE - RAISIN SCONES
I opened the fridge for some inspiration and found an Orange and some raisins.That's when it clicked me that I've been thinking of trying an Orange - Raisin scone I found in Marjorie's book,The Road to Blue Ribbon Baking. That book is just awesome! She has won plenty of Blue Ribbons at the Minnesota State Fair. Her book contains 100 Blue Ribbon recipes of hers and I am so happy to have come across that book. I really have to bake my way through each of it. Her stories are so inspiring. Minnesota State Fair is a fun place to be,where all you can find is fried food. We go there every year and load up on our share of calories from there. I am so looking forward to going there this year as well. For that, I need to wait till it's September.
ORANGE - RAISIN SCONES
The past few days have been super crazy for me. I've been cooking in bulk which will continue until Saturday.In between all that, there's a class of mine coming up at a local cookery school. I am told that the class is sold out,which of course, is a good news for me!Now getting back to the scone recipe...this original recipe makes one big 8 inch circle yielding 8 huge scones .Since I decided to cut down on the serving size, I divided the scone dough into two 4 inch circles yielding 16 smaller ones.
ORANGE - RAISIN BUTTERMILK  SCONES
ORANGE - RAISIN SCONES Makes 16 small ones

Ingredients:
2 cups all purpose flour
3 tablespoons sugar
2 1/2 tablespoons baking powder
1/2 teaspoon baking soda
1/4 teaspoon salt
2 teaspoons grated orange zest
1/2 cup very cold unsalted butter
1/2 cup raisins
1 egg
1/2 cup buttermilk
1 egg, slightly beaten
3 tablespoons granulated sugar

Method: Preheat the oven to 400F.
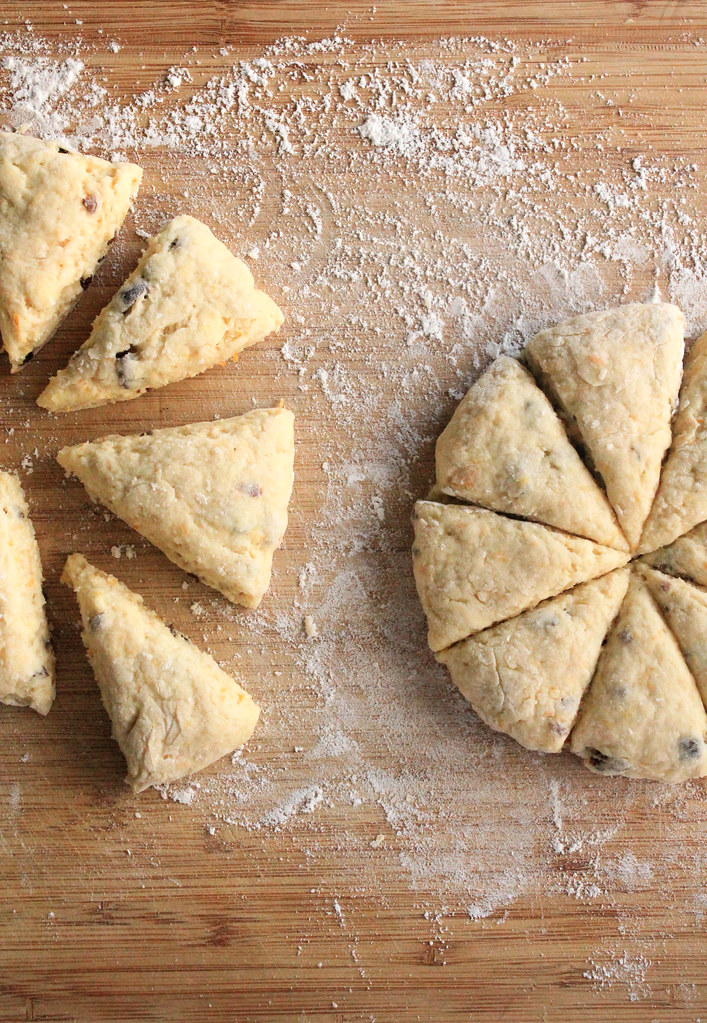
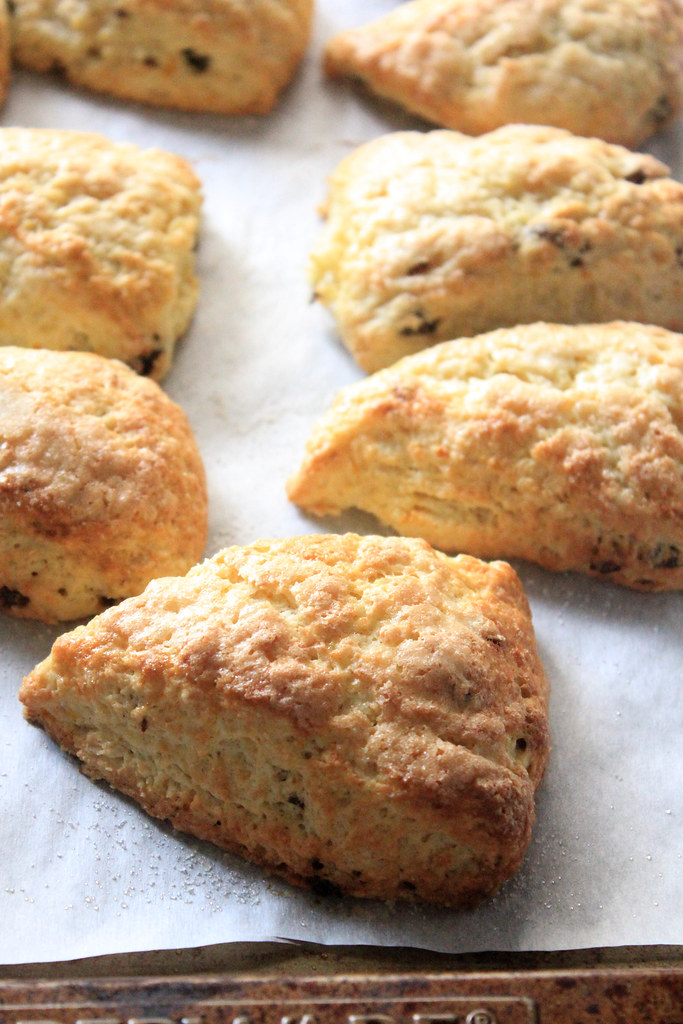
Combine flour,sugar,baking powder,baking soda,orange zest & salt in a bowl. Cut in the butter using a pastry blender until it forms a crumbly mixture. Stir in the raisins. Beat one egg slightly in a small bowl;add buttermilk. Stir egg buttermilk mixture into the dry mixture. Dump it onto a floured board and knead gently 10 times. Pat or roll it out to an 8 inch circle and cut them into eight pieces. Transfer them to a lined baking tin and brush the tops with beaten egg. Sprinkle the top generously with sugar and bake for 12-15 minutes or until the tops are golden brown. Serve warm.

There are times when I sit back and wonder about the magic some flour,eggs and butter can do. I mean, that's the basic ingredients used for cakes, cookies, pies, tarts, cupcakes, scones, biscuits etc. So much variety from a few ingredients! This recipe blew my mind...it really is a good one. If you are a scone lover like me, you should really try making it once. You will never buy them again!

Monday, April 16, 2012

EGGLESS CHOCOLATE CAKE with ALMOND PRALINE TOPPING

Eggless Chocolate Praline Cake

So this must be the 100th time I'm talking about our Chicago trip. As you all know by now, we celebrated Easter in Chicago with Jobin's cousin and family.It was good fun.We both ate so much yummy homemade goodness for every single meal! It was like a seafood festival for me! There was seafood in every possible dish...I'm talking about the Malayali curries like Chemmenum Mangayum,Chomanna Meen Curry,Ayila Varuthathu,Chemmen Olathiyathu etc. The Easter lunch was a potluck so there was an enormous spread of Kallappam, Kappa Biriyani,Mutton Curry,Thorans, Mezhukkupuratti's, Rice, Puddings etc. I ate continously from the time I woke up till I went to sleep. Burp!

Eggless Cake Slice 2

We left early morning on Saturday and took this cake with us as a surprise for his cousin who was celebrating his b'day that day. When we reached there, I got plenty of time to make the puddings for the Easter lunch that I had signed up before. Jobin helped me with the prep work as we were expecting around 40 guests. I made the Chocolate Biscuit Pudding and Cold Frost Pudding. Then after all that, we set out the cake and candles and waited for the birthday boy who had gone hiking with his cousins.

Desktop2

When they came back, he was in for a surprise because it's been 2 years since he cut a cake at home as he was away in other countries for his studies. The cake was a big hit and no one even felt that it lacked eggs or was made eggless. So I didn't bother telling anyone, except for the next day when an Aunty asked me for the recipe :-)

Eggless slice 3

I have made this cake before and it was enjoyed by all who ate it. The almond praline topping is a quick fix of mine whenever I need a topping for a cake or a pudding. I love the crunch it gives the soft cake beneath it. It hardly takes anytime to make but the effect it has on your palate is worth enjoying! Amma uses praline a lot for decorating puddings and also in her Praline Vanilla Sponge Gateau.

IMG_5408EGGLESS CHOCOLATE CAKE with ALMOND PRALINE TOPPING
Recipe for the cake: Anushruti
Recipe for praline: Amma

Ingredients:
For the cake
1 1/2 c flour
1/4 c cocoa powder
2 tsp baking powder
1 tsp baking soda
4 tbsp sugar
1 tin condensed milk
150g butter, melted
1 tbsp vanilla
1 c water

Method: Preheat the oven to 300F/ 150C and prepare an 8 inch cake tin.
In a large bowl,mix the dry ingredients together. Add the melted butter and other wet ingredients to it and beat on high till there are no lumps, about 1 minute. Do not overbeat. Pour the batter into the cake tin and bake for 25 -30 mins.Cool in tin for 5 mins and then invert onto a cooling rack and cool completely.

For the praline recipe, refer here

Assembly: Place the cake on a serving plate and cover it with a Chocolate Ganache (half qty). Sprinkle the praline over the cake and cover the sides too, if you like. Decorate the top  with rosettes/ stars using whipped cream. If you like, you can make some Lacy Oatmeal Cookies and pile them up in the centre.


Eggless Cake full

This cake was loved by all irrespective of age & gender ;-) It has a nice texture with a delicate crumb. No one would ever guess it's eggless unless you mention it to them. This cake can be layered or used as whole, like how I did here. I am sure I will be using this cake again! If you want, you can bake them into cupcakes but keep an eye on the timing when you do so. It is delicious on it's own or you can dress it up with some icing and serve alongside with some real good vanilla ice cream. If you want to get adventurous, go drizzle some caramel sauce too!

Wednesday, April 11, 2012

LACY OATMEAL COOKIES

Oatmeal Lace Tuiles

This cookie is addictive!! You just cannot stop at one. If you think Potato chips are addictive, try one of these...I'm talking from my experience :-) Do I sound like a grandmother now? I baked these cookies to take with us to Chicago, to share with our family there. It was the first time I was baking something so thin, so light and so brittle. I don't think I would have handled anything so carefully other than my wedding bouquet in my entire life!

Desktop2-001

Everytime I feel like trying out something new,I first go through my navy blue recipe diary and if I don't get an inspiration, I turn towards the internet for answers. This time, it was no different. I knew I wanted to try out some new cookie, something which wasn't heavy or chunky but something light yet new. I've seen these kind of recipes many times before but never thought of trying it. I always wondered if I would get it right because these are so fragile and you need to really monitor the baking time and temperature.

Oatmeal Lace Cookies

Having baked quite a lot of finicky things successfully, I decided to go ahead with what I saw. I always had a thing for very delicate objects. It could be a well embroidered handkerchief or a tablecloth. If I see such stuff, I look at it, turn them over, look how they have knotted the stitches behind because the Grandmother in me wakes up then :-)

Desktop3

These cookies were no different. I felt it was a piece of art. I don't know if you can feel it just by looking at the photographs but when you bake one, hold it in your hands and look at the sky through it, you will see how lacy and thin it is. It's beautiful. It's super crunchy at the egdes, slightly chewy in the centre and toffee-ish to taste. The original recipe called for an egg but when I made the cookie batter, I used an extra one to get it to the loose consistency the recipe called for.

Oatmeal Lace Cookies
LACY OATMEAL COOKIES
Recipe source : Merely Marie
Yield about 50 cookies

Ingredients:
1 c oatmeal
1/4 c flour
1/2 tsp salt
1 1/2 tsp baking powder
1 c sugar
1/2 c butter,softened
2 eggs
1 tsp vanilla extract

Method: Preheat the oven to 325 F and line a baking sheet with parchment paper/silicone mat.( I am not sure if butter paper sprayed with oil would work here as a substitute for parchment. )
Cream butter and sugar for a minute . Add eggs and vanilla and beat again till blended. Tip in the dry ingredients and mix until just combined.It will be a slightly loose batter. Pour 1 teaspoon of the batter at a time onto the baking sheet atleast 2 inches apart from each other and bake till the edges turn golden brown, about 9-10 minutes. Remove the sheet from the oven and peel the cookies carefully. You can shape them as tuiles,rolls or leave it as is. It will harden as it cools so work very quickly.

It is loaded with oatmeal but when I tasted it, I felt it tasted like coconut cookies. Jobin didn't agree to it but later, after pestering him and all who ate those cookies, they said even they felt so...maybe because of the chewy texture of the oatmeal. These cookies can be used for decorating cakes,placed on top of ice creams/ sorbet etc.It can also be rolled, filled with sweetend cream and served as dessert. When you do so, make sure you serve it immediately or else the cookies will get soggy from the cream.

Wednesday, December 7, 2011

MINI AUNTY'S CHOCOLATE CAKE

Mini Aunty's Chocolate Cake
It doesn't usually happen this way...Jobin asking for a cake because there will be some cake at any point in our house,any time of the day. We ran out of cakes which means we were out of desserts after every meal! We don't need anything fancy, all the time but sometimes yes. When he asked me for a dessert the other day, I asked him what he wanted and he said that cake I made when newly-weds G &J came home for dinner. I knew it! He loves that cake and any cake made along that line.Finally we settled for a chocolate cake .
Mini Aunty's Chocolate Cake

So Chocolate Cake, huh? Hmm,I have umpteen choices in that one thing. Which one do I bake? Which one is my all time favourite? Which recipe  needs another try? Whose recipe should I try? Cookbook recipes or family recipes? Yes! Family recipe, it is!

Mini Aunty,Tia's mother,is one of my most favourite aunts! She is a fantastic cook! I love her cakes, savory pies,manga pacchadi,moru curry,meen curry,cheemmen fry ,beef olathiyathu and oh! how could I forget her paper thin ghee dosa's and thenga chammanthi! She made me a Dosa convert!
She is Amma's brother's wife and all their kids and we were of the similar age,so we all got along very very well! Infact all our vacations were spent together, we still do if we get a chance. This time, in September, right after her daughter's wedding,we went to visit Jobin's sister in Kashmir. That way, I'm so happy to have spent some quality time with her, after one and a half years!

Mini Aunty's Chocolate Cake
While I was studying in college, they lived in Bangalore for almost 3 years and I lived with them even though I was paying rent elsewhere :-) The power of lovely people and yummy food attracted me to their house. Mini aunty used to bake cakes once in a while and her chocolate cakes were really tasty. I got this recipe from her, long ago and she is very generous in sharing recipes, unlike a lot of other people who I personally know of! :-)
Mini Aunty's Chocolate CakeMini Aunty's Chocolate Cake 

Ingredients:
1 1/2 c flour
1 tsp baking soda
1/4 tsp salt
1 1/4 c sugar
2 eggs
1/2 c butter, at room temperature
1 c warm milk
4 tbsp cocoa powder
1 tsp vanilla


Method:
Pre-heat the oven to 350 F and line a loaf tin.

Sieve flour, salt and baking soda together. Reserve.
In a small bowl, mix together 1/2 c warm milk with 4 tbsp cocoa.
In another big bowl, on high, beat together butter and sugar for a minute. Add the eggs and beat till light and fluffy.Add flour and 1/2 c milk alternately and beat until fluffy. Add the cocoa-milk mixture and vanilla and beat for a minute. Pour into the tin and bake for 45-50 mins or till done.

Enjoy!

So I'm finally back baking with our baking group : A Sweet Punch. I have been away for a long time now and I hope this cake bring me back to baking with the group regularly.

This is just a good old cocoa cake. I love it and infact I really think you all should try it sometime as it is going to be your favourite too! You can slice it horizonatlly into 2 or 3 and then sandwich it with some yummy chocolate fudge frosting and then cover it with some more. Sprinkle some sprinkles and then stick a candle or two to make it into a birthday cake! :-) Plus, if you are looking to give something exciting for your lil one this season, maybe you could take a look at these kids kitchen play sets!


Related Posts Plugin for WordPress, Blogger...