Ria's Collection

Wednesday, October 25, 2017

A YOUTUBE CHANNEL & A LAZY DAISY CAKE

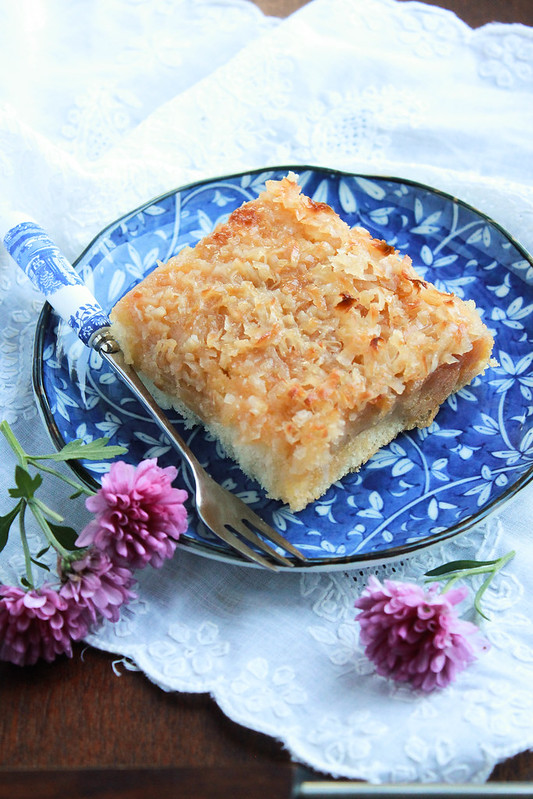
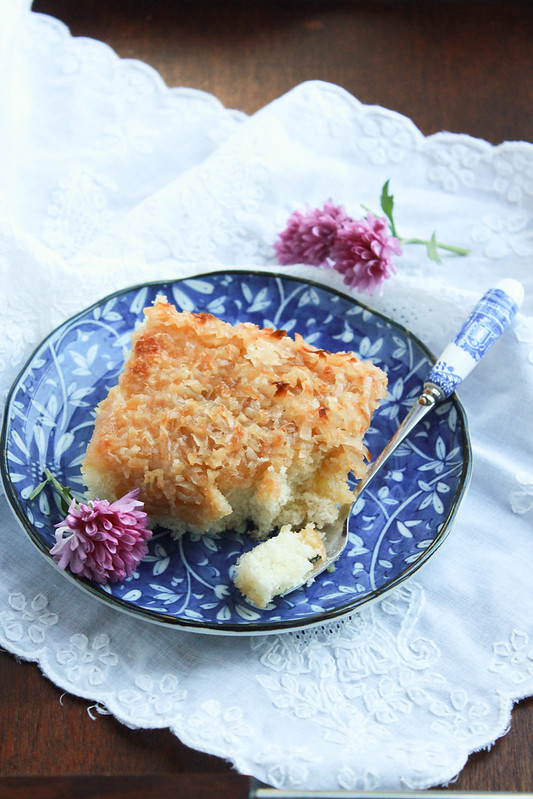
Lazy Daisy Cake
Yes, people! I have finally decided to start my own Youtube Channel! Today is a BIG day for me as I am stepping forward to explore a world unknown. And guess what? I will need your support just like the way you have supported this blog of mine for the past 9 years. Jobin helped me shoot and edit the video and we both are just beginning to figure out how this whole thing works! So please bear with me.
Lazy Daisy Cake
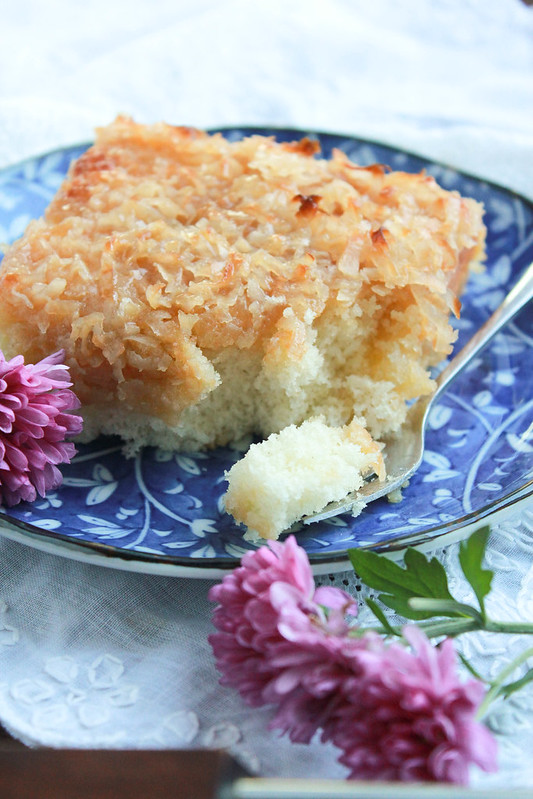
This cake is OMG good! It is one of the best cakes that I've baked and it's literally to die for in taste and texture. That coconut topping will leave you wanting for more! This recipe is from KAF. So please do me a favour...watch the video, grab the recipe and bake that cake! Don't forget to share it with your loves ones...the cake and my channel! If you like what you see,don't forget to hit the subscribe button! There's plenty more to come!


Lazy Daisy Cake LAZY DAISY CAKE
Makes one 8 inch square cake

Ingredients:
Cake
2 large eggs
1 cup granulated sugar
1 cup all purpose flour /maida
1 teaspoon baking powder
1/2 teaspoon salt
1/2 cup milk
1 1/2 tablespoon butter

Topping
1/4 cup (4 tablespoons) unsalted butter
1/2 cup + 2 tablespoons brown sugar
1/4 cup milk
1 cup sweetened coconut (watch the video for substitutions )

Method: Preheat the oven to 350F/180C. Line an 8" square or 9"round tin.

Cake: In a mixing bowl, beat the eggs until frothy,the add the sugar,beating at high speed until the mixture is thick and lemon coloured. Stir in flour,baking powder and salt.
In a saucepan,heat the milk and butter together to boiling. Add to the ingredients in bowl and beat to combine. Pour the batter into the prepared tin and bake for 25- 30 mins or until the top is springy to touch.Let it cool on a rack for 5-10 mins.

Turn on the broiler in the oven.

Topping: Mix all the ingredients together in saucepan and cook on medium-high heat till the butter melts. Spread it over the cake and broil for 2-3 minutes or until the topping is golden brown and bubbling.
Enjoy!

You will love this cake! This one barely lasts for 5 hours in our house. It's super addictive! Don't forget to watch the video to grab some tips for substitutions! This cake lasts really well and stays very moist and tender at room temperature for a good 4-5 days.

Tuesday, October 24, 2017

BIRTHDAY UPDATES !

Ian's 5th birthday
Zara 24
So here I am,almost 2.5 months after my last post. Where did I go? I was right here,still cooking and taking photos and literally living every minute on my Instagram account. So all of you who miss reading the updates/ recipes here,head on over to Instagram and click 'follow'! It's been really really busy all these weeks with the house shifting, house parties and travel. I could really squeeze in time to come and post recipes here but I chose not to. To keep my sanity in check. This week,there's nothing much going on for me, so that's how I finally reached here!

Ian's 5th birthday
Zara 98
This is going to be a short post and I am going to share a few pictures from Ian's 5th birthday (July 22) & Zara's 1st birthday (September 16). They both were 100% homemade parties. Ian's party was barely a week before we moved and Zara's was about a month and a half after we moved. Her party was our deadline to set up our new home. Since we moved in from a single bedroom condominium to a 5 bedroom house, we had TONS to do. We are still shopping for stuff and I have no idea when this will end :) Anyway, I hope you enjoy their party photos!
Ian's 5th birthday
Zara 119
Also in the meantime,this blog baby of mine turned 9 years old on October 8th. To be honest, that totally skipped my mind since I was busy with other things.But. There's something new brewing up and I will be making an announcement here this week! If you scroll through my Instagram profile, you can find that out! :-)
Zara 28
Zara 35

Ian's 5th Birthday Party Menu

Paw Patrol themed Chocolate Layer Cake
Chocolate Chip Cookies
Chocolate Cupcakes with Vanilla Buttercream

Greek Chicken Wings
7 layer Greek Dip with Pita Chips
Mint & Orange Salad with Orange Blossom & Honey Dressing

Chicken Shawarma
Homemade Grilled Flatbread
Paneer Mousakka
Chipotle Hummus 
Garlic Sauce

Gooseberry - Mint Soda

Zara's 1st Birthday Party Menu

Floral Vanilla Layer Cake
Brigadieros
Chocolate drizzled Shortbread Cookies
Strawberry Oatmeal Bars
Petite Floral Vanilla Cupcakes

Firecracker Chicken Meatballs
Maharaja
Caramelized Onion Dip
Curried Chicken Dip

Sanna's
Kashmiri Chicken
Ghee Rice
Egg stew
Pork Vindaloo

Gooseberry -Mint Soda (on repeat due to demand!)
Carrot Lemonade
Zara 70

Tuesday, August 1, 2017

EASY RED CHICKEN ENCHILADAS

EASY RED CHICKEN ENCHILADAS
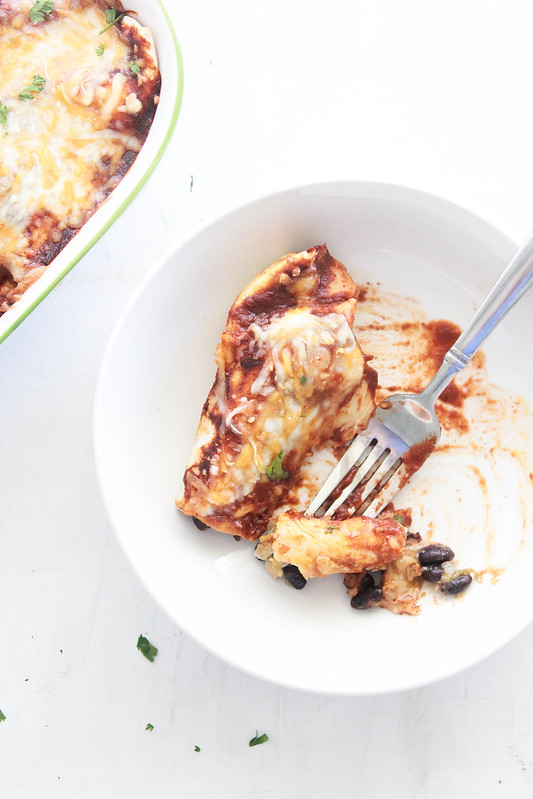
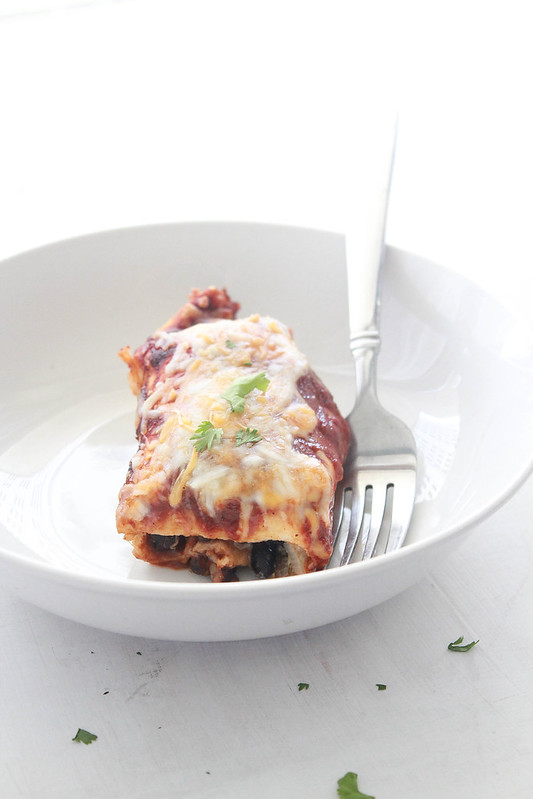
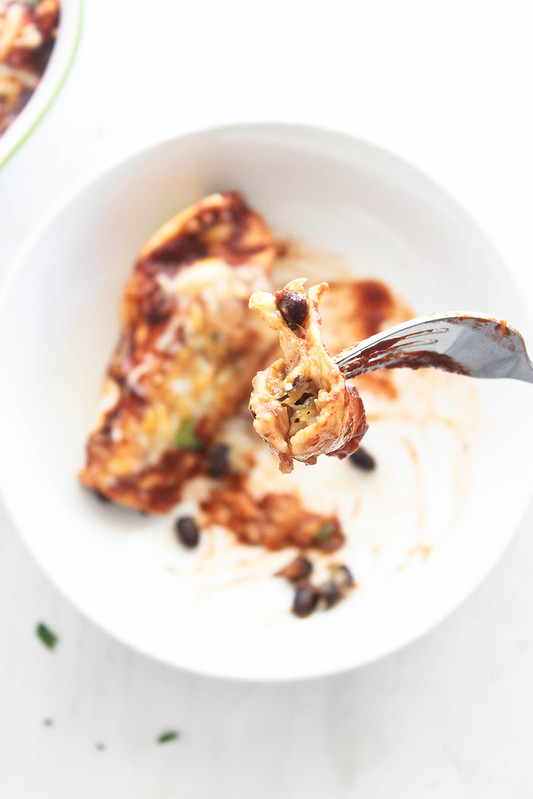
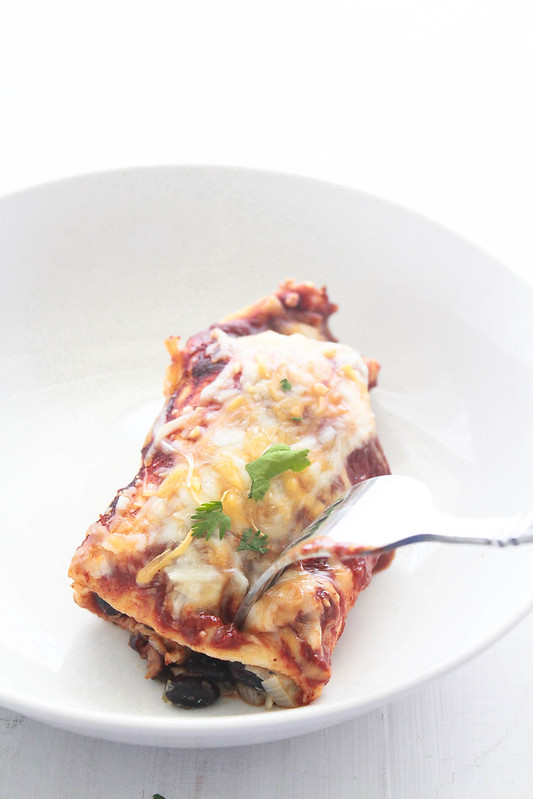
This dish has to be the easiest one I've made in the recent times. I mean,all you need to do is layer up some incredibly yummy stuff and bake it! If you do not have the time to poach chicken like me, you can use store bought cooked chicken. It's not going to alter the taste at all! This is a perfect make ahead dish which you can bake at the last minute and it's even a perfect weeknight meal. Also people, I have some gooooood news to share with you guys! We've been upto something for the last one month and finally it's official!
EASY RED CHICKEN ENCHILADAS

We are moving to a new home! It's super busy at our home right now since we are moving to another city plus we also celebrated Ian's birthday in between the move. I will be posting pictures from it as soon as we are done with setting up our internet stuff at our newest home. I think it's going to take a while.I cannot tell you how exhausted I am as I type this post. I am dead tired. Even my bones are tired from all the packing,cleaning and more packing! Unpacking is a whole new chapter that I will have to deal with.
EASY RED CHICKEN ENCHILADAS

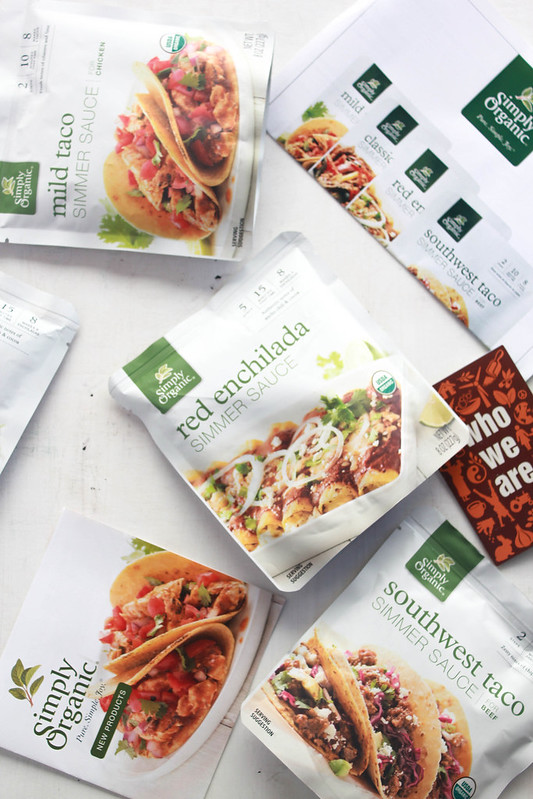
So without much further talk, I am going to share this recipe with you right away!Just make sure you get hold of Simply Organic Red Enchilada Simmer Sauce  with authentic notes of ancho chili and cocoa for the best results! I used it and I can vouch for it's taste and quality. The team at Simply Organic sent me a box full of incredible ready to use sauces and I honestly cannot wait to use it. I mean, when I am scrambling to unpack and set up our brand new not-even-a-day-old home with a 10 month old in tow...these sauces are a blessing in disguise.
EASY RED CHICKEN ENCHILADAS
EASY RED CHICKEN ENCHILADAS Serves 6

Ingredients:
2 pouches Simply Organic Red Enchilada Simmer Sauce
1 small tin chopped green chilies
2 cups poached chicken or store bought cooked chicken
1 large red onion
1 large can black beans, drained and rinsed
2 cups shredded Mexican blend cheese
3 tablespoons oil
8 regular size flour tortillas

Method: In a large pan, heat the oil on medium high heat and saute the onions till soft and translucent. Add the green chilies and chicken and saute for 2-3 minutes. Take it off the heat and let it cool. In a 9 X 13 inch baking pan, spread about 1/2 cup of the Simply Organic Red Enchilada Simmer Sauce.Take one tortilla, spread 2 tablespoons of the Simply Organic Red Enchilada Simmer Sauce and top it with some chicken mixture,beans and cheese. Roll it up and place it in the baking dish seam side down. Repeat with the remaining tortillas. Pour the remaining Simply Organic Red Enchilada Simmer Sauce over it and cover the top with the remaining cheese. Bake at 350F / 180C till the cheese melts and the top is golden. Serve hot!
Honestly, I am about to crash as I type this post. There's a whole lot of clothes to be packed up before we sleep tonight. Movers will be here tomorrow. Who would have thought we have so much clothes in our cupboards? Who would have thought we have SO much kitchen stuff? I did. Yep...I was dreading the kitchen packing actually! With all my collection of crockery and cookware...hmm. Anyway, it's all a thing of the past now.

So, bye for a while till we get our internet stuff sorted out. Until then, if you get sometime,give this dish a try! :-)

This post is sponsored by Simply Organic but all opinions are my own.

Wednesday, July 12, 2017

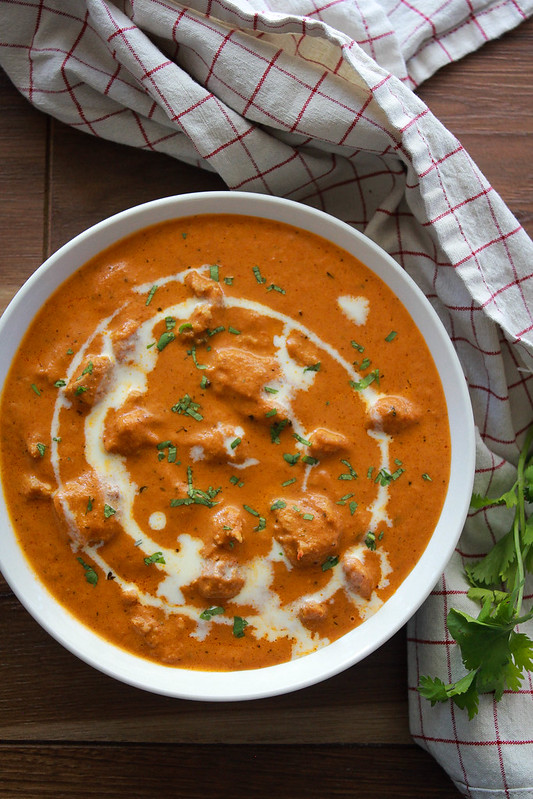
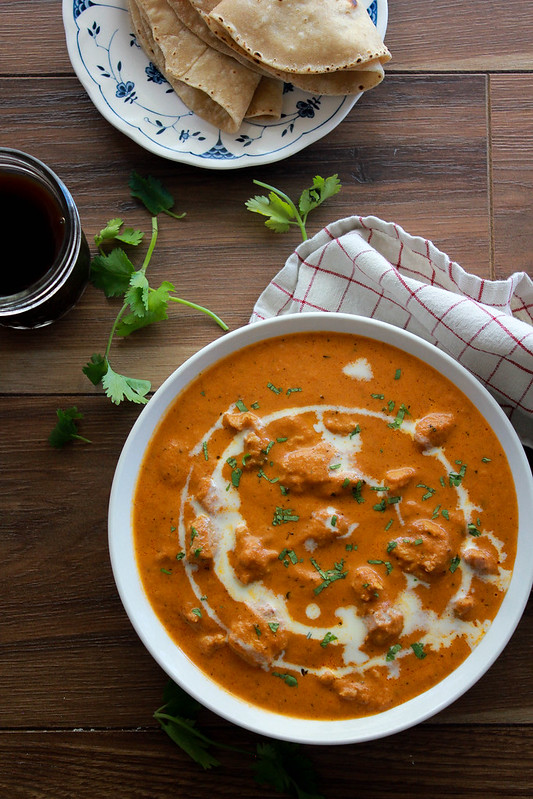
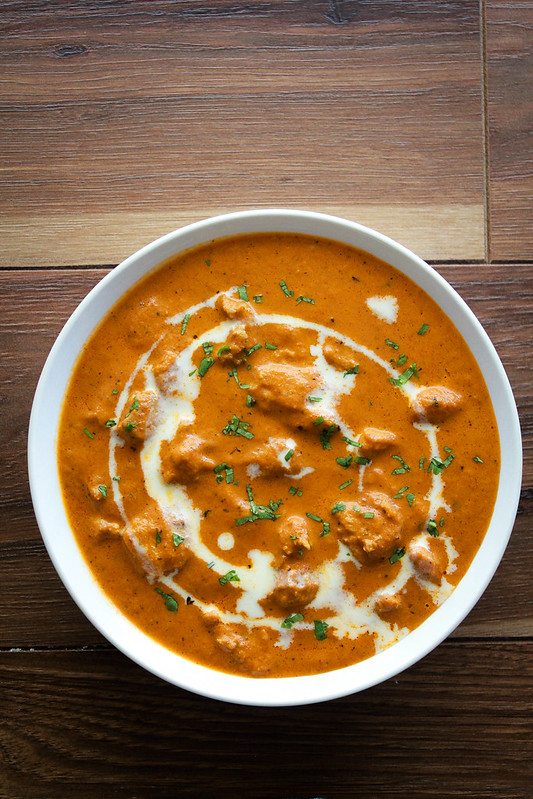
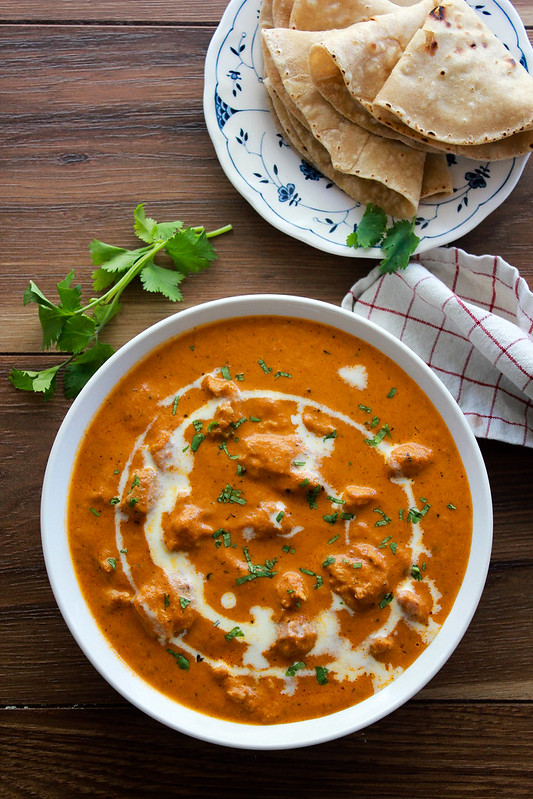
RESTAURANT STYLE BUTTER CHICKEN

RESTAURANT STYLE BUTTER CHICKEN
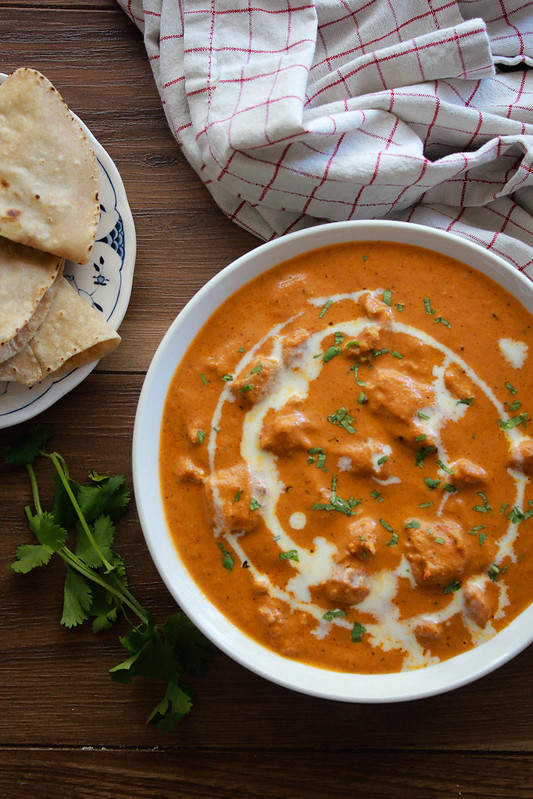
This recipe is the bomb! I was happily satisfied with Monica's Dad's Butter Chicken recipe for all these years and then I came across this recipe and decided to try at home. I was bowled over by it so easily for it's taste, texture and perfect balance of spices. It is exactly what we get in a good quality Indian restaurant. It is not greasy and does not use a whole lot of butter or cream,unlike the name Butter Chicken.
RESTAURANT STYLE BUTTER CHICKEN

When I read Marzia's recipe for the first time, she mentioned that this recipe came from her aunt who worked at an Indian restaurant many years ago.That was the main reason for me to try this recipe out. I remember asking my Chef at Hyatt for a Restaurant Style Butter Chicken recipe because he had worked at an Indian restaurant many years ago. Things got so busy during my time at Hyatt that I did not follow up with him on that recipe after our conversation.
RESTAURANT STYLE BUTTER CHICKEN
This recipe calls for canned crushed tomatoes. When I tasted it, it tasted of tomatoes without the tang. It was perfectly balanced which I think is the secret to this curry. If you were to make it at home, I would suggest that you blanch the tomatoes,remove their skin and seeds and puree them. The canned tomatoes were deep red in colour which gives the sauce a wonderful hue without the need of additional food colour.My hands were not stained after eating it which usually happens if you eat out at a place which depends heavily on food colour.
RESTAURANT STYLE BUTTER CHICKEN
Have you tried your hand at my Homemade Tandoori Masala yet? That's what I used for this curry. I never buy Tandoori Masala because most of the brands that I've tried just don't have that right flavour. This one is really good! Try it for yourself and see the difference it makes in your curries.
RESTAURANT STYLE BUTTER CHICKEN
RESTAURANT STYLE BUTTER CHICKENServes 6

Ingredients:
1 pound boneless skinless chicken thighs, cut into 2 inch cubes
1/2 cup thick yogurt
1 teaspoon ginger paste
1 teaspoon garlic paste
1/2 teaspoon salt
2 tablespoons Homemade Tandoori Masala
1 tablespoon oil

For the sauce:
3 tablespoons Homemade Ghee (or butter)
1 large onion, thinly sliced
1 1/2 teaspoons ginger paste
1 1/2 teaspoons garlic paste
1 14 ounce can crushed tomatoes
1 teaspoon cayenne
1 1/2 tablespoon coriander powder
1 1/2 teaspoon cumin powder
1/2 cup heavy cream
1/2 teaspoon garam masala
1/4 teaspoon Kasuri Methi
Sugar

Method: In a bowl, mix together tandoori masala, ginger,garlic and yogurt. Whisk until smooth. Adjust seasonings to taste and add the chicken. Let it marinate for a minimum of 20 minutes or upto 24 hours in the fridge.

For the sauce:
Heat 2 tablespoons of homemade ghee in a heavy bottomed pan over medium heat. Add the onions and saute until translucent,about 5-7 minutes.Make sure you don't brown it. Add the ginger garlic paste and saute for 30 seconds,stirring constantly so that they don't burn. Add the tomatoes and spice powders and cook for another 5 minutes. If the mixture thickens up and literally spits on you,add 1/4 cup of water and mix it in.Take it off the heat and once cooled, blend it to a fine paste. You can at this point store the sauce in the fridge for upto 48 hours or  freeze for upto 3 months.

When you are ready to make the curry,heat the remaining 1 tablespoon of homemade ghee in a heavy bottomed pan and add the marinated chicken pieces to it.Discard any excess marinade. Cook for 5-7 minutes stirring every now and then to brown the pieces. Add the blended sauce to it and bring it to a boil.Add the cream and garam masala and let it heat through. Add the crushed Kasuri methi, a pinch of sugar and turn off the stove. Serve hot!


As I was typing the recipe, I realized that I needed to tell you all about making Ghee at home. It's super easy and super economical. When I was home in Kannur, I tried to do the math and felt that there was not much difference in buying butter and making that into ghee. Here, it does a make a lot of difference! The best part is you can choose what kind of butter you want to use. The choice is entirely upto you! Amma makes ghee by collecting the cream from the milk every day.
RESTAURANT STYLE BUTTER CHICKEN
Anyway, this curry is phenomenal! Try it sometime and let me know how you liked it. Like how I mentioned in the recipe, I felt the need for a good pinch of sugar to give it a well rounded flavour that we are kind of used to. Otherwise, you might feel that there's something missing. One more thing that I liked about the recipe is that you don't have to necessarily grill the chicken separately. It still lends a beautiful flavour without doing so. When I served this curry to Jobin, he also agreed that it tastes just like how we get in restaurants.So maybe I should seriously quit trying anymore new recipes for making a Butter Chicken! Oh yes, one more thing...this curry tastes better as it sits in the fridge overnight! So it's a perfect make ahead curry,perfect for weeknights and weekends!

Thursday, June 29, 2017

FOOD TRUCK FEST AT THE VALLEYFAIR

ValleyFair
We were at the ValleyFair once again this Summer for their Food Truck Festival about a week ago. We always have a great time there so it's a pleasure to visit every time. Ian gets very excited about the rides for the kids,which I think is plenty and non scary. His highlight of every trip to the ValleyFair is the big train ride. It goes through the entire fair and is so soothing especially if it had been a hot day. It was Zarakutty's first toy train ride!
ValleyFair
We really enjoyed the Cinnamon Waffles (so buttery!) by the Nordic Waffle. They had a variety of combinations and served waffles like a sandwich. Sometimes we tend to buy the most basic flavour choice because if they can get the basic one right, then the other ones should be really good! Ian pretty much ate the entire waffle by himself. We also tried out other food trucks which sold delicious steak served on smashed red potatoes, awesome fried rice, fried shrimp etc.
ValleyFair
It was our first time attending the Food Truck Festival at the ValleyFair. We love to eat out and we eat out quite a bit at food trucks during Summer. The food did not disappoint and Ian had such a blast gorging on some delicious organic frozen yogurt with all the toppings he could get his hands on. I do not have a picture of that one because it was the time Zara decided to dig in as well. Two kids,one big bowl of frozen yogurt and a camera is not the best combination! I also really liked the fact that this was right before Father's Day...Jobin and the kids got to spend some quality time together with each other.

This post is sponsored by Blog Meets Brand and Cedar Fair but all opinions expressed here are my own.

Tuesday, June 13, 2017

CHEMMEEN MANGATHOLI PAAL CURRY

CHEMMEEN - MANGATHOLI  PAAL CURRY
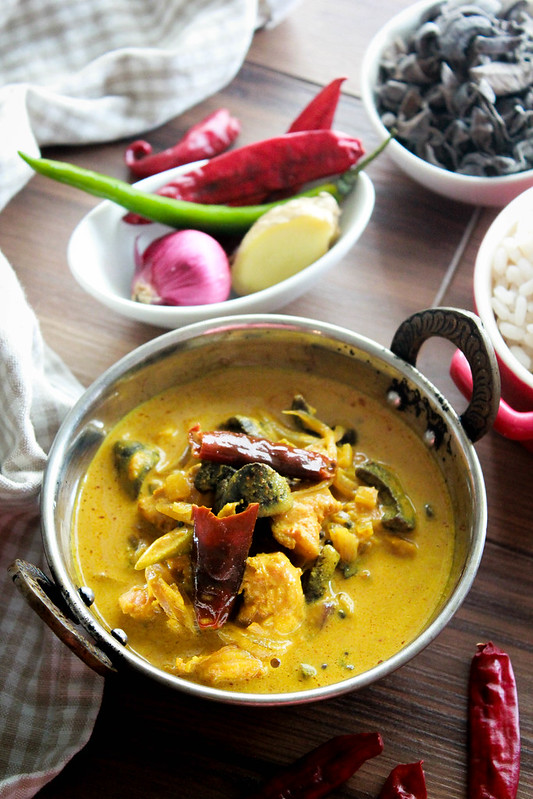
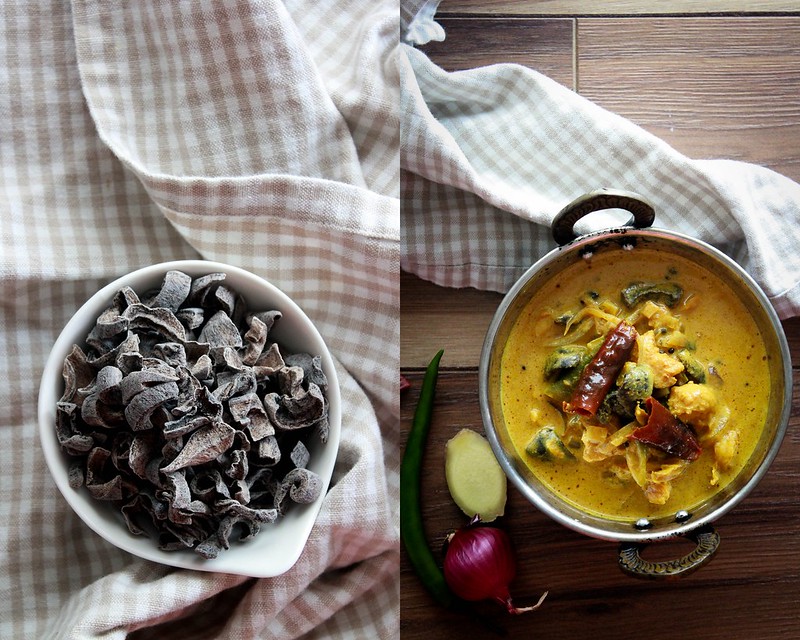
Almost my entire childhood vacation at Kothamangalm in my Ammai's house included unlimited supply of Mangatholi along with plenty of Kappa Erachi,Cheeda and other goodies. Till a couple of years I thought Mangatholi was literally the sundried skin of raw mangoes.Only recently did I realize that it was the entire green mango flesh which were roughly cut up and dried under the sun along with salt till it was dehydrated and almost black in colour. That flavour of Mangatholi will be on my tongue until my last day. It is so good! Super tangy,salty pieces of mango which tastes like...the Sun!
CHEMMEEN - MANGATHOLI  PAAL CURRY
Do you all like the smell of clothes dried under the scorching Sun? I do. It always reminds me of Pallikuttumma. All our clothes would be hung on the line and even on the pebbles on the ground to dry and in the evening when it's taken inside the house,it would be paper dry and smells like the Sun. If I were to close my eyes and take a deep breath, I can still smell those clothes of mine. Those were the days we carelessly roamed around everywhere wearing hand-me-downs,least bothered about how our hair looked like or how messy our face were after eating ripe and raw mangoes holding them as is. I miss my childhood. I really had a good one.
CHEMMEEN - MANGATHOLI  PAAL CURRY
When I was pregnant with Zara, I craved for Mangatholi. That was when Jobin was travelling to India for work. I immediately Whatsapped Ammai and asked her if she had any stock. Of course, she did and she sent it to Amma and Jobin collected it from there and brought it all the way to Minneapolis. I wonder if those mangoes which were hanging on my Ammai's trees knew that they would end up in a dish in Minneapolis!
CHEMMEEN - MANGATHOLI  PAAL CURRY
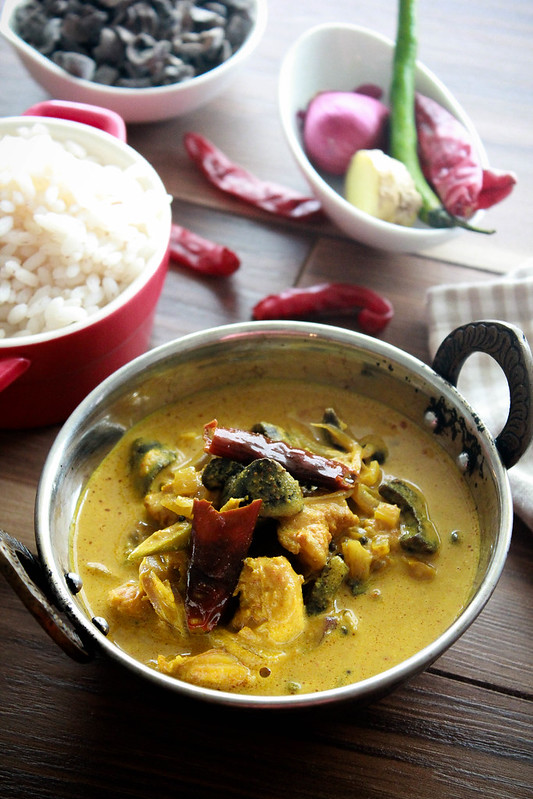
I usually eat them as is but off late, I've been using it instead of our Kudampuli/ Valanpuli for curries. They work just fine and provides such a rustic taste to the curry. When I came across this curry on YouTube, I had to give it a try right away. As I was cooking, I posted some videos of it on Instagram (which is currently where I am the most active...if you would like to get cooking updates ALL the time from me, you can follow me there! ) and I was flooded with requests to share the recipe. It's literally impossible to share recipes personally anymore because of time constraints and the lack of interest in typing out in detail using my phone. So I told them that I will share it here, so that all of you can view it and try it at home!
CHEMMEEN MANGATHOLI PAAL CURRY
CHEMMEEN - MANGATHOLI  PAAL CURRY Serves 6

Ingredients:
500g Shrimp,cleaned
2 inch piece ginger, crushed
1 medium onion,sliced fine
2-3 green chilies, slit
1 teaspoon turmeric powder
1 teaspoon red chili powder
1 sprig curry leaves
Salt

About 1/3 -1/2 cup Mangatholi,soaked in 1/2 cup water*

1 1/4 cup thin coconut milk
1/2 cup thick coconut milk

For tempering:
3 tablespoons coconut oil
2 teaspoons black mustard seeds
2 dried red chilies
1 sprig curry leaves
5 pearl onions, sliced
2 teaspoon coriander powder
1 teaspoon red chili powder
1/2 teaspoon turmeric powder

Method: In a meenchatti,add the shrimp,ginger,onion, chilies,spice powders,curry leaves, salt and 1 cup water. Cook on medium heat till the shrimp is half way done. Add the thin coconut milk, Mangatholi pieces along with the soaking water and cook covered until the shrimp is completely cooked.If the gravy is too thin at this point, cook the curry uncovered for 1-2 minutes. Add the thick coconut milk and bring it to a boil. Take it off the stove.
In a small pan, heat the oil and crackle the mustard seeds.Add the dried red chilies, curry leaves and shallots and fry till the shallots starts to turn colour. Turn the heat to low and add in the spice powders.Cook stirring well for 20 seconds. Turn off the heat and pour the tempering over the curry. Check for seasonings and serve hot with rice!

* You can use one raw green mangoes pieces instead. Just make sure you don't over cook the shrimp or the mango pieces. You can use Kudampuli too,if green mangoes are unavailable.
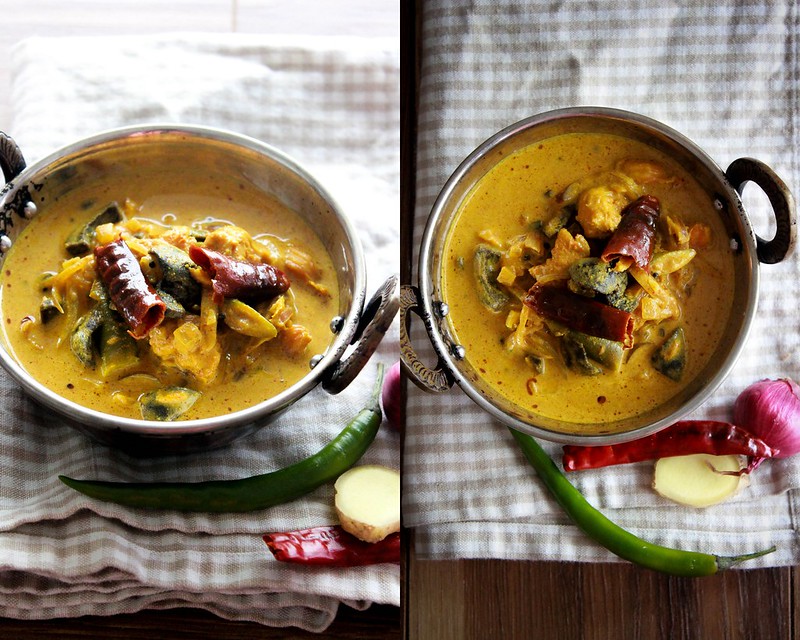
This is an AMAZING curry! It's tangy and spicy. Since the shrimp doesn't take that long to get cooked, the ginger and onion pieces retain their shape so you get a bite of it every once in a while. This curry is best served with plain rice. Ian loved it. Jobin is in India for work right now,so that's why you don't get to hear about him much these days. So do let me know if you try this curry, you will love it for sure! In the meantime, you can follow me on Instagram here!

I have some news for Kannur people! Amma and her fellow YWCA members have opened a cafe and guest house  right next to St. Teresa's School in Burnacherry. The quaint little cafe,originally a British cottage,serves homemade food made exclusively by Amma and two other members. It's called Cafe Y and it's open from 9 am till 7 pm. Please visit when time permits!


Related Posts Plugin for WordPress, Blogger...