

Ria's Collection

Tuesday, December 18, 2018

GINGERBREAD HOUSE

Gingerbread House
This month really has been driving me crazy! It's usually my most favourite time of the year but this time, it's been too too busy. With so many events, we just don't have any time for personal stuff. We still haven't bought any gifts for each other, can you imagine! Luckily, the coming weekend if pretty slow,maybe we can hit the mall and buy some stuffs for the kids atleast.
Gingerbread house (2)
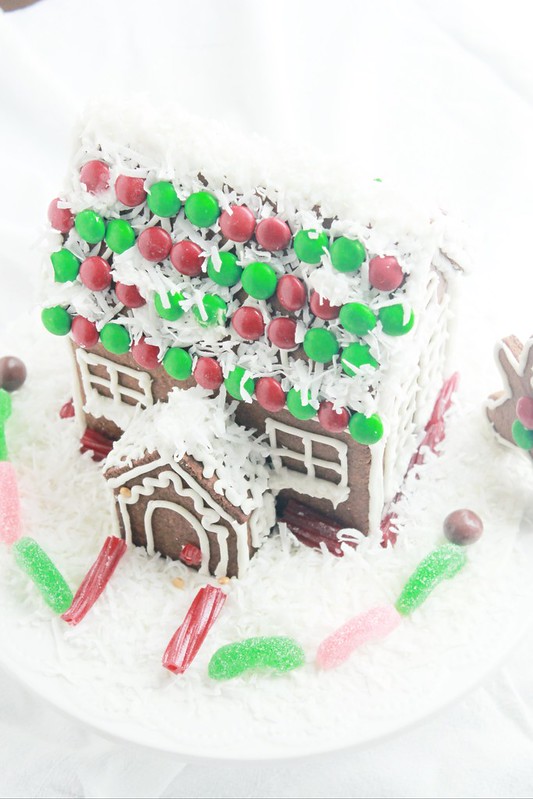
I've never made a Gingerbread House before so I wanted to make it this year, especially for Ian. He has been asking for one since last year and I had promised him that we will make one this year. I planned to make it around Thanksgiving break and we did just that. We made the dough,rolled it out, cut out the pieces,baked it and built our own Gingerbread house and used up all the leftover candy from Halloween to decorate it. I even took pictures to share it here during the first week of December.
Gingerbread House (1)
Then things happened. I mean, life happened. With everything that was going on, I just didn't feel  like sitting down with my laptop to talk about the house. It got pushed and pushed and finally today, I found sometime while Zara was napping to talk about it and share it with you all. Trust me, it's such an easy thing to do and it is really a fun thing to do with kids as well. This recipe for one of the best tasting gingerbread house comes from Beatrice Ojakangas.
GINGERBREAD HOUSE
Gingerbread House (3) Ingredients:
1 stick unsalted butter, at room temperature
1/2 cup dark brown sugar
1/4 cup dark corn syrup or light molasses
1 tablespoon ground cinnamon
1 tablespoon ground ginger
1 1/2 teaspoon ground cloves
1 teaspoon baking soda
2 cups all purpose flour
2 tablespoon water

For assembly:
Royal Icing:
1lb powdered sugar
1-2 egg whites
1 teaspoon lemon juice or almond or vanilla extract

Method:
Gingerbread house: In a large mixing bowl, cream together butter, sugar, molasses,spices & baking soda until smooth. Add flour and water and mix to form a stiff dough. Wrap and chill for 30 minutes or until firm.

Preheat oven to 375F.

Gingerbread house templates: 
Front & Back of the house -Two rectangles 3 by 5 inches
Roof - Two rectangles 3 by 5 1/2 inches
Ends of the house - Two pieces, 3 inches wide at the base, 3 inches to the roof line and slanted to a peak 5 1/2 inches from the bottom.

Roof and sides of the entryway - Four smaller rectangles,  1 1/2 by 1 inch
Front of the entryway - One piece 2 inches wide at the base, 1 1/2 inches to the roof line and slanted to a peak 2 1/2 inches from the bottom.

Roll the chilled dough onto a parchment paper and cut out the pieces using a template made from the measurements given above. Leave the pieces intact and remove the excess dough. Bake for about 15 minutes until the dough feels firm. Place the templates over the pieces and trim if necessary. Do this while the cookie is hot.

Royal Icing:  Mix all the ingredients together using a hand mixer until the mixture is smooth and is pipeable. Transfer it to a piping bag and use as needed. Cover unused icing as it will dry up. If you need to thin it out, use lemon juice.

Assembling: Decorate the pieces with royal icing and let it harden, about 10 minutes. Start building the house by gluing the front and back and sides using the icing. Hold it for a few seconds till it dries up. Then attach the roof and then continue to build then entryway. Don't rush, take your time.
Even though it looks like a lot of work, it isn't. Make your templates the day before and even the cookie dough. Next day, bake and build the house. It will be one of the most memorable things you will be doing this holiday season for sure!

Saturday, December 1, 2018

MEEN POLLICHATHU WITH VINDALOO MASALA

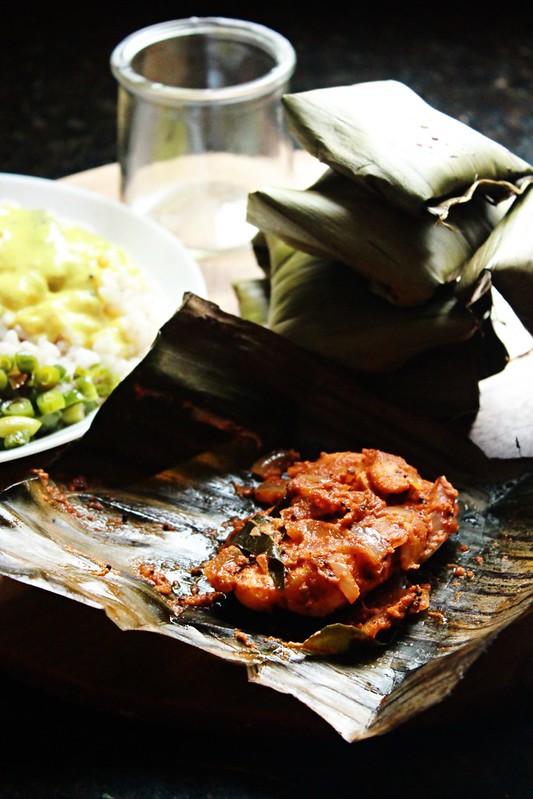
Meen Pollichathu (1)
Ilove fish and my family loves it too! I try to cook with fish as often as I can. It's almost always as a Meen Vevichathu or Meen Varuthathu. I've been making Fish Moilee quite a few times over the last few weeks along with homemade bread. There's something so comforting in that combination. This Meen Pollichathu is a made with a twist from the traditional one.
Meen Pollichathu (6)
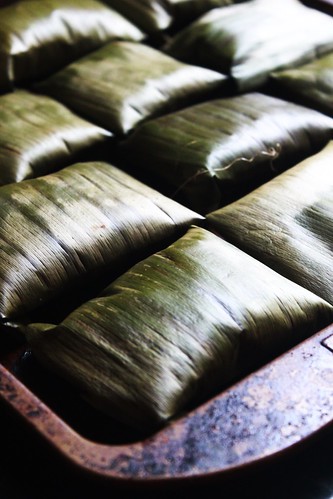
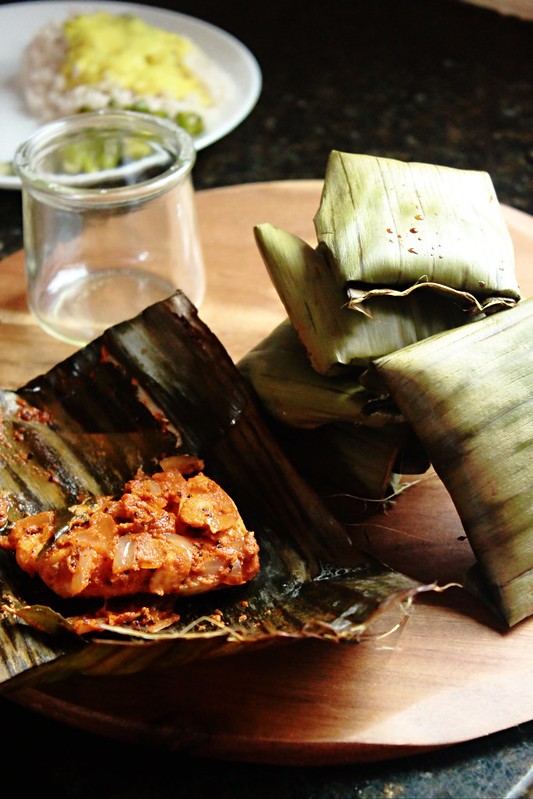
When I posted a photo of this dish on Instagram, I received a lot of questions regarding where to buy banana leaves here. I buy it from Oriental stores and I've seen it at Malayali store around Onam. We rarely shop at our Malayali store. These leaves come frozen in small trays. I find them very handy. Just pull out how much you need and the rest can stay in the freezer. The leaf is limp because it's frozen so we can use it without taming it over fire.
Meen Pollichathu final
Meen Pollichathu is best made with Karimeen.Even though we get them here in frozen form, I rarely buy it. The last time I bought it was when Appa & Amma came here for Christmas last year. Amma made a Karimeen Mappas with it and it was delicious!! This recipe uses a slightly different masala and uses sambar tamarind instead of Kudampuli. It's a very quick dish to make, just like most fish recipes and has a charm to it because it's wrapped and served in banana leaf.
MEEN POLLICHATHU WITH VINDALOO MASALA
Meen Pollichathu (6)
Ingredients:
400 grams cleaned fish
2 sprigs curry leaves
3/4 teaspoon mustard
1 tablespoon vinegar*
1 cup sliced pearl onions
4 tablespoon oil

Grind together:
1 tablespoon Kashmiri red chili powder
1 teaspoon coriander powder
1/2 teaspoon mustard seeds
1/2 teaspoon cumin seeds
4-5 cloves garlic
1 teaspoon tamarind pulp (homemade)
8 pearl onions

Method: Heat 3 tbsp oil and crackle mustard seeds and curry leaves. Saute the ground ingredients, till the oil separates. Add the shallots, stir well and pour the vinegar and salt. Add the fish and move it gently to coat the pieces with masala.

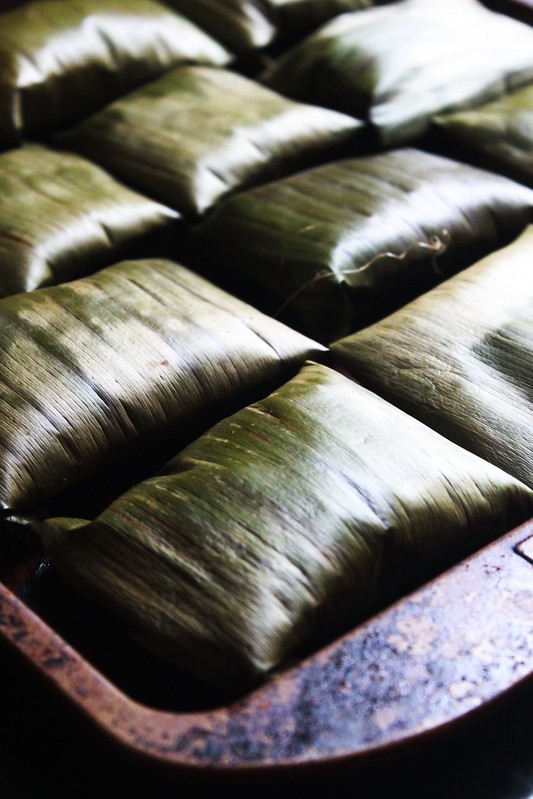
In an oil paper or banana leaf *, arrange the fish with its masala. Pour the remaining 1 tbsp oil over it and fold into a neat parcel /parcels. Put the parcels into a dish and bake at 400 F till the outside is golden for about 30 minutes. Once it's baked, take it out, open the parcel and serve hot !

* Use your own judgement here because we are already using tamarind pulp.
*If you are using fresh banana leaves, you will have to tame it over fire. 'Vaati edukukka'.
*You can cook this on the stovetop as well. Cook on medium flame for 8-10 mins flipping once in between till the leaves are a bit brown.
Mrs. B.F.Varghese's cookbooks are a very common sight in most Malayali households in Kerala.I have them too and I found this recipe from one of them. It's name intrigued me at first and then when I remembered the frozen banana leaves that I had been hoarding for a while, I decided to make use of it. Ian gave me the biggest thumbs up ever and said that the fish is very good! Jobin said the same too! I used Tilapia filets for making these and hence the tiny packages. The recipe was meant for one piece of fish. This is a very good twist to traditional Meen Pollichathu. Do give it a try sometime during this festive season!

Tuesday, November 27, 2018

CHOCOLATE FUDGE CAKE DOUGHNUTS

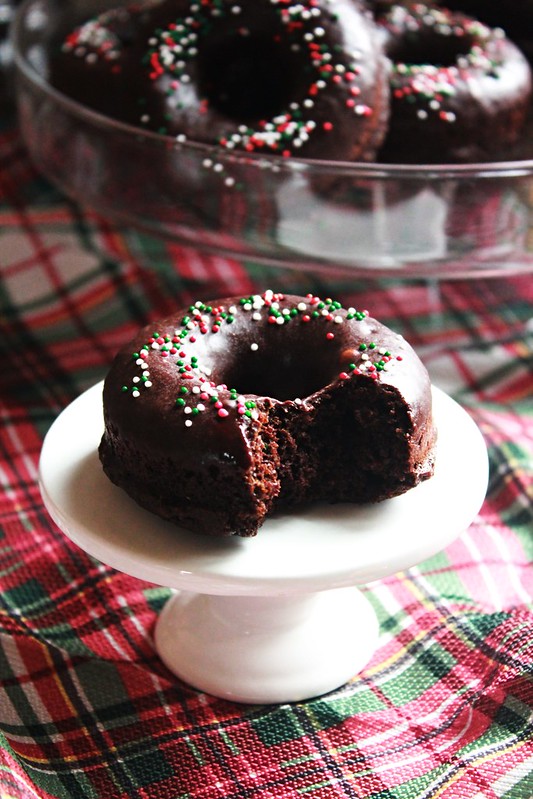
Doughnuts (3)
Doughnuts are one of the most satisfying things to make for me. That's the yeast magic. The dough grows in front of your eyes and when fried, grows even more into these puffy,cloud like rings! These particular doughnuts are baked. Baked doughnuts have been in trend for a long time now. Their texture is not like a raised / yeasted doughnut. It's more or less like a cake but a bit  denser. But that shouldn't keep you away from trying these goodies. They are different from a cake. It doesn't feel like you just poured a cake batter into a doughnut pan. It is different.
Doughnuts (4)
Ian has been asking me for something chocolate-y for a few days now. He gives me subtle hints every now and then and Zara is catching up on that as well. She loves to imitate her older brother! I usually bake things in the afternoon when Zara is napping so that it's ready by the time she wakes up,which is  around the same time that Ian gets back home from school. Then it's non-stop play & eating time. So I get mentally prepared for that before it's 4 o'clock!
Doughnuts (5)
The very second he gets into our mud room, he kind of makes a guess as what I would have made for him as an after school snack. He did not know that I had bought the doughnut pan so he was super excited to see what I had in store for him. Whenever I need a new recipe, I always go to one of my favourite sources and this time, it was no different.

You need a doughnut pan to bake these goodies. They are easily available online. I found mine at a store nearby. The only thing you need to be mindful while making these doughnuts are that the pans should be filled only to it's three-fourth capacity, so that when the doughnuts rise in the oven, it wouldn't end up being a big huge blob without the hole in the middle. But, if that happens, don't worry, you can easily use a spoon to dig out the extras.No matter how you make it, it's a delicious one!
CHOCOLATE FUDGE CAKE DOUGHNUTS
Doughnuts (1) Makes 12

Ingredients:
1 3/4 cup all purpose flour
1 1/4 cup light brown sugar
2/3 cup cocoa powder
1 teaspoon baking powder
1 teaspoon baking soda
3/4 teaspoon instant coffee powder
3/4 teaspoon salt
1 cup chocolate chips
2 large eggs
3/4 cup milk
2 teaspoons vanilla extract
2 teaspoons vinegar
1/2 cup melted unsalted butter

Chocolate icing:
1 cup chocolate chips
4 tablespoons milk

Method: Preheat the oven to 350 F and lightly oil your doughnut pans.
Doughnuts : In a large bowl, mix together the dry ingredients from flour through chocolate chips. In a medium bowl, whisk together eggs, milk, vanilla, vinegar. It might look curdled and that's okay. Add the wet ingredients into the dry ingredients along with the melted butter and stir until it's all combined.

Spoon the batter into the prepared pans. Fill them only three-fourths full and bake for 12-15 minutes or till a toothpick inserted into the centre comes out clean. Once removed from the oven, let it be in the pan for 30 seconds,then invert the pan onto a cooling rack. The doughnuts will fall off easily. Let it cool completely.

Chocolate Icing: Combine chocolate chips and milk in a microwave safe bowl and heat it till the milk starts to steam and bubble. Mix it well till the icing is smooth. Dip the cooled doughnuts in it and set them icing side up on a rack /plate till the icing sets. If you want to sprinkle the top with something, do so before the icing sets. 
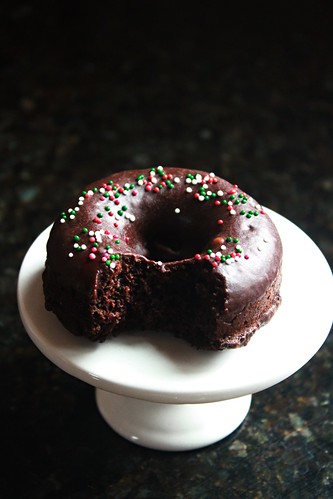
The kids gobbled up a couple as soon as I was done baking them and before glazing it. The glaze is super easy to make, a light ganache. It sets well and you can stack the doughnuts after the glaze has set, about 30 minutes. I recently bought some sprinkles in X'mas colours because we all know that the most wonderful time of the year is just around the corner! So I couldn't help sprinkle some over these beautiful doughnuts. These make beautiful gifts too!

Wednesday, November 21, 2018

THE BEST WHOLEWHEAT PANCAKES with video!

pancake 2
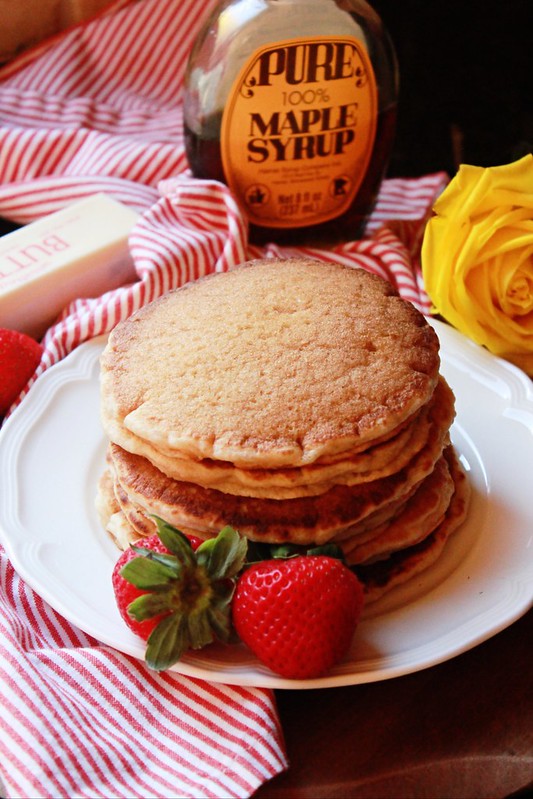
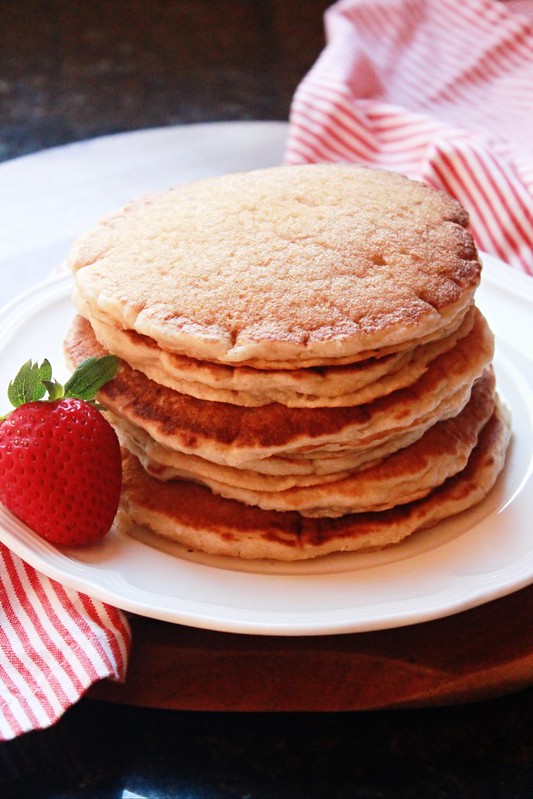
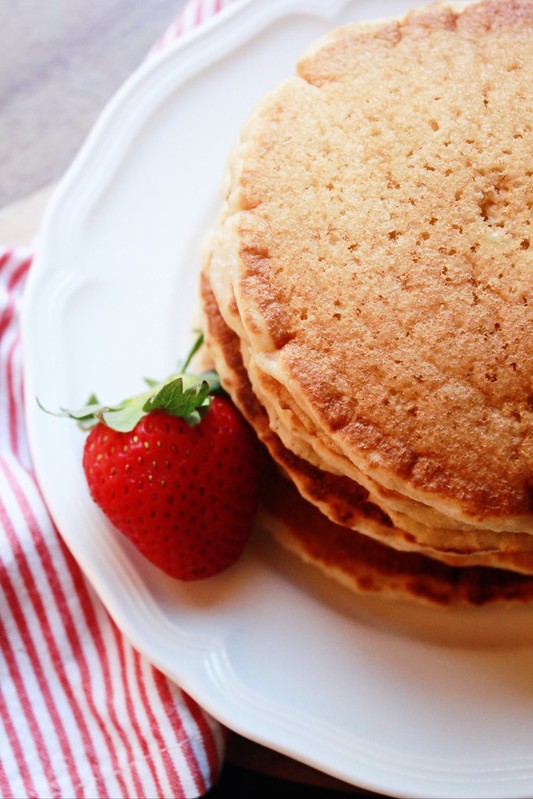
Iam not a person who can make the exact same thing over and over and over again in one week's time. But these pancakes...they were really so good that we had so many repeats in one week. We even had them for breakfast today! We love pancakes as a family,with or without syrup. But I used to restrict myself from making it often because the recipe I've used earlier was made with all purpose flour. I didn't want to start our day eating a whole bunch of refined flour along with syrup.
pancake 3
So when I came across Lindsay's recipe, I was excited to try. Like I said before, there has been no looking back since. Last night as Jobin was editing the video, Ian overheard it and quickly asked me with shining eyes what I was planning for breakfast tomorrow. I knew what he wanted by just looking into those eyes! So I told him I will let him make it and he did. He loves to help me in the kitchen and as he was mixing up the batter, he told me that he is learning all this so that he can make his own pancakes when he grows up!
pancake 1 (2)
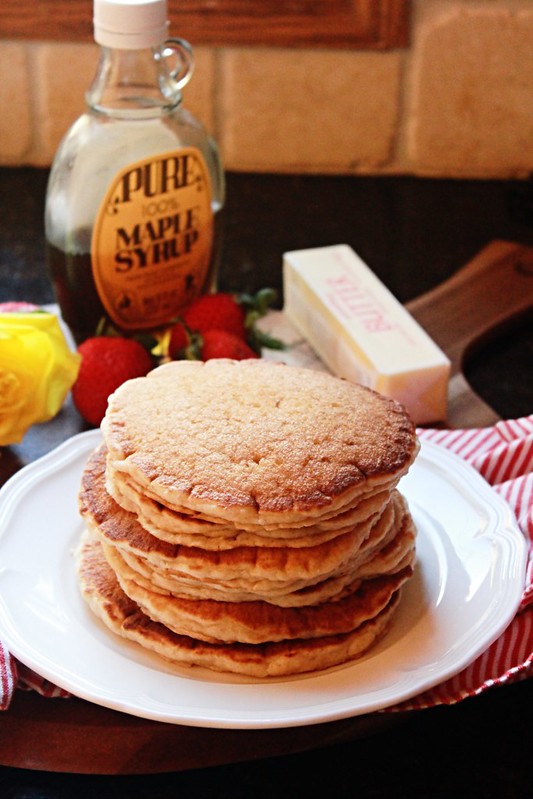
I mean, that has been my secret motive in involving the kids with kitchen activities and it looks like it has been going in the right direction! Anyway, these pancakes were gobbled up in no time, as always. Like I have mentioned in the video, you can serve it with maple syrup & butter, honey, any fruit compotes or even our good old nadan 'paani'.

THE BEST WHOLEWHEAT PANCAKES
pancake 3Makes 6-8

Ingredients:
1 egg
2 tablespoons brown sugar
2 tablespoons oil
3/4 cup buttermilk *
1 teaspoon vanilla
Scant 1 cup whole wheat flour /atta
1 tablespoon baking powder
1/2 teaspoon salt
2 tablespoon water

Method: In a bowl, whisk together the egg and brown sugar till combines, about 10-15 seconds. Add the oil and whisk to combine. Add the buttermilk & vanilla and whisk. Add the flour, baking powder, salt and mix until it's combined. Few lumps are okay. Add the water and whisk gently to combine.
Heat a nonstick pan on medium heat and pour 1/3 cup worth of batter. Flip the pancakes when the edges are opaque and bubbles appear on the surface. Cook the other side for 30 second. Transfer them to a plate and serve with syrup and fruits!

* To make buttermilk at home, take 3/4 cup of milk in a cup and add 2 teaspoon of white vinegar to it. Stir it and let it sit for 5 minutes. Use as needed.
pancake5
Yesterday while I was watching Food Network Ian came up to me asked me when will I come on 'real' TV. He really enjoys watching my videos on YouTube and gives me subtle hints once in a while when he feels like eating those things. We film it after the kids go to bed. So Ian is very excited to taste the food in the morning and see the video after it's edited. Zara came running to me last evening saying that she heard me in Appa's computer! The way she put it across was very funny! My video editing time is quite entertaining for us!
So if you were looking for a Wholewheat Pancake recipe that uses 100% Wholewheat flour, this one is for you. It is an excellent recipe and makes super light fluffy pancakes that tastes equally good.I hope you enjoy making these pancakes as much as we do!

Monday, November 19, 2018

THE BEST POORI

Poori 4
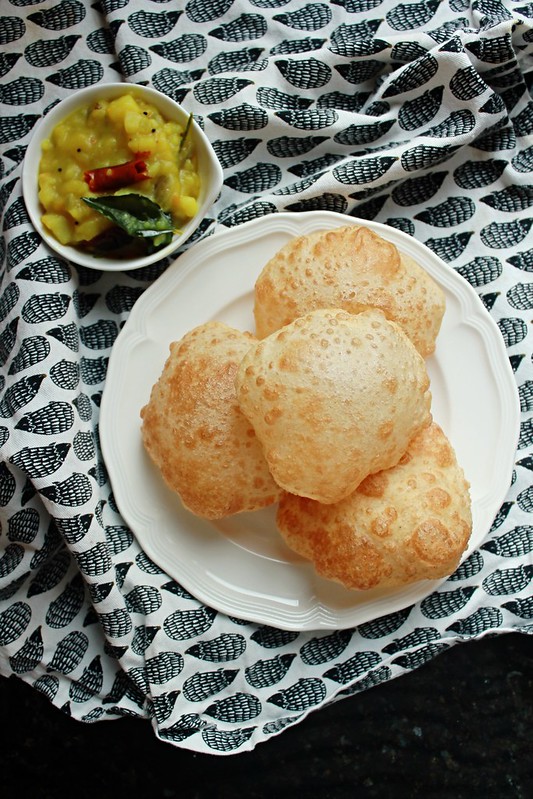
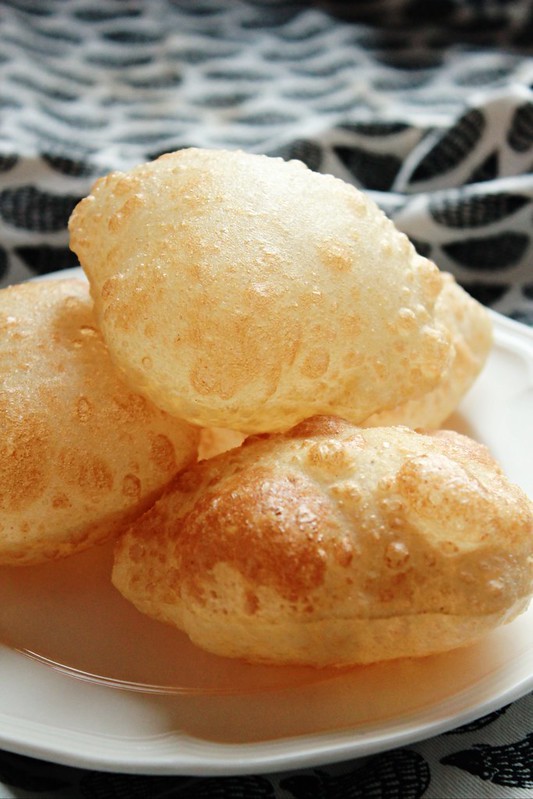
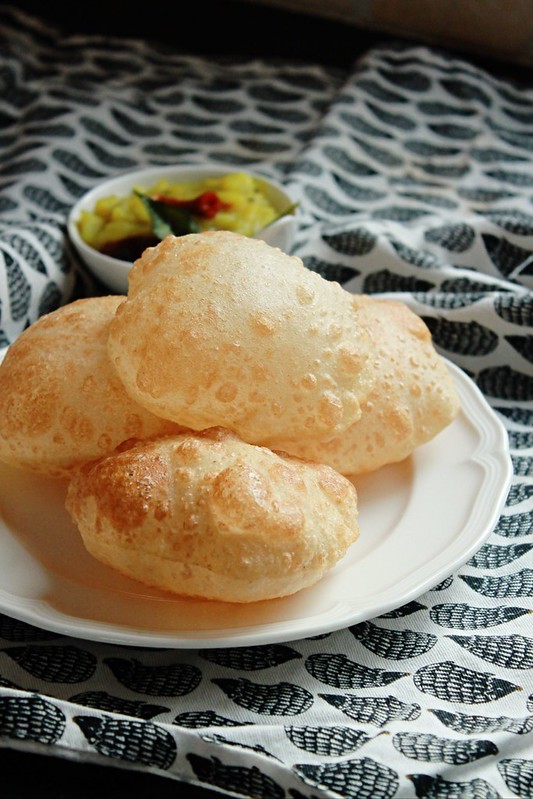
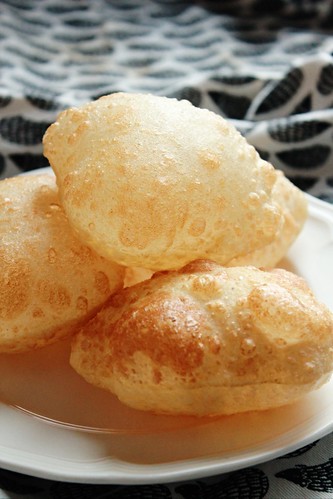
Did that title make you think about how can there ever be a perfect recipe for a simple thing like Poori? Well then you should try this recipe. I've been making Poori's this way for a couple of years now. It's that recipe which gives you those perfectly puffed up Poori's every.single.time. It's that recipe that will give you perfectly puffed up Poori's that do not deflate by the time you are done frying the whole batch and even when it's brought to the table. It's that recipe that will leave you wondering about it's magic. Plus, it makes very tasty Poori's too! It's just perfect.
Poori
Last Saturday, I felt the need to make something Indian for breakfast. We've been eating a lot of bread /pancakes / eggs over the past few Saturday's because it's always busy. We are rarely home over the weekends because Jobin & I love doing everything together from grocery shopping to going to the Mall with the kids. There are weekends where we don't get past beyond two stores but then, when it's done together, it makes it fun!
Poori 3
I had no intention of posting this recipe here because when I am making breakfast, it's utter chaos at home. Four burners are on, food is in the microwave and there are 4 growling hungry bellies ready to eat anything at that very moment. So I usually give the kids their milk and send them to play for a bit to give myself some quiet time to focus on what I am doing. I am a person who needs to have her peace while cooking because it's one of my most favourite things to do and I like to do it in peace.
So while frying the poori's, the kids were quietly playing in our informal living room and I got sometime to think about how beautiful the puffed up poori's were looking. Then all of a sudden it occurred to me that I should share it with you so that you can enjoy it as much as we do! So I grabbed my camera and took some photographs.This recipe comes from Anushruti, one of my good food blogger friends whom I've known for almost a decade!
THE BEST POORI
Poori
Ingredients:
1 cup whole wheat flour /atta
1/2 cup all purpose flour
1/4 cup semolina
1 tablespoon besan
2 tablespoons oil, heated
2 teaspoons sugar
3/4 teaspoon salt
1/2- 3/4 cup milk or water

Oil for deep frying

Method:
In a large bowl, mix together the dry ingredients. Add the warm oil to it and rub it into the flour. Add milk or water and knead for 5-6 minutes to form a  stiff dough. Keep the dough aside, covered, for 30 minutes. After the resting time, knead the dough briefly and then divide the dough into small balls and roll it out using an oiled rolling pin.*

Heat oil to 360 F or till it is very hot but not smoking. Fry the poori's one at a time, holding it down with a slotted spoon till it puffs up and then flip it over and fry the second side for 5 seconds or until golden. Drain the fried poori's on paper towels and transfer them to a large serving plate.
Enjoy with a curry of your choice or even as is! It's delicious!

*You really don't need to use flour for rolling out poori's. Either use an oiled rolling pin or dip the bottom of the dough balls in some oil and roll it out.
* If you put the fried poori's side by side instead of stacking them up, they will hold up their shape for a really long time!

You cannot imagine how many kisses I got from Ian for making these Poori's! Zara was very vocal that morning. She kept saying that it was so tasty! Jobin is the biggest Poori fan that I know of, so I don't have to specifically tell you how well he enjoyed the breakfast. He would have enjoyed it even more if I had served it with Chicken curry on a Friday night but all I could make was our good old Bhaji that morning. Nevertheless, it was wiped clean. Both poori and the curry!

This recipe is GOLD! Make it and share! Good food and good recipes are meant for sharing!

Friday, November 16, 2018

ENGLISH SCONES

Scones 1
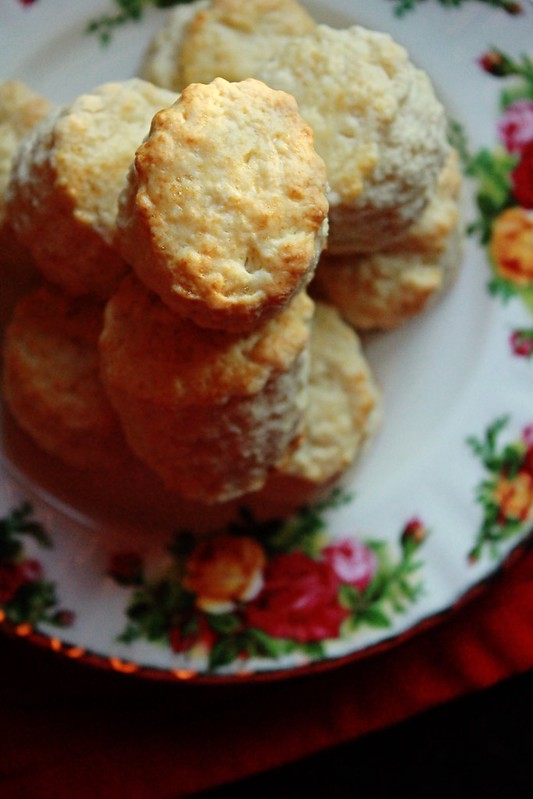
This is definitely a trip down the memory lane for me. These were the stuffs my childhood dreams were made of! All of you who have read Enid Blyton books and literally drooled over the food that were mentioned,will understand what I am talking about. This was during the pre-internet era. There was no online shopping either. So when I read about it, all I could so was to imagine the taste of her stale Rock Buns, Fresh Lemonade made with left over homemade jam from the larder and all those sardine sandwiches that were packed in their picnic baskets along with the bottles of chilled ginger beer!
Scones
Of all the places, Kannur was not the right place to find even a tin of sardines! Whenever Appan would travel, he would come back with goodies for us. So once, when we was travelling to Bangalore, I asked him if he could bring back some bottles of ginger beer and sardine sandwiches for me. He promptly took the help of Rosily chechy, my cousin in Bangalore to hunt for the items I had mentioned. In those days, Nilgiris was the gourmet store in Bangalore. If Nilgiris didn't have it, no one else would. Sadly for me, Nilgiris didn't carry ginger beer nor the sardine sandwiches.
Scones 2
Mamma, my paternal Grandmother did once tell me that she used to drink Ginger Beer in Malaysia and I was so intrigued to hear more about it. She told me it was a tasty drink! So many years passed by and one day while flipping through Mamma's cookbooks, I chanced upon a 'Dropped Scone' recipe. I immediately made it but sadly,it didn't taste all that exciting. Atleast not as exciting as the Enid Blyton's scones.
Scones 6
It was only after I moved to the US that I ever had my very first sip of Ginger Beer/Ginger Ale. I couldn't contain my excitement when I first spotted it after ALL these years!! It still is one of my favourite beverages till date.  I baked my first set of scones about 8.5 years ago and it's been one of mine as well as my family's personal favourite thing to eat! Scones make a regular appearance at our dining table and it's never failed to please anyone who has had a chance to eat it.
Scones 4

ENGLISH SCONES
Scones 2 Makes about 18-20 scones

Ingredients:
450 grams self raising flour*
2 level teaspoon baking powder
50grams sugar
100 grams butter,softened
2 eggs
a little milk

handful sultanas, if you'd like

Method:
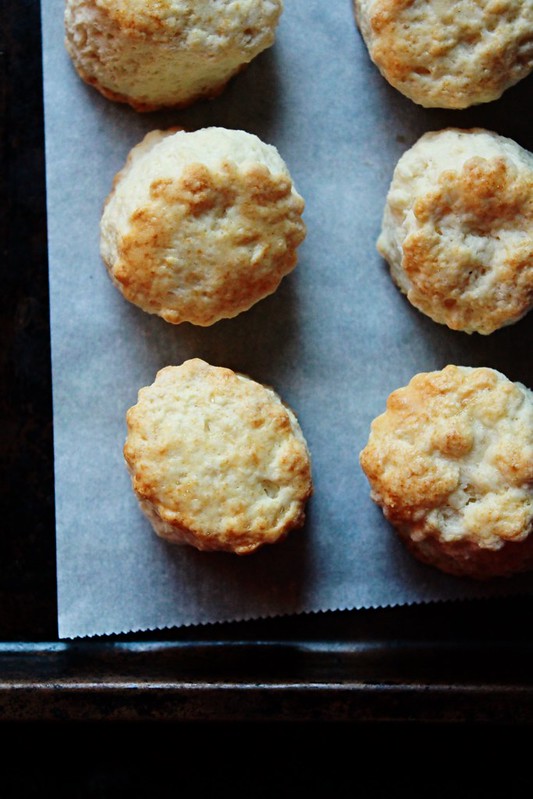
Preheat your oven to 400F and line a baking sheet with parchment paper.
In a large bowl, mix together the flour, baking powder & sugar. Into that, add the butter and rub it into the flour using your finger tips until it resembles breadcrumbs. Crack the eggs into a measuring jar and pour enough milk to each the 300 ml mark. Which them together.
Pour almost all of the milk-egg mixture into the flour mixture (holding back some, about 2-3 tablespoons worth )and stir using a spoon to form a soft,slightly sticky dough.
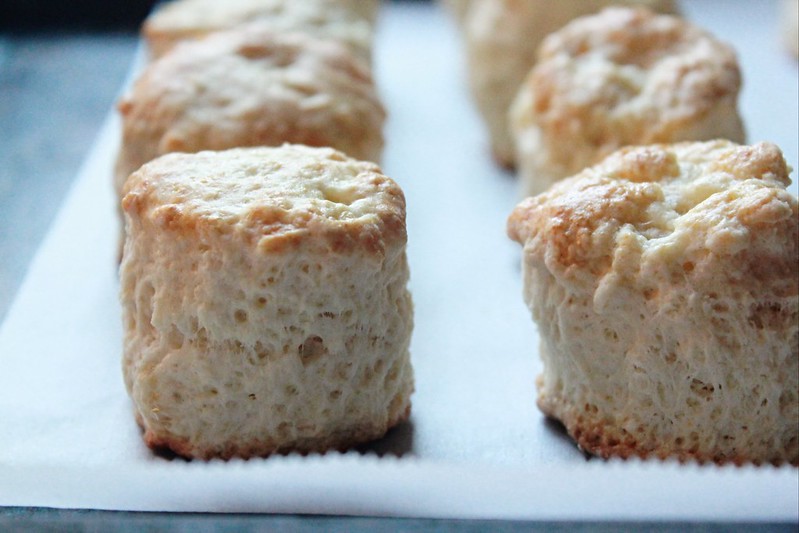
Turn out the dough onto a lightly floured surface and gently knead and work in the sultanas. Roll out the dough to a 3/4 inch thickness and cut out as many rounds as you can using a 2 inch fluted cutter. Place them slightly spaced on the prepared tin, brush the tops with the reserved egg - milk mixture and bake for 12-15 minutes.

You can reuse the scraps, just bring them together gently and proceed.

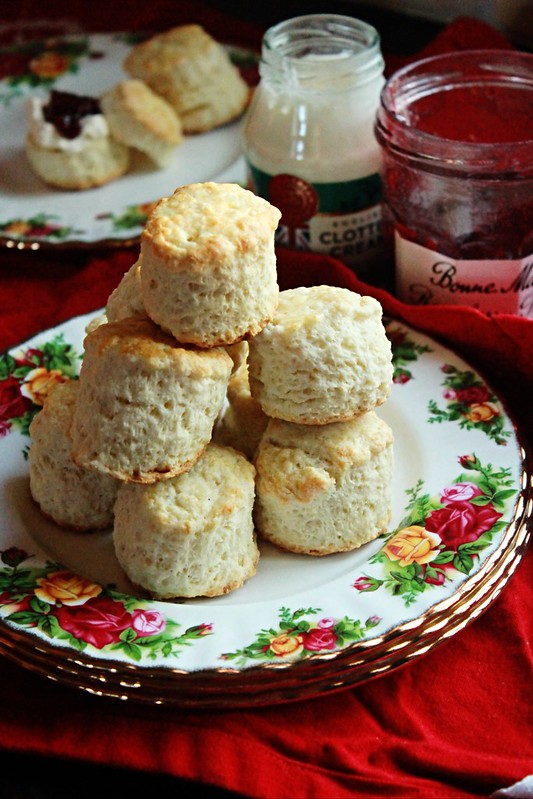
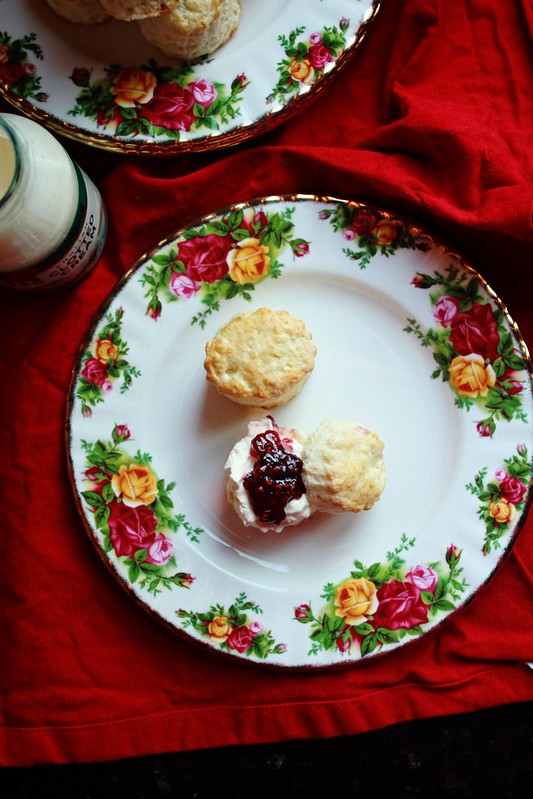
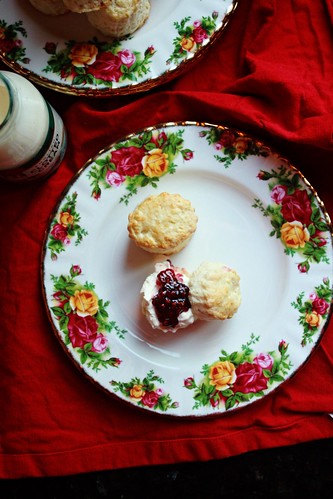
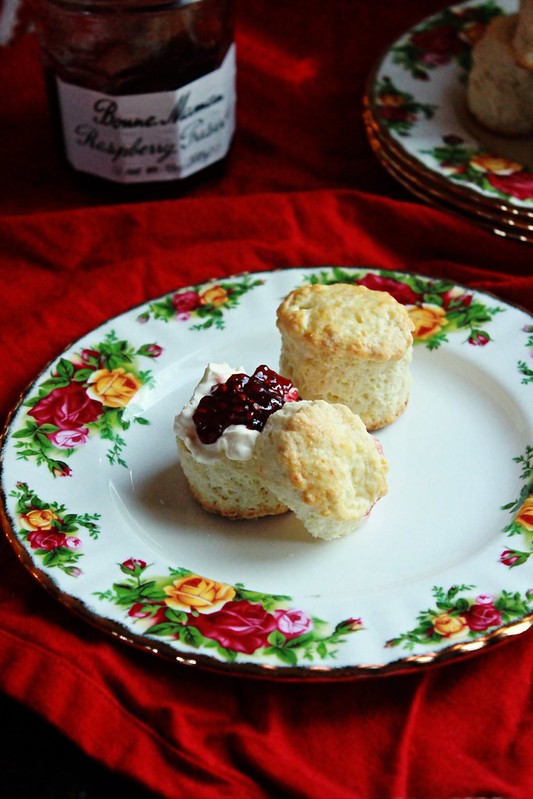
Serve them warm with clotted cream and raspberry / strawberry jam and a pot of tea!

* For every 1 cup of self raising flour I use 1 cup all purpose flour + 1 1/2 teaspoon baking powder + 1/4 teaspoon salt. This recipe requires a lot of leavening agents.

The other day after Ian was dropped off at his Choir practice, we went to a grocery store to kill time. Yes, grocery store is where we kill time! :-) So as I was glancing at the shelves, I came across this lovely little jar of Clotted Cream and I literally jumped up and down like a little girl. I really don't need a lot of things to make me happy, a bottle of clotted cream is plenty!

All 4 of us are hungry around Tea Time so I usually make something special everyday. Since I had Clotted Cream on hand and since we all LOVE scones, I decided to make the ones Mary Berry had made during her 'Country House Secrets' episode. I am a sucker for food, crockery, English countryside along with the beautiful historic homes they have there.
Scones 5
So here's how I ate them. I took a scone, split it in half by gently pulling it apart at it's waist, slathered some clotted cream first on one half and spread some raspberry jam over it, sandwiched the two halves together and took a bite of it with my eyes closed. It was a treat in every possible way! They are delectable! Clotted cream is a thickened cream with a very faint tang. It's lovely and has a custard like consistency. Freshly whipped cream can be the next best alternative. All of us LOVED it and I saw Jobin go back to it many times in the evening!
All of you Enid Blyton lovers, go and make some for yourselves and relive your childhood memories through a plateful of delicious scones!
Related Posts Plugin for WordPress, Blogger...