Ria's Collection: Quick dessert
Showing posts with label Quick dessert. Show all posts

Wednesday, September 3, 2014

GINGER & MANGO PANNACOTTA

GINGER & MANGO PANNACOTTA
We were at Napa Valley a few years back and that was the first time I ever tasted a Pannacotta. It was a Buttermilk Pannacotta with Berry Coulis which was totally delish! I came back home and recreated something close to that,with a twist. It was my Vanilla Pannacotta with Pomegranate Sauce. Ever since,Pannacotta ranks high on my list of favourite desserts!
GINGER & MANGO PANNACOTTA
A long time blog reader of mine,C,had invited us over for dinner last year and she carefully remembered my love for it and made the same from my blog. I was so touched! Everytime we go out, I scan the dessert menu to see if a pannacotta is on the menu. There's something about a cold creamy pudding.

A very close family to ours was moving from Minnesota and we had gone to their house to help pack up some of their stuff . I had volunteered to bring in the dinner because that's the last thing they should be worrying about when they have a whole house to pack up! So, along with a Veggie Pulao & Chicken Tikka Masala,I took some Ginger & Mango Pannacotta along with us.
GINGER & MANGO PANNACOTTA
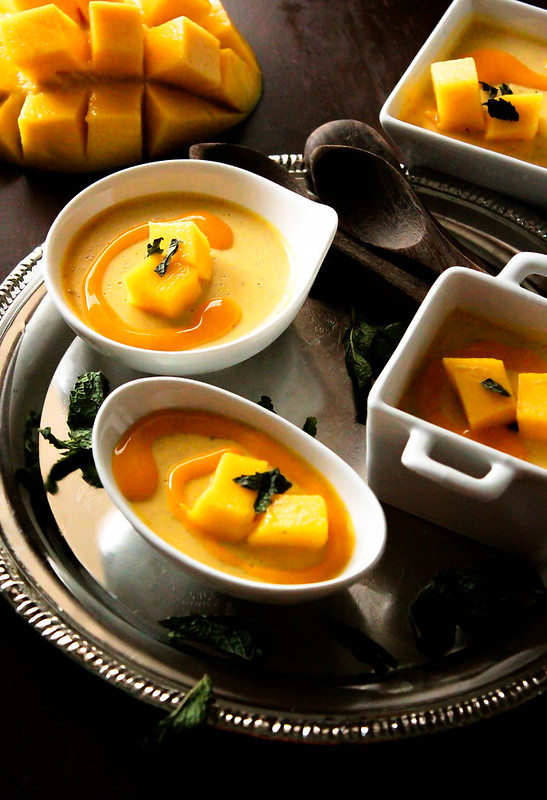
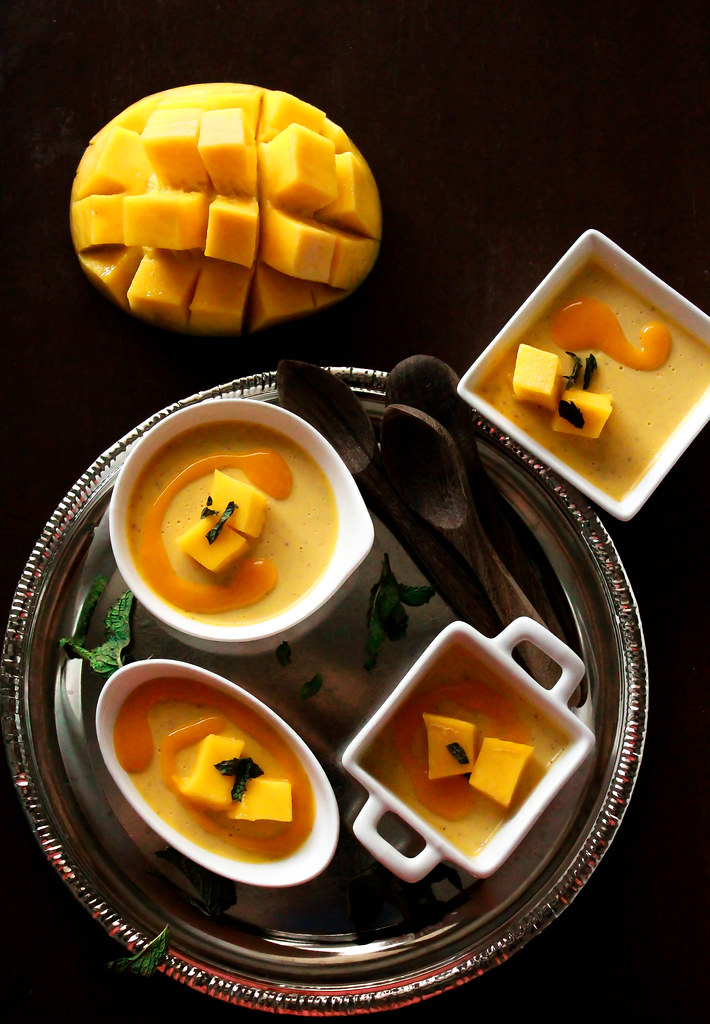
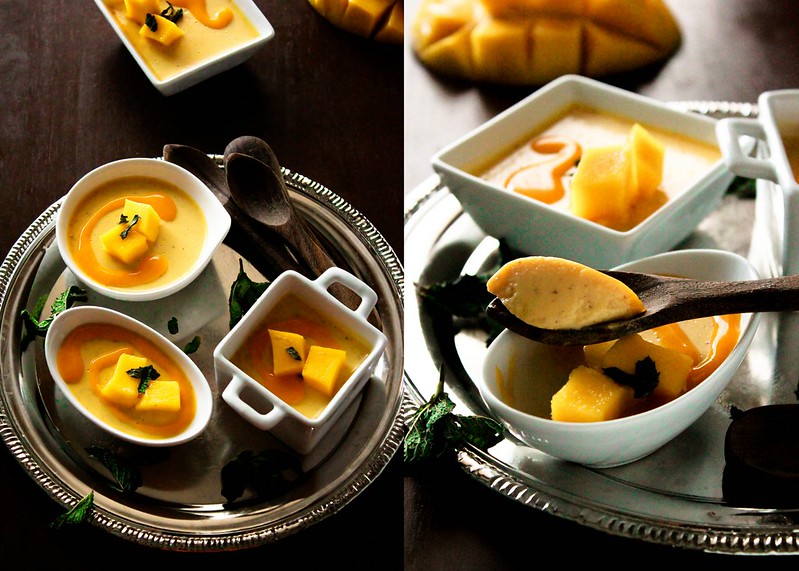
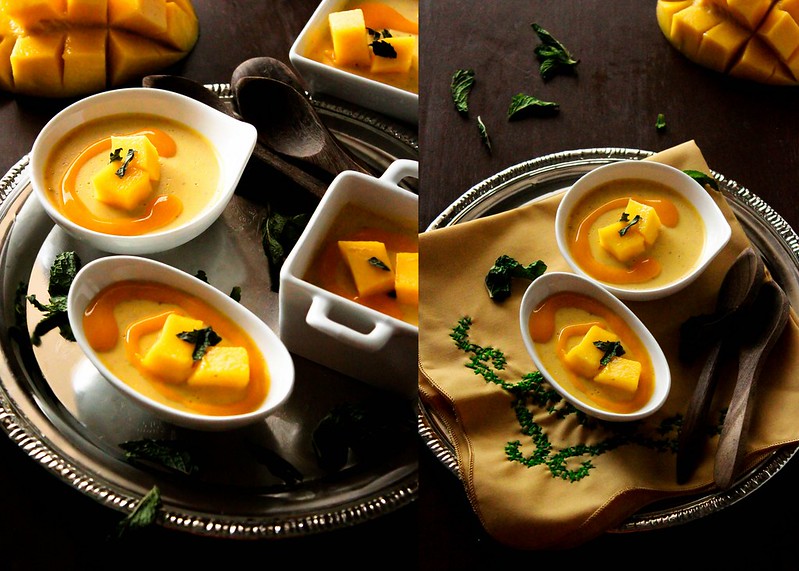
This recipe is spiced with ground ginger and a pinch of nutmeg. For those of you who think they might not their desserts spiced up, feel free to leave it out. I made one batch and set it in small bowls so that everyone gets their share and helps in controlling portion sizes. You can of course, set it in one container and cut them out into desired shapes. Serve it with a drizzle of mango pulp and a few pieces of fresh mango along with a sprig of mint!

GINGER & MANGO PANNACOTTA
GINGER & MANGO PANNACOTTA Serves 6-8

Ingredients:
1 pouch /7 grams unflavoured gelatin
1/2 cup milk
1 1/2 cups heavy cream
1/2 cup packed brown sugar *
1/4 teaspoon ground cinnamon
1/4 teaspoon ground ginger
1 cup sweetened canned mango pulp

Method: In a small bowl, sprinkle gelatin over milk;let stand for 5 minutes to soften.Meanwhile, in a saucepan over medium heat,gently whisk together cream, sugar,cinnamon & ginger; heat just until bubbles form around the edge. Remove from heat.

Stir in gelatin mixture, stirring to dissolve gelatin. Whisk in mango puree. Pour into six to eight ramekins,cover with plastic wrap and chill until set.

*Adjust the sugar as needed depending on the sweetness from the mango pulp. The original recipe called for just 2 tablespoons of sugar but I added more to suit our taste.
I promise you, this would be the last of the mango related things you would get to see here for this year! I make sweet somethings with mangoes throughout the year because I used tinned mango pulp.I am a not a fan of the fresh mangoes we get here even during peak Summer.

It's getting a bit cooler in the evenings which kind of makes me happy because I will get to eat some Pumpkin Pies and Pecan Pies very soon!

Many of you tell me that a post without mentioning how Ian liked the food,is incomplete! :) Ian literally ran towards me when I brought the Pannacotta out of our fridge to photograph them. He stood beside me and I had a tough time pushing his eager hands away from grabbing my little bowls. He couldn't wait to taste it and from the way he behaved after that, I think he really really liked it. He's got his Amma's sweet tooth,for sure!

Monday, June 16, 2014

SIMPLE STRAWBERRY PIE

THE BEST STRAWBERRY PIE
We have a Farmers Market every Thursday, a block away from our house.They sell a variety of produce, cheese etc and so,it's very convenient for the two of us.They even sell excellent Plantains, just like the ones we get in Kerala,soft and ripe. It's hard to find a good one here,otherwise. During my last visit to the Market, I bought some strawberries as we had company the next day,for dinner.
THE BEST STRAWBERRY PIE
I had so many plans on my mind regarding them but then some things didn't work out as I had planned, therefore,I ended up making this delicious pie I spied on Jennifer's blog.
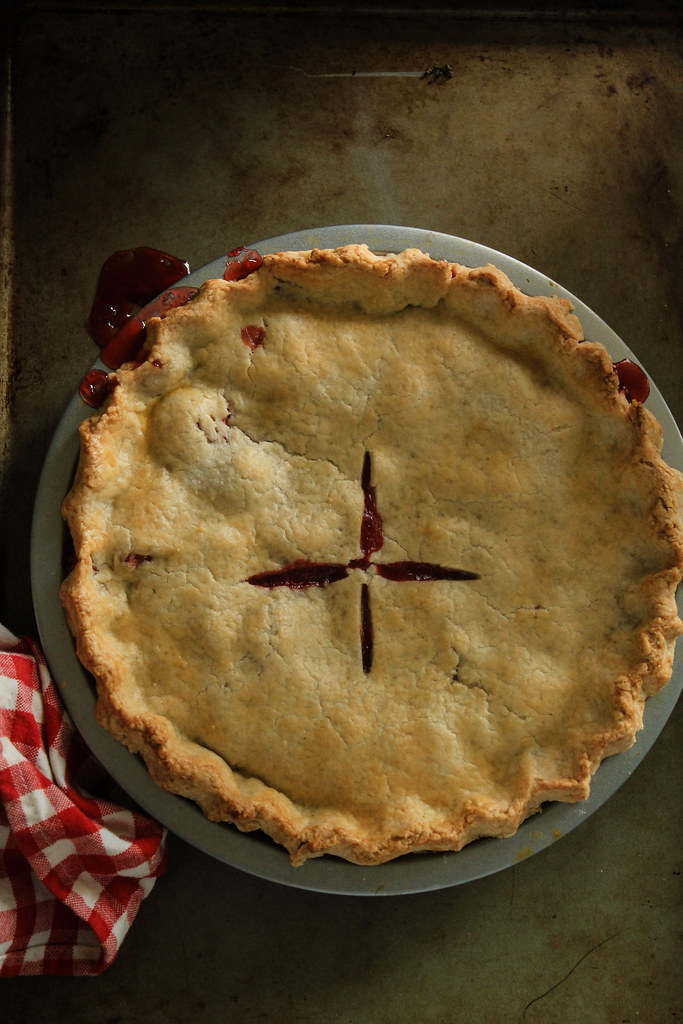
This is a very quick one to pull together, especially the pie crust because a lot of recipes call for a longer chilling time for the dough.I was just hoping that the filling would set up firm once the pie cools down after baking . It did and I was a happy baker! See, it's as easy as pie! :)
THE BEST STRAWBERRY PIE
We make a lot of new friends in real life, which have a connection with this little food blog of mine.I am ever so grateful for that! I had to stress on the real life because today, it's all about virtual connection.
Imagine meeting those people who have been quietly reading this blog all these years and then they move to your city for work, this time all the way from India! And once we connect, we have so many common friends! That really makes this world so small.So I baked this delicious Strawberry Pie for our new friends. Welcome to our part of the world, J & A!
THE BEST STRAWBERRY PIE
THE BEST STRAWBERRY PIE Makes one 9 inch pie

Ingredients:
Pie Crust:
1 2/3 cups all purpose flour
1/2 teaspoon salt
1 tablespoon sugar
1 stick unsalted butter
4-6 tablespoons ice cold water

Pie Filling:
450 g strawberries, hulled and sliced
3/4 cup sugar
Juice of 1/2 a lemon
1/4 cup all purpose flour

Method:
Preheat the oven to 425 F.
Crust: In a medium bowl,whisk together flour,salt& sugar. Cut the butter into small pieces,add it to the flour and rub it in till they form pea sized crumbs. Add the cold water by the tablespoon and form a soft,non-sticky dough. Divide it into two, clingwrap and chill it while you get the filling ready.

Filling: In a medium bowl, toss all the ingredients together.Set aside.

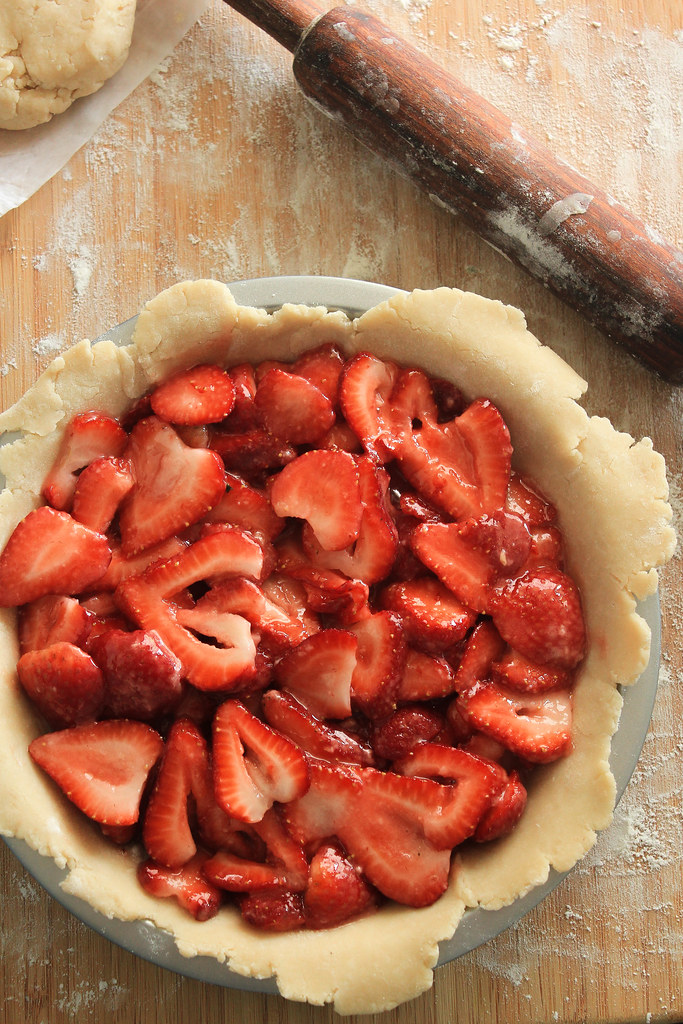
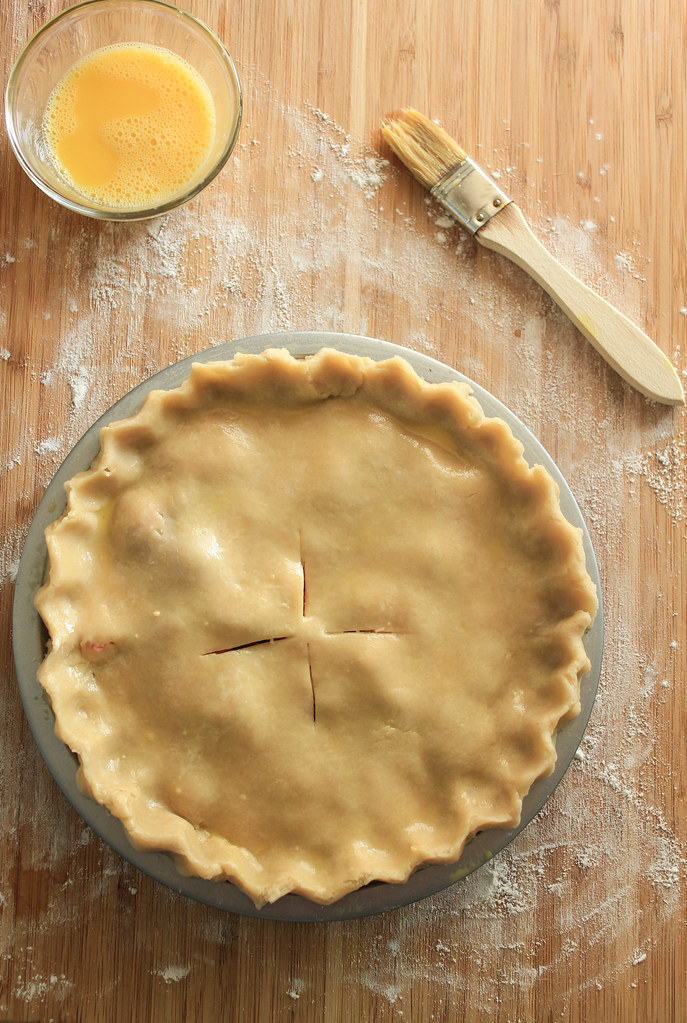
Assembling & baking : On a lightly floured surface, roll out one portion of the dough to fit the bottom of the 9 inch pie pan and line the tin gently without stretching the dough. Spread the filling over it and level the top. Roll out the other portion of the dough and place it over the filling. Fold the raw edges over and crimp as desired. Make slits in the centre, to let the steam escape while baking and bake for 15 minutes. Lower the temperature to 350 F and bake for another 25-27 minutes. Let the pie cool completely before slicing in.

* If you want a shinier crust, brush the top crust before baking with a beaten egg mixed with a splash of water.
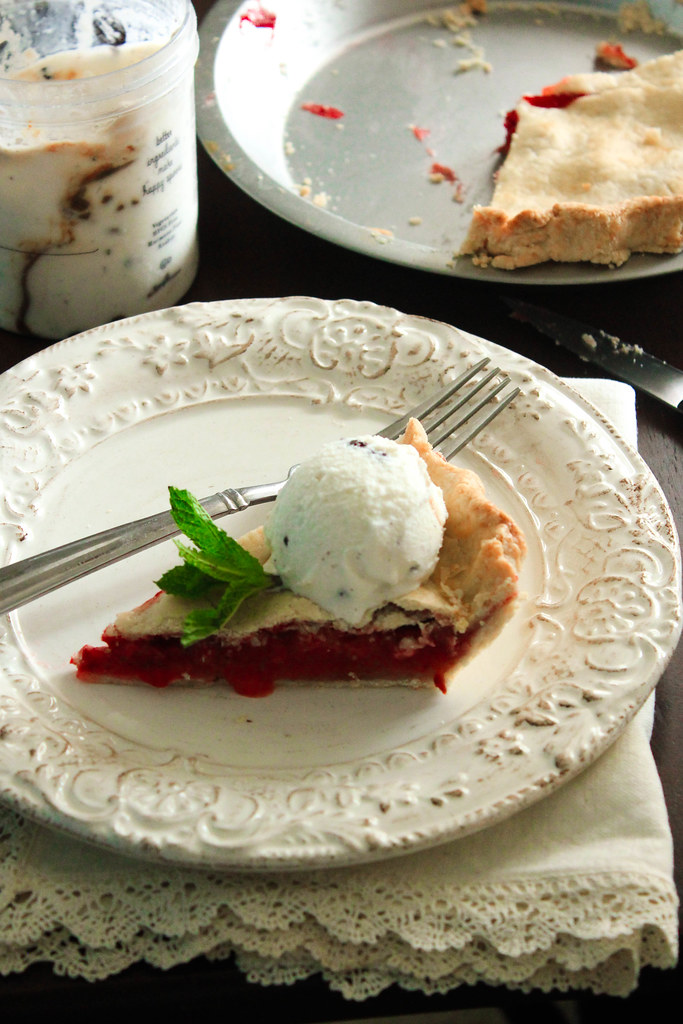
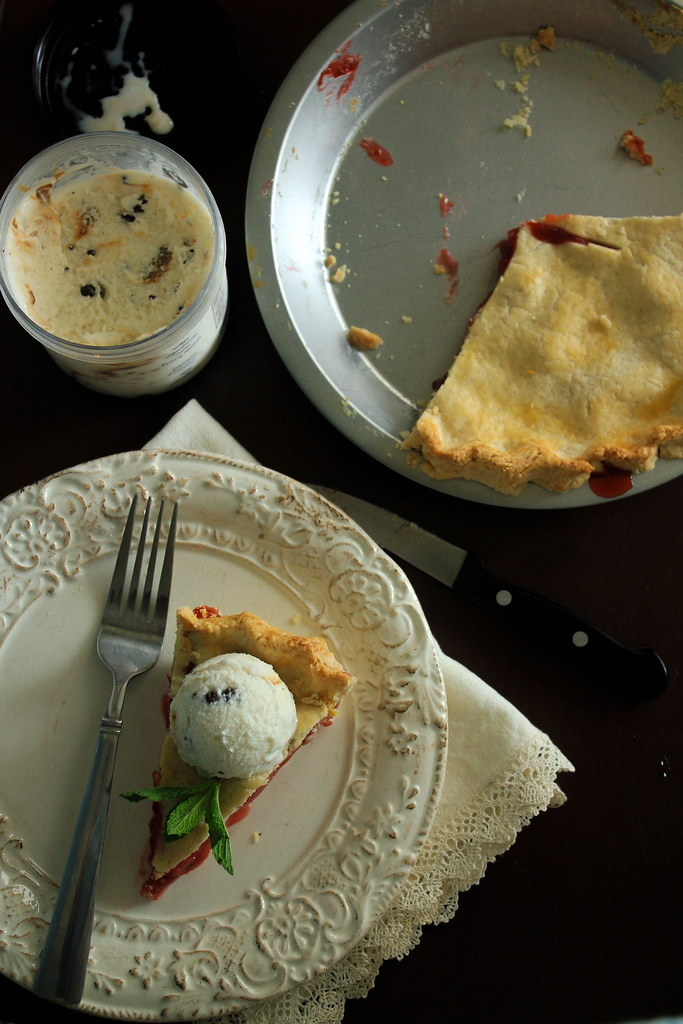
We really,really enjoyed digging into this delicious pie. I felt that it would pair well with some ice cream, so I served it alongside a Caramel Cookie Crunch Gelato. Ian loved it and learnt the name 'Pie' over the last weekend! So, I must say, it was a winner all the way!!
I hope you give this pie a try this summer, when the strawberries are at it's juiciest best! Go, share some love. Bake a Strawberry Pie today! I sincerely hope you enjoy it as much as we all did.
 

Monday, September 16, 2013

CHERUPAYAR PARIPPU PRADHAMAN

Cherupayar Parippu Pradhaman


T
his is Ian's second Onam. Last year,Appan & Amma were here with us and our celebrations started and ended at the Malayali Association's sadya. But this year,it was an ongoing event starting from the Malayali Association's sadya. I even participated in a dance for the opening ceremony at the association.It was such a break from my routine and truck loads of fun. We ate 3 sadya's this year but I cooked only for one and that too, a potluck.


Cherupayar Parippu Pradhaman6

I've never cooked a complete Onam sadya yet. We usually have it in a potluck form, which I think is the best. Nobody has to cook up a storm,especially when it comes to a sadya! Also, everyone gets to tastes different versions of every item. Once the date is set, a group email is sent out as to what everyone is supposed to bring or would like to bring and then the excitement builds in me!

Cherupayar Parippu Pradhaman

After every sadya,I feel so stuffed mostly because I overate even though I knew what my situation would be at the end. This time, it was no different. I was so full that I couldn't even put Ian Vaava to sleep after that. I couldn't hold him close enough because I felt my stomach would burst! So Jobin came to the rescue...ahh!

Cherupayar Parippu Pradhaman

The colour of this pradhaman totally depends on how light or dark your jaggery is.Mine was very pale and so it reflected in the final product. So,I've made up my mind to hunt for darker ones the next time I am making it.So here's my trusted recipe.

CHERUPAYAR PARIPPU PRADHAMAN
Cherupayar Parippu Pradhaman My own recipe

Ingredients:
100g split,skinless moong dal
200g jaggery,melted
300 ml water
600 ml thin coconut milk
250 ml thick coconut milk
1/2 teaspoon ground ginger
1/2 teaspoon ground roasted cumin
1/2 teaspoon ground cardamom seeds
1/4 cup fresh coconut slices
1/4 cup whole cashews
3 tablespoon ghee

Method: In a heavy bottomed pan, roast the moong dal until it turns pale brown/reddish in colour.It will get fragrant at this point.Add  water and cook until soft.Mash it with the back of a spoon and add the melted & strained jaggery and 1 tablespoon ghee.Cook stirring until it starts to bubble up, thicken & leaves behind a line if you draw one with a spoon. Add the thin coconut milk and the spices and continue cooking,stirring occasionally until it thickens up.Switch off the heat and add the thick coconut milk. Stir to combine.Fry the coconut slices & cashews in the remaining ghee until golden brown and pour over the hot pradhaman. Serve hot,warm or even chilled.

You most likely will have to adjust the consistency once the pradhaman is chilled,if so, thin it out using cow's milk.
This is my first trial at making a pradhaman. Mini aunty makes good parippu pradhaman and I've watched her making it once,a long time ago. It seemed simple enough but when I had to make it for the potluck, I was blank.I remembered her roasting the dal but other than that, nothing! So I set out to make my own,which is what you saw above.We really liked it. The colour, like I mentioned before was pale due to the light coloured jaggery that I got from the Indian store here.
Vaava is a big time pradhaman/ payasam lover! So he definately did get a good share of this.Hope you all had a great Onam...we sure did!
 
Related Posts Plugin for WordPress, Blogger...